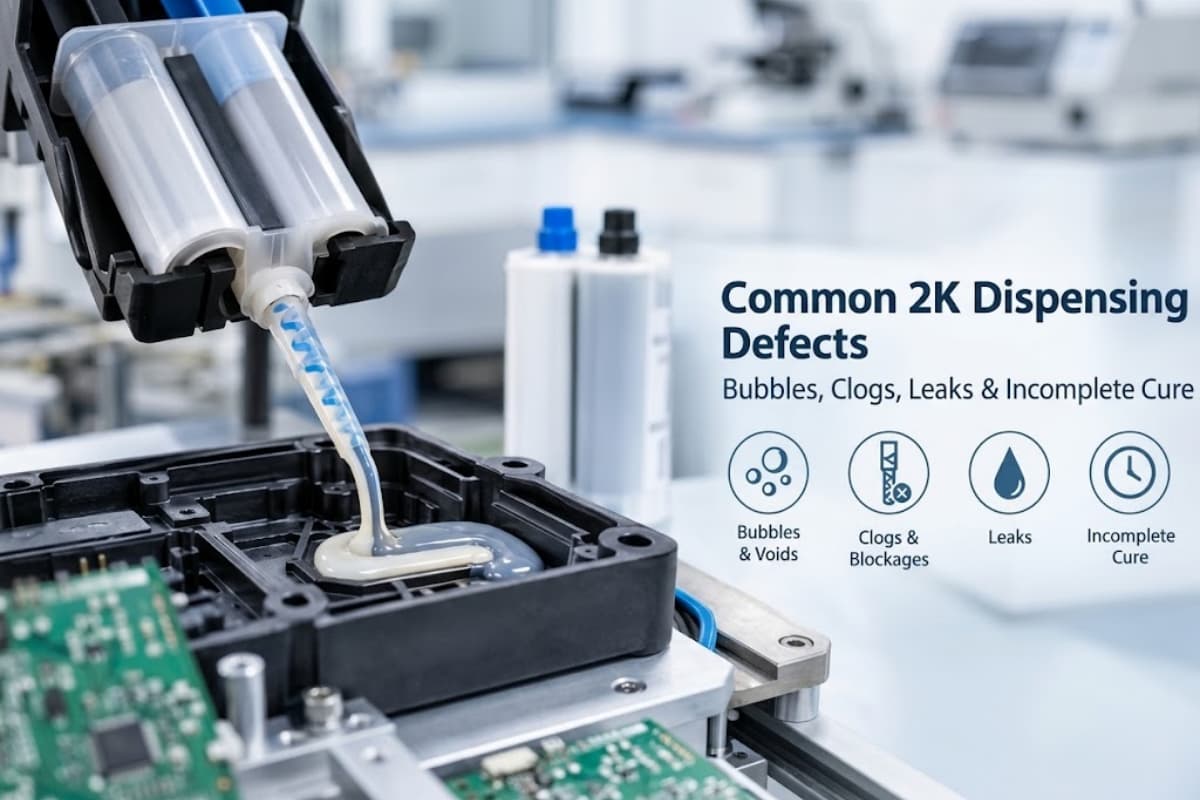
A 2K cartridge failure analysis often goes wrong in the first ten minutes. Someone changes the mixer, advances the plungers, wipes the outlet, or opens the cartridge before photographing the fault. The line may restart, but the evidence needed to separate a package defect from a setup or material problem has disappeared.
Key Takeaways
- Quarantine the suspect unit, its lot, and a known-good control before changing the setup.
- Describe the symptom first. Soft cure, bubbles, leakage, and unequal-looking streams are observations, not root causes.
- Record the cartridge, ratio, outlet, piston, mixer, adhesive lot, storage history, and process state as one configuration.
- Compare pre-mixer A/B delivery with the mixed bead to separate metering evidence from mixing evidence.
- Change one factor per controlled trial and keep every conclusion provisional until the failure follows that factor.
- A strong supplier claim asks for containment, verified root cause, corrective action, and objective release evidence.
The useful deliverable is not a confident guess. It is a reproducibility packet that lets your plant, adhesive supplier, and cartridge supplier run the same comparison. This guide shows how to build that packet without turning a quality complaint into an argument about blame.
Contain The Failure Before Adjusting Anything
Stop the affected operation and identify what must stay untouched. Keep the failed cartridge, attached mixer, cap, dispense tool, rejected part, and any wiped material that still shows the symptom. Photograph each item in place before separating the stack.
Quarantine should cover the suspect lot and any work made since the last accepted check. Do not assign a failure percentage until you know both the affected count and the inspected or produced count. “Three failed units” is evidence; “a high failure rate” is not.
Keep at least one passing cartridge or finished part from the nearest comparable run. A failed sample tells you what happened. A matched control tells you which differences deserve a test.
Do not clean, cut, refill, re-cap, or rework the primary evidence sample until all parties agree on the examination plan.
Define The Symptom Without Naming A Cause
Write what an observer can see, feel, measure, or reproduce. “Part B started after Part A” is a useful observation. “The piston caused off-ratio output” skips the tests needed to prove both the mechanism and the source.
Name the location and timing. Did leakage appear behind a piston, at the center wall, around the outlet, or at the mixer connection? Did bubbles appear at startup, after a pause, throughout the bead, or only after the joint closed?
Separate dispense symptoms from bond outcomes. A soft bead can follow ratio error, incomplete mixing, expired material, or incorrect cure conditions. A weak joint may also involve surface preparation, bond-line geometry, contamination, or service exposure.
| Observed Symptom | Preserve First | First Boundary | Do Not Assume |
|---|---|---|---|
| Leak at rear | Piston position and residue | Piston and barrel | Seal defect alone |
| A/B startup lag | Pre-mixer outlet video | Air and engagement | Persistent ratio error |
| Streaked bead | Mixer and first purge | Mixer and interface | Bad adhesive batch |
| Soft cure | Bead, TDS and cure record | Multiple boundaries | Off-ratio proof |
Build The Cartridge Evidence Pack
Treat the package as a controlled assembly, not a plastic tube. Record the body, pistons, cap, outlet, mixer, adhesive, and dispense equipment used together. A changed mixer lot can matter even when the cartridge lot did not change.
The empty adhesive cartridge qualification guide explains why the body, piston, cap, outlet, fill method, and storage trial belong to one release record. Use that record as the baseline for the failure packet.
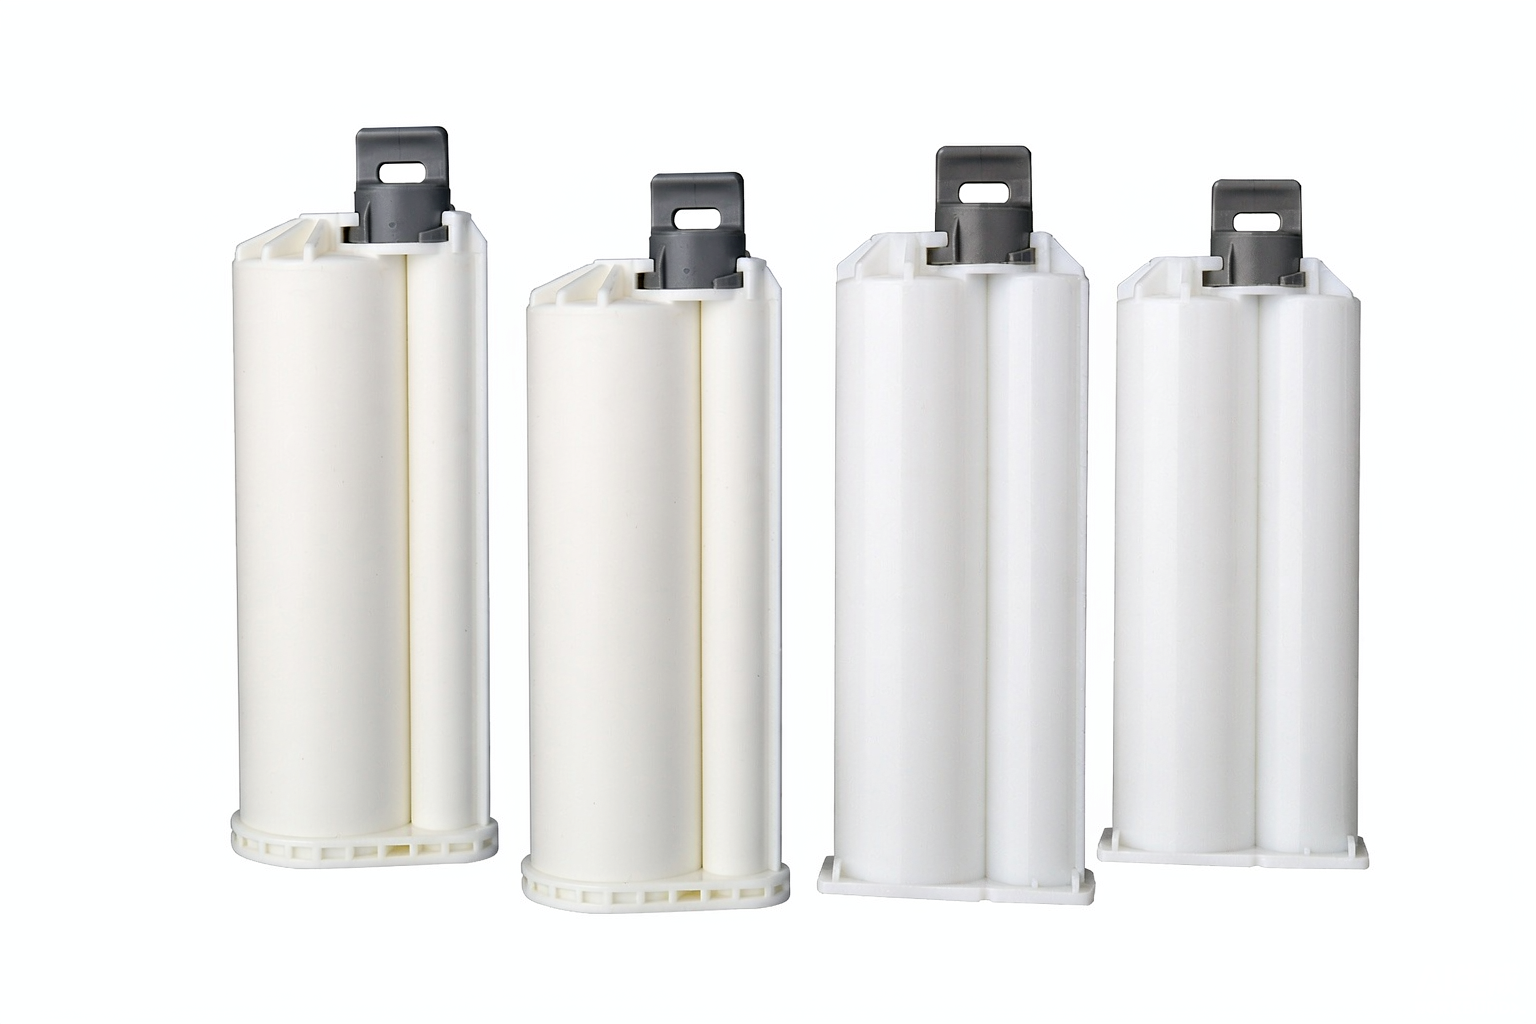
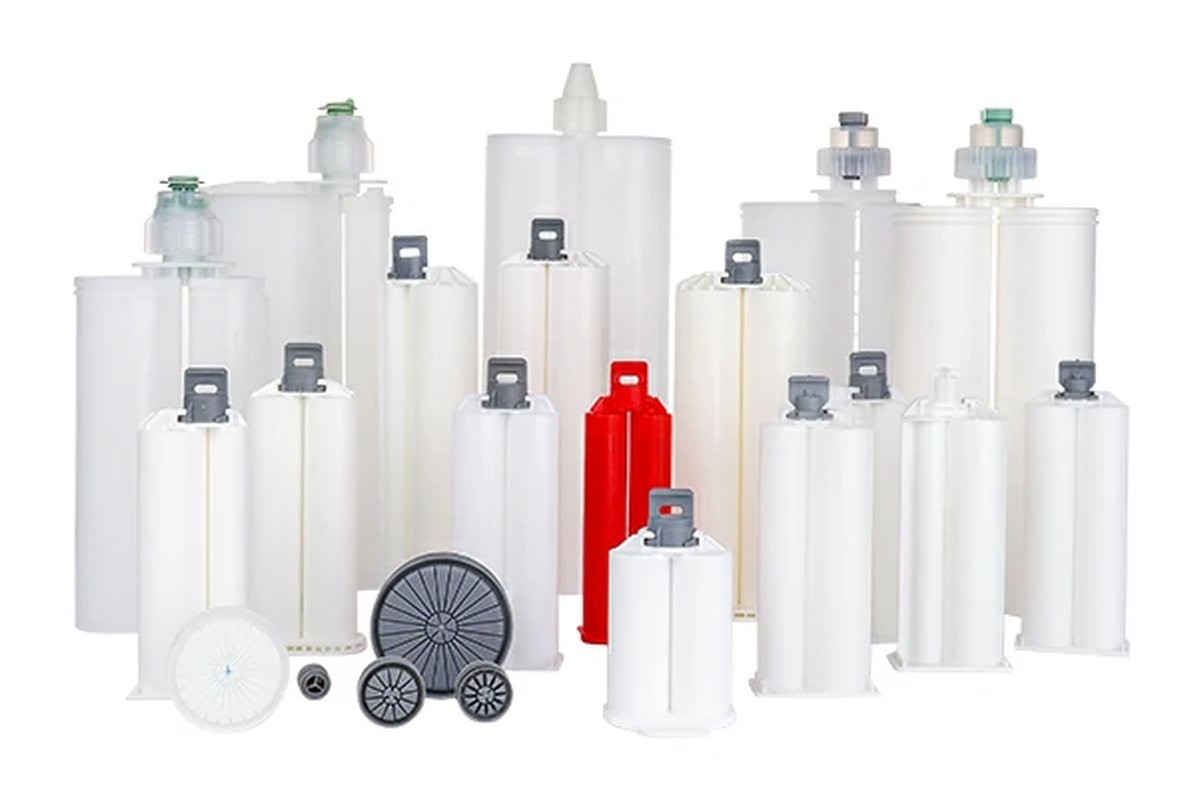
Haijing’s dual-component cartridge range covers 50, 75, 100, 200, 400, 600, and 1500 ml formats. Available ratios include 1:1, 2:1, 4:1, and 10:1 in PP, PA, or PBT configurations. That breadth makes the exact part code, drawing revision, and ratio essential complaint fields.
| Evidence Group | Record | Attach | Why It Matters |
|---|---|---|---|
| Identity | Part, lot, revision | Labels and cartons | Defines suspect population |
| Configuration | Size, ratio, interface | Drawing and BOM | Exposes mismatches |
| Material | Adhesive lot and dates | TDS, SDS, label | Protects cure context |
| Process | Fill, storage, setup | Logs and photographs | Tests handling history |
| Occurrence | Affected and checked | Inspection sheet | Quantifies the problem |
Henkel’s complaint guidance asks for the item and batch number, comparison with another batch, quarantine status, first occurrence, affected quantity, and storage history. These fields prevent a supplier from recreating a different system and calling the result inconclusive.
Classify The Failure Boundary First
Use four practical boundaries: material and cure, cartridge and closure, drive and mixer, then joint and downstream process. This is an investigation tool, not a published industry standard. Its purpose is to keep tests from crossing several causes at once.
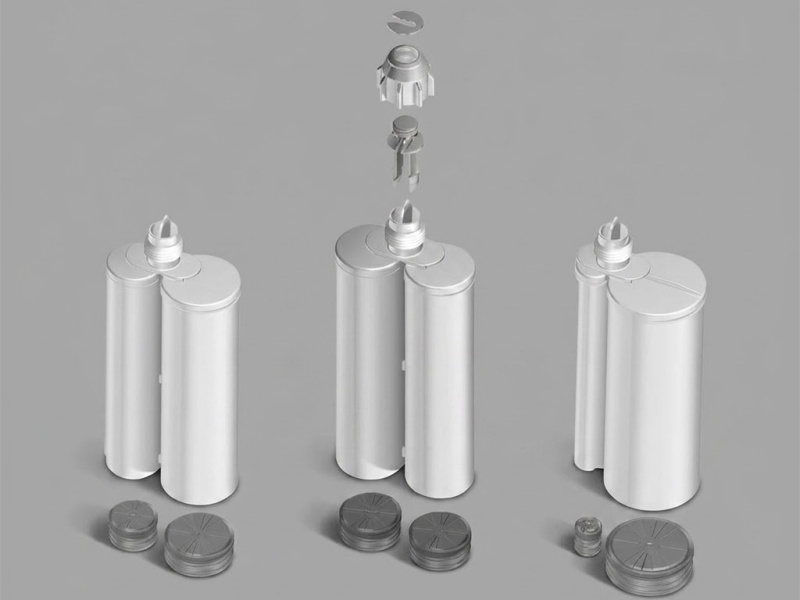
Material evidence includes adhesive identity, shelf-life status, storage history, working temperature, and cure record. Cartridge evidence includes barrel condition, center wall, pistons, seals, cap, outlet, fill condition, and visible residue paths.
The drive and mixer boundary includes cartridge seating, plunger contact, ratio hardware, connection, mixer identity, restriction, and startup handling. The joint boundary begins after the bead exits: substrate condition, bead placement, open time, clamp state, and cure environment.
Henkel’s bonding manual also separates “no adhesive,” “no cure,” “no adhesion,” and “no performance.” That sequence matters because a fully cured bead can still fail at a contaminated interface, while an underfilled joint can mimic weak chemistry.
Turn The Complaint Into A Test Plan
Send the cartridge format, ratio, material, lot evidence, mating components, and failed-sample condition. Haijing can review the package boundary and identify the drawings or comparison samples needed next.
50–1500 ml formats | 1:1 to 10:1 ratios | Sample-based package review
Run A Controlled Nozzle-Off Isolation
A nozzle-off check can show whether both components reach their separate outlets before the mixer. It is not a universal operating instruction. Follow the adhesive supplier’s technical data, the safety data sheet, and your site’s controls for exposure, waste, and uncured material.
Record the outlet face before cleaning, then record the first controlled advance. Note which side appears first, whether flow stabilizes, whether one piston hesitates, and whether leakage appears elsewhere. Keep the original mixer labeled with the same sample ID.
3M’s structural-adhesive bulletin tells users of those products to check flow from both cartridge sides before attaching the mixer. The same document connects incomplete cure with highly off-ratio dispensing. Use that as proof of the diagnostic principle, not as permission to copy a 3M procedure onto another chemistry.
If both outlets reach a stable state before the mixer, the evidence moves toward mixer fit, mixer condition, interface sealing, or downstream cure. If one side remains delayed or irregular, investigate air, piston engagement, seal bypass, obstruction, or package damage.
Check Air Pistons And Package Integrity
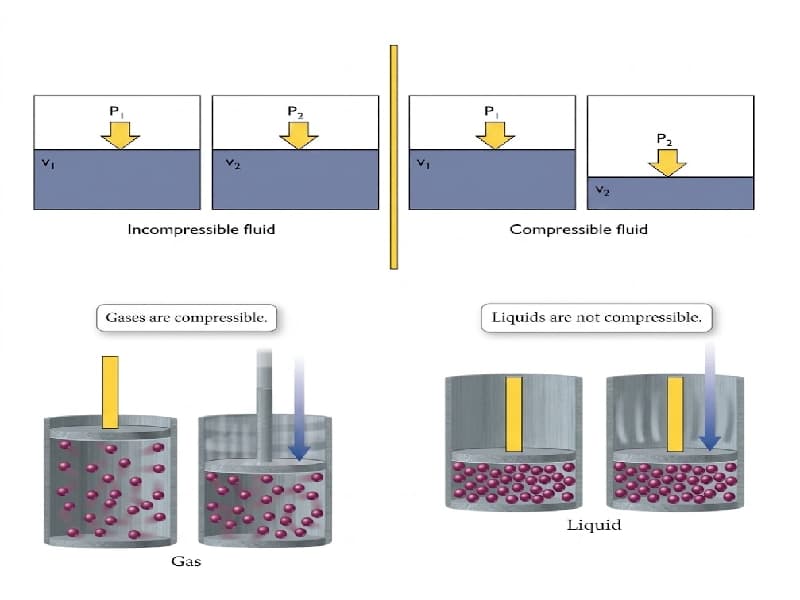
Air is compressible; adhesive is far less so. A trapped pocket can absorb initial plunger movement and release it later, creating startup lag or an irregular deposit. That mechanism makes the as-found piston position and first-flow video valuable evidence.
Nordson EFD identifies four piston-bounce contributors: the wrong piston, air introduced during insertion, air already in the material, and excessive pressure or speed. Record the piston part, fill method, material condition, and drive setting rather than writing “air bubble” alone.
Inspect each piston for tilt, incomplete engagement, material behind the sealing edge, or travel that differs from the control. Inspect the barrel for deformation, cracking, stress marks, and residue paths. Do not cut the barrel open until non-destructive evidence is complete.
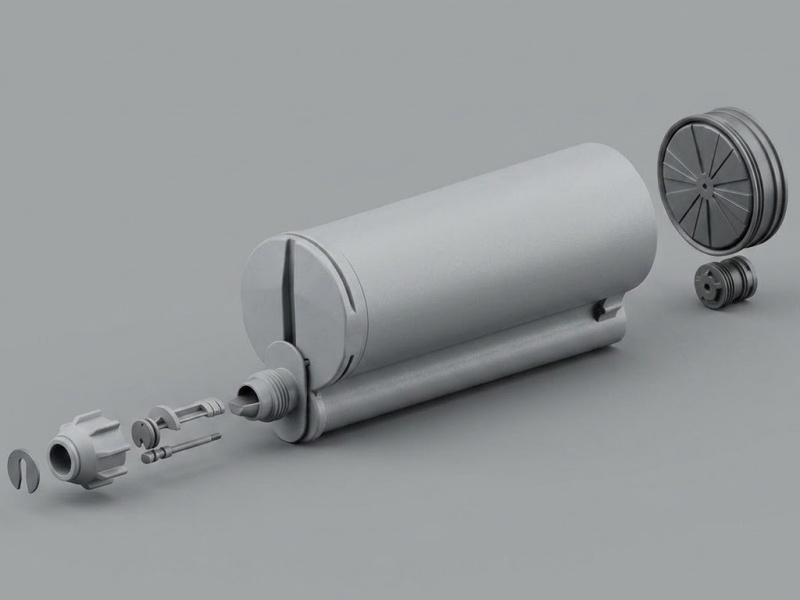
For dual chambers, photograph the divider and both outlets. Look for cross-contact near the outlet face, cured material where the streams should remain separate, or leakage around the closure. Preserve the cap and any gasket because the leak path may span several components.
Separate Metering From Mixing Problems
A 2:1 cartridge should not produce equal-looking A and B volumes. The chamber geometry and linked displacement establish the nominal volumetric relationship. Unequal streams are expected in non-1:1 systems; unstable or incorrect delivery is the concern.
Compare evidence at two points. Before the mixer, examine whether both components arrive and whether their relationship stabilizes. After the mixer, examine color uniformity, voids, bead shape, cure response, and any approved performance check.
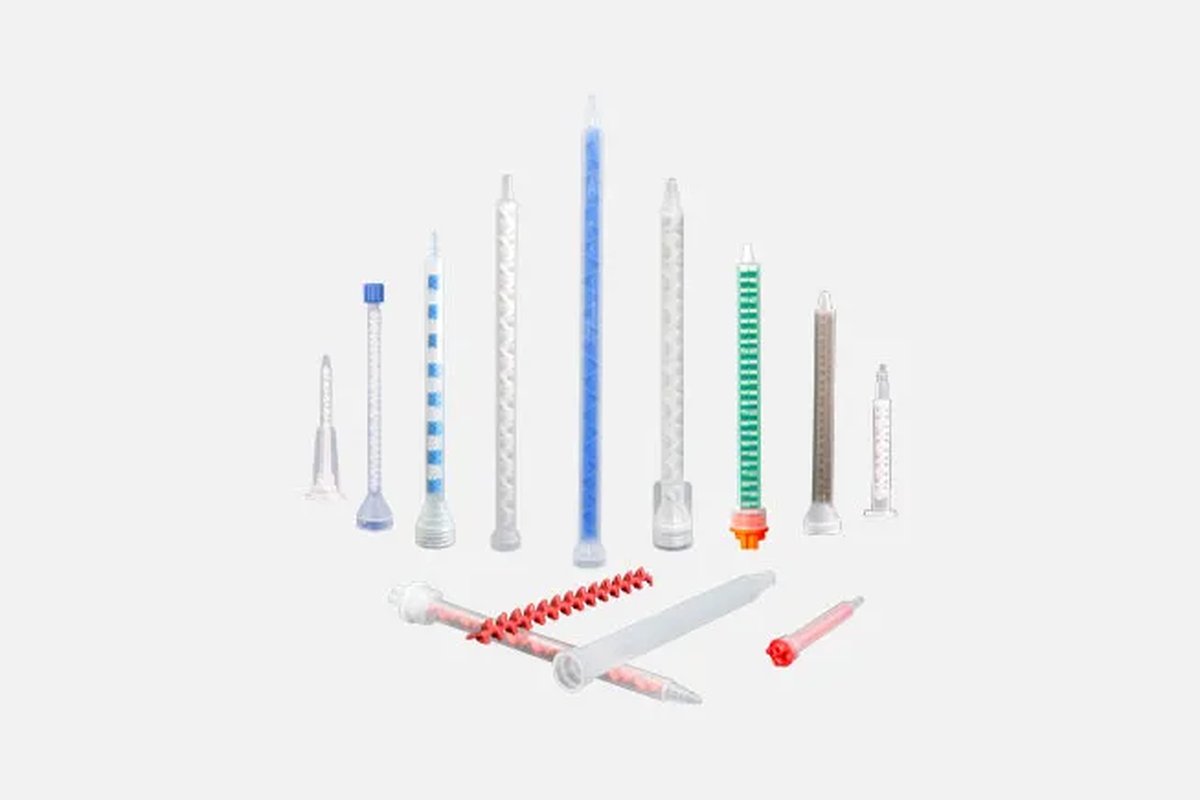
A normal pre-mixer observation with a streaked bead points downstream. Check the mixer part number, interface, element geometry, prior idle time, restriction, and attachment condition. Our static mixer part-number guide shows which fields a catalog code can confirm and which still need drawings or trials.
A restrictive mixer can raise backpressure and expose weak seals, deformation, or piston lag. That does not make the mixer the metering device. It means the complete cartridge, drive, connection, and mixer stack must survive the validated process condition.
Compare A Suspect Against A Control
The cleanest trial changes one factor. Run the suspect cartridge with the released mating components and approved process. Then run a known-good cartridge under the same conditions. If the symptom follows the cartridge, the package or fill boundary gains weight.
Next, compare the same cartridge lot with another adhesive lot only when the formulation owner approves the plan. A different viscosity, storage history, or cure state can change the dispense result. Label that test as a material comparison, not a package retest.
| Trial | Hold Constant | Change | Evidence Gained |
|---|---|---|---|
| Package comparison | Material and process | Cartridge unit or lot | Package correlation |
| Mixer comparison | Cartridge and material | Released mixer | Downstream correlation |
| Process replay | Released component stack | Recorded process state | Reproducibility |
| Material comparison | Package and process | Approved adhesive lot | Material correlation |
Do not stack fixes. Changing the mixer, cartridge, pressure, purge practice, and cure conditions in one run may restore output, but it proves nothing. A passing result after five changes cannot identify which change mattered.
Keep the disposition provisional until the suspected factor reproduces the failure and the corrective factor removes it. For safety-critical joints, the product owner must define the validation and release tests. A clean-looking bead cannot replace that approval.
Write A Supplier Claim That Can Be Reproduced
Lead with one factual sentence: part number, lot, date, station, observed symptom, affected count, and inspected count. Follow with the released configuration and the nearest known change. Keep suspected causes in a separate section labeled “hypotheses.”
Attach wide photographs of the full setup, close views of the symptom, outlet-face images, piston positions, labels, and the passing control. Add a short video only when motion or startup timing matters. Use sample IDs that match every file name and physical bag.
State where the physical samples are, whether they were cleaned or tested, and who handled them. If destructive examination is proposed, agree which unit will be opened and which unit remains intact. This simple chain protects both sides from debating altered evidence.
Ask the supplier for four outputs: immediate containment, confirmed root cause, corrective action, and release evidence. Henkel’s manual presents the same logic within the Eight Disciplines method: contain, verify causes, verify actions, implement controls, and prevent recurrence.
A cartridge supplier can investigate molded dimensions, materials, piston and seal fit, center-wall integrity, outlet geometry, closure parts, assembly, and lot records. The adhesive owner must address chemistry, shelf life, cure, and formulation handling. Your report should assign questions by boundary instead of asking one supplier to prove every part of the system.
Supplier Claim Minimum Packet
- Problem statement with affected and inspected counts
- Cartridge, mixer, adhesive, and equipment identities
- As-found photographs and any startup video
- Storage, setup, and process history
- Failed sample plus matched passing control
- Requested containment, root-cause, action, and verification records
Use the site’s older dual-cartridge troubleshooting overview for basic operator checks. Use this failure-analysis workflow when the issue affects a lot, repeats after normal checks, or requires formal supplier action.
References
- Henkel, How to Create Reliable and Effective Bonded Joints — failure modes, complaint detective work, containment, and 8D.
- 3M, Instructions for Dispensing and Troubleshooting Structural Adhesives — product-specific A/B flow and incomplete-cure checks.
- Nordson EFD, Preventing Piston Bounce — trapped-air mechanisms and piston setup.
- Adhesives & Sealants Industry, The Evils of Entrapped Air — air entry during material handling, filling, and piston insertion.
Before a configuration reaches routine production, the mixing nozzle release test can establish the passing control, pause condition, cure evidence, and change boundaries needed for later failure analysis.
Frequently Asked Questions
What should be quarantined after a 2K cartridge failure?
Quarantine the failed cartridge, attached mixer, cap, dispense tool, rejected part, suspect lot, and a matched passing control. Photograph the as-found setup before separating or cleaning anything.
Does a soft epoxy bead prove off-ratio dispensing?
No. Soft cure can follow ratio error, incomplete mixing, material condition, or cure conditions. Compare separate A/B delivery, mixed-bead quality, material records, and the approved cure process.
Which photos belong in a cartridge supplier complaint?
Include the full setup, cartridge label, lot code, piston positions, outlet face, leak or bead symptom, mating mixer, dispense tool, rejected part, and a labeled passing control.
Should a failed cartridge be cut open before shipment?
Not initially. Cutting is destructive and can erase piston, air, leak-path, or divider evidence. Agree on the examination plan and keep at least one primary sample intact.
What does a cartridge supplier need to reproduce the failure?
Send exact package and mixer identities, adhesive lot, storage and setup history, as-found media, affected counts, physical samples, a passing control, and the approved acceptance test.
When filling equipment is inside the failed boundary, preserve its material path, recipe, changeover, and restart state. The cartridge filling machine FAT guide defines the evidence that should exist before production release.
Conclusion
A defensible 2K cartridge failure analysis starts by protecting evidence, not by naming a cause. The failed unit, passing control, exact component stack, and as-found process state give every supplier the same problem to test. Boundary-by-boundary comparisons then turn a soft bead, leak, bubble, or startup lag into evidence that can support action.
- Freeze the as-found condition before cleaning or adjustment.
- Keep symptoms separate from suspected causes.
- Change one boundary in each controlled comparison.
- Require containment, verified cause, corrective action, and release evidence.
If the evidence points to the package boundary, send Haijing the part code, ratio, lot, photographs, control sample, and test condition. A focused engineering review can then begin with the cartridge facts instead of repeating the first round of troubleshooting.