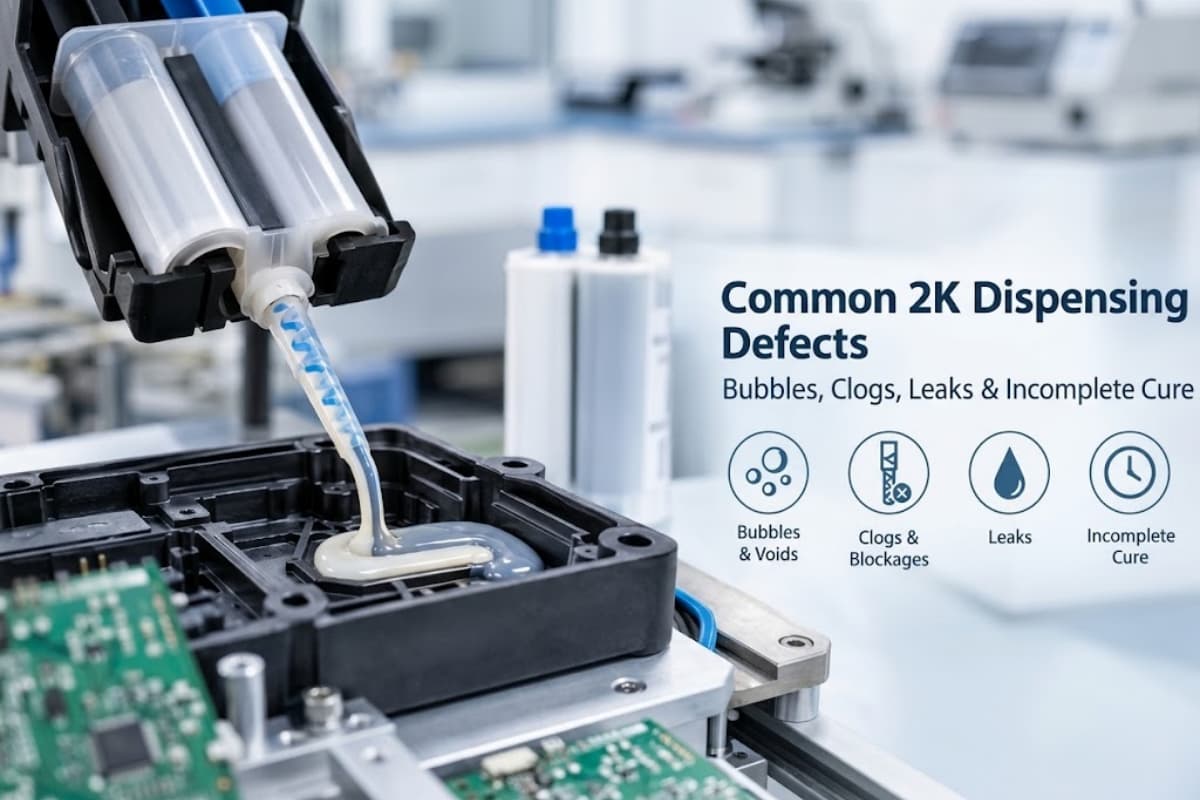
A mixing nozzle qualification can appear to pass after one clean-looking bead. That is a weak release decision. The same configuration may leak at the inlet, load the dispenser during a longer run, show streaks after a pause, or produce adhesive that fails the approved cure check.
Key Takeaways
- Qualify the cartridge, adhesive, mixer, downstream tip, dispenser settings, and acceptance method as one controlled configuration.
- Physical fit is only the first gate. It does not prove balanced delivery, adequate mixing, stable flow, or cure performance.
- Separate dry fit, pre-mixer flow, startup, steady dispense, pause-restart, and cure checks so a failure points to a useful boundary.
- Use purge, temperature, cure, and pause limits from the named adhesive or equipment instructions. Do not borrow a universal number.
- Change one variable per comparison and retain the passing control, failed sample, raw observations, and signed disposition.
- Any change to identity, material, geometry, outlet, tip, or settings needs documented review before the release record is reused.
The result should be a reproducible release packet, not a claim that a nozzle is “compatible.” This guide turns sample evaluation into a staged production trial while keeping every numeric limit tied to its real source.
Set the Qualification Boundary
Selection and qualification answer different questions. Selection produces a candidate based on cartridge family, ratio, inlet, geometry, material, and outlet. Qualification asks whether that identified candidate performs acceptably with the actual epoxy, equipment, cycle, downstream attachment, and cure plan.
Release the configuration, not the loose part number. A nozzle that works on one cartridge can fail after a new downstream needle adds resistance. A geometry that produces a clean startup bead can become unacceptable after the longest normal line pause. Those are separate test states.

| Stage | Question | Required Evidence | Reject Signal |
|---|---|---|---|
| Identity | Is this the intended configuration? | Drawing, codes, lots, settings | Unknown or changed field |
| Dry fit | Does the interface seat and seal? | Fit check and photographs | Damage, gap, weak lock |
| Preflow | Do both components reach the inlet? | Separate-stream observation | Missing or unstable stream |
| Startup | When does output become acceptable? | Sequenced samples | Persistent streak or irregularity |
| Run | Does output remain stable? | Bead, tool, retained samples | Leak, stall, drift, defect |
| Restart | Does the approved pause recover? | Timed pause and restart sample | Gel, surge, streak, cure failure |
| Cure | Does material meet its release plan? | Traceable control and coupons | Failed specified acceptance |
Boundary rule: the adhesive supplier owns its product instructions. The equipment supplier owns its operating limits. The plant owns the documented decision that this complete configuration meets the application requirement.
Freeze Every Candidate Identifier
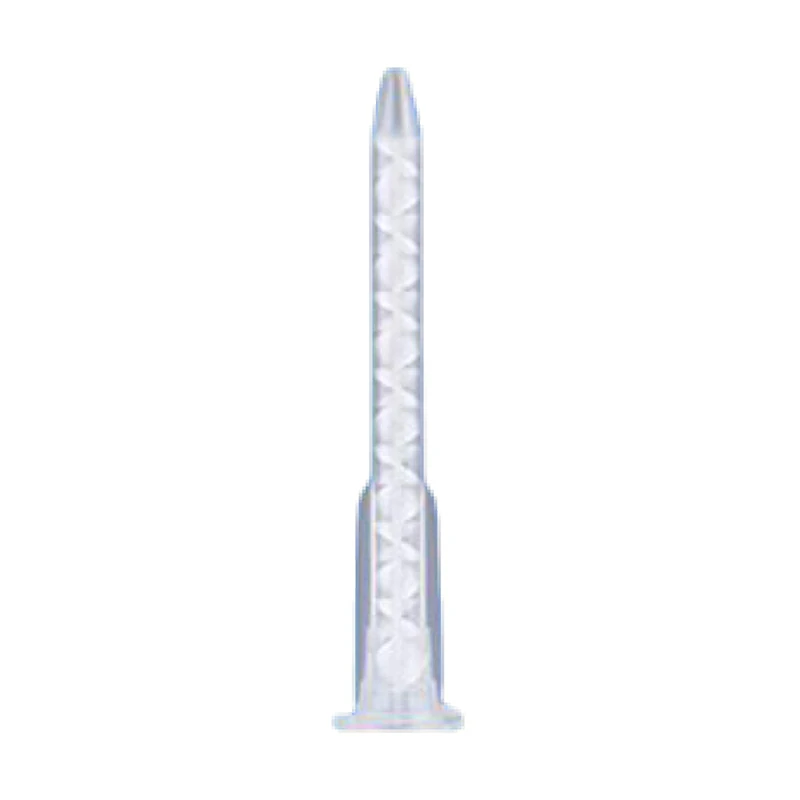
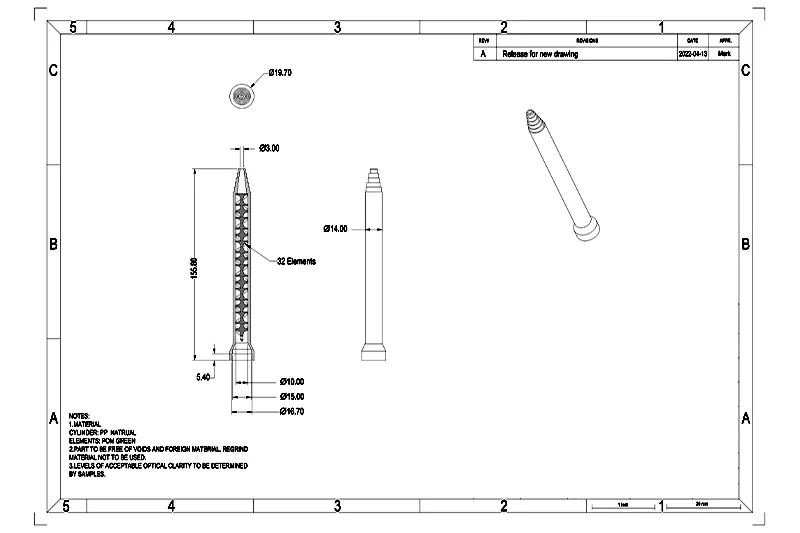
Start the record before opening the cartridge. Capture the adhesive product and lot, cartridge product and lot, mixer supplier code, drawing revision, molded markings, material, color, inlet, element geometry, bore, element count, outlet, and any attached tip. A photograph beside the labels helps, but it does not replace typed identifiers.
This level of identity is practical, not bureaucratic. The February 26, 2025 Adhesives & Sealants Industry identification guide names element shape, mix ratio, inner diameter, element count, connection interface, and termination as distinct mixer fields. Two parts with similar silhouettes can differ in any one of them.
Haijing’s documented model example, BH-5.4-16-T-GY, encodes series, diameter, element count, outlet type, and color. Even a useful code remains subordinate to the approved drawing and physical sample when a custom feature or revision is involved. The static mixer part-number guide explains why brand codes should never be translated by guesswork.
Complete Dry and Preflow Checks
Inspect the cartridge outlet, mixer inlet, retaining features, and seal faces before wet testing. Reject a cracked flange, distorted lock, blocked path, damaged seal, or interface that cannot seat repeatably. Forcing a poor fit only converts a visible mismatch into a leak or cross-contact event.
Next, follow the named adhesive and equipment instructions for balancing or preflow. For its EPX Duo-Pak system, 3M instructs users to observe material flowing from both cartridge sides before attaching the mixer. Sika’s July 2022 structural bonding guideline gives a different, product-specific sequence that includes 5–10 mm of pre-extrusion before mounting the mixer.
Those numbers are examples tied to named instructions. They are not universal acceptance limits. Your record should quote the applicable document, revision, and required action, then show that the operator followed it. If no approved instruction exists, stop and obtain one rather than inventing a purge rule.
Keep pre-mixer observations separate from mixed-bead observations. Unequal-looking streams may point upstream to cartridge fill, piston position, equipment, or material flow. A defect appearing only after the mixer moves the investigation toward inlet sealing, internal mixing, outlet restriction, or a downstream tip.
Inspect the Startup Mixed Bead
Attach the mixer without contaminating the inlet, then collect startup output in sequence. Do not blend all startup material into one cup. Separate samples show when the output changes from the initial transition to the state your process intends to accept.
Again, use the product instruction. The named 3M bulletin tells users to discard approximately 1 ml after attaching the mixer. The Sika guideline describes extruding a bead at least the same length as the mixer. Neither value should be copied into a different epoxy system without approval from the relevant supplier.
Inspect color and visible streaks when the two components make those signs meaningful. A uniform appearance is useful screening evidence, but it does not prove the ratio, cure, adhesion, or final bond performance. Clear or similarly colored components may hide poor mixing completely.
Treat every downstream tip as part of the configuration. The 3M bulletin warns that a dispensing tip can add backpressure and recommends comparing output with and without the tip for the named system. If the final production setup uses a Luer Lock needle, qualification without that needle is incomplete.
Run a Steady Dispense Trial
A startup check proves only startup. Continue through a representative production sequence while holding the cartridge, mixer, tip, settings, operator method, and environmental conditions constant. Record what the dispenser does as well as what the bead looks like.
Useful observations include leakage location, attachment movement, trigger or drive behavior, pressure alarms when available, bead continuity, placement, visible mixing, and the number of accepted parts or shots. Do not add an unsupported universal pressure or flow target. Use the equipment limit and the application’s approved bead or shot requirement.
Collect retained samples at the start, during steady output, and near the end of the trial. Label each sample with sequence and time. If a cure result later changes, the samples let the team compare the transition instead of arguing from memory.
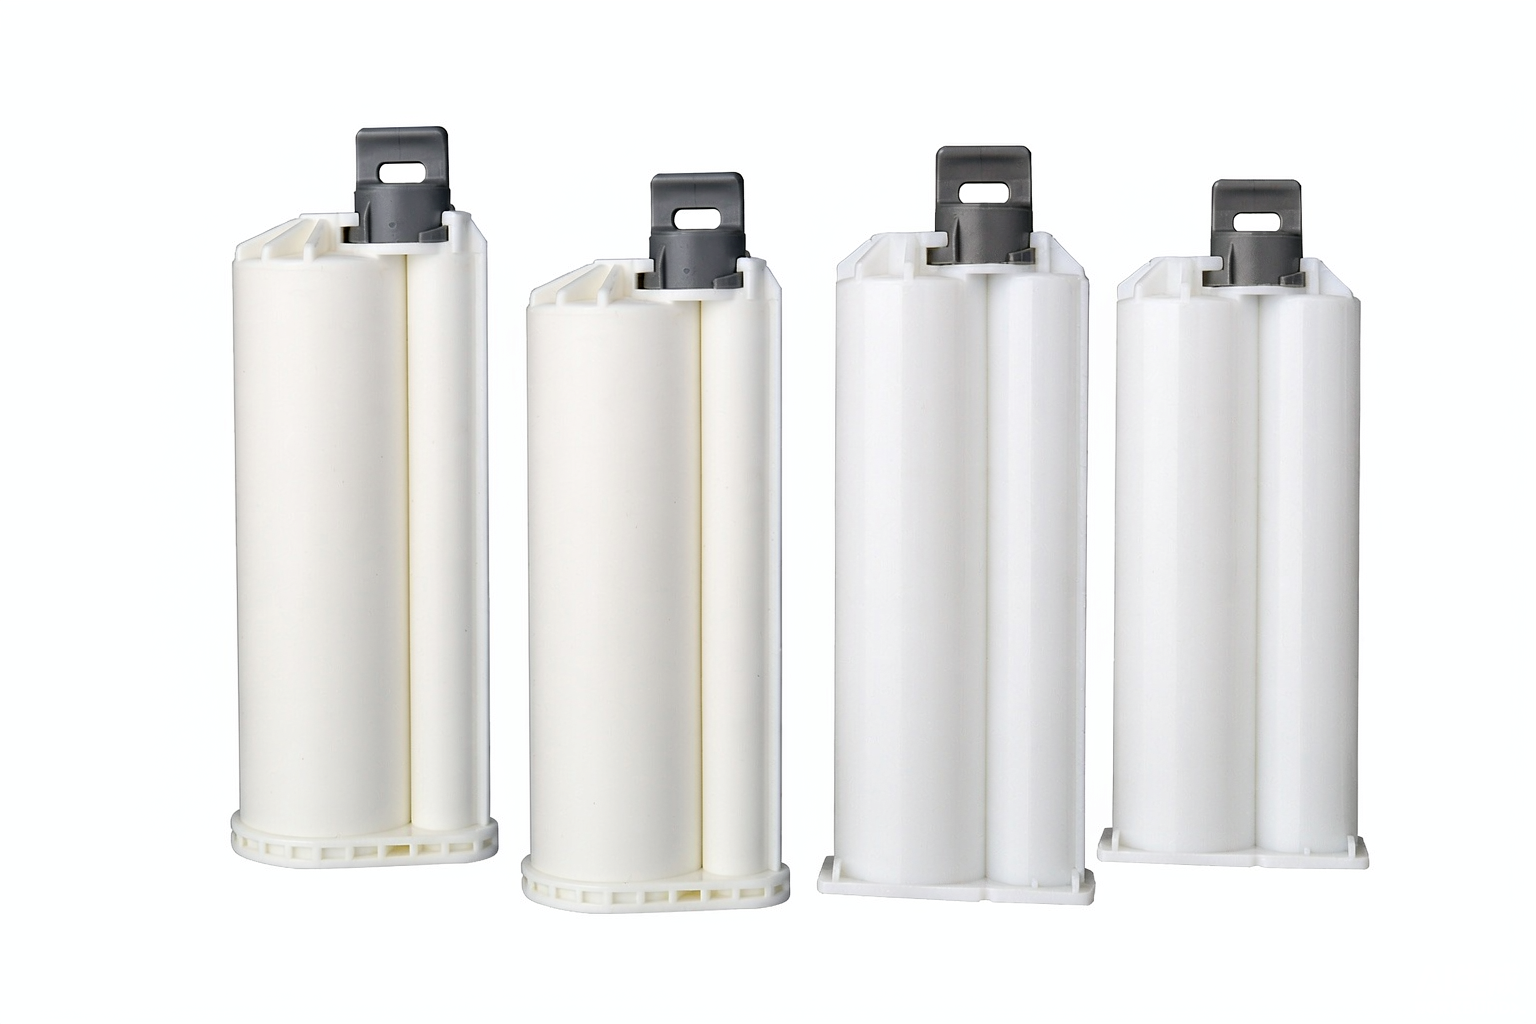
The candidate itself must be fully defined. Haijing documents A-, B-, C-, and F-System mixer families across specific cartridge and interface groups. The range includes documented configurations from 50 ml through 600 ml, while PP is standard and selected PA or PBT configurations can be customized. Those facts narrow the candidate; they do not replace the line trial.
Request Controlled Mixer Samples
Send the cartridge drawing, adhesive data, ratio, dispense method, and required outlet. Haijing documents a 3–7 day sample lead time, with samples outside the standard 3,000-piece mixer MOQ; sample and freight fees apply.
A/B/C/F systems | PP with selected PA/PBT options | Stepped and Luer Lock outlets
Challenge the Pause and Restart
Many false passes happen because the trial never stops. Real lines pause for part loading, inspection, shift interruptions, alarms, and changeovers. Mixed epoxy continues reacting inside the mixer during those pauses, so the restart can behave differently from the initial run.
Select pause scenarios from the actual operating pattern and the adhesive supplier’s working-time information. Record when flow stopped, the elapsed time, material and ambient conditions, and whether the mixer remained installed. The approved limit must come from evidence for that system, not from another adhesive’s label.
Restart using the same settings. Watch for a force increase, pressure alarm, delay, surge, streak, leakage, or changed bead. If the mixer contains gelled material or becomes difficult to dispense, replace it according to the supplier instruction; do not apply extra force simply to complete the test.
A production release should state the maximum approved pause condition and the restart action. It should also state what evidence forces replacement. “Replace when needed” cannot be audited and will produce different decisions across shifts.
Verify Cure Under the Adhesive Plan
The mixer trial is not complete when the bead looks good. Cure the labeled samples and application coupons under the adhesive manufacturer’s specified conditions. Use the plant’s approved acceptance method, whether that involves a handling check, hardness, dimensional result, destructive coupon, or another documented requirement.
Run a passing control beside the candidate whenever possible. The control should use a previously released configuration or another agreed reference without silently changing material age, surface preparation, cure condition, or sample geometry. A comparison loses value when several variables move together.
Keep mixer qualification separate from bond-process validation. The nozzle must supply acceptably mixed material, but substrate preparation, joint design, application timing, assembly, and cure environment still affect the final bond. A failed coupon does not automatically prove a mixer defect; it starts a bounded investigation.

Isolate One Variable at a Time
When a test fails, preserve the as-found configuration. Photograph the leak, streak, damaged interface, alarm, or cured sample before adjusting anything. The Day 9 2K cartridge failure-analysis workflow uses four investigation boundaries: material, package, mixer, and process.
Start with a passing control and change one suspected factor. Swap only the mixer while holding the cartridge, adhesive lot, settings, and test method. Then, if necessary, repeat with only the cartridge or only the downstream tip changed. A result that follows one factor across a controlled swap is stronger than a list of possible causes.
| Comparison | Hold Constant | Change | Useful Conclusion |
|---|---|---|---|
| Mixer check | Cartridge, material, settings, tip | Mixer only | Failure follows mixer identity |
| Package check | Material, mixer, settings, method | Cartridge only | Failure follows package unit |
| Tip check | Cartridge, mixer, settings | Tip fitted or removed | Restriction changes output |
| Process check | Physical configuration and material | One setting or pause | Failure follows process state |
Do not average away a discrete failure. If one of several samples leaks, record which sample, at what point, and under which condition. The supplier needs the failed unit and its exact history, not only a summary percentage.
Build the Production Release Record
A release record should let another engineer reproduce the decision without calling the original operator. Put identity, method, observations, acceptance criteria, raw results, deviations, disposition, and approvals in the same controlled file. Attach photographs and supplier instructions by revision.
| Record Block | Minimum Fields | Why It Matters |
|---|---|---|
| Materials | Products, lots, age, storage | Separates material history |
| Hardware | Cartridge, mixer, tip, revisions | Freezes physical identity |
| Equipment | Dispenser, settings, calibration state | Defines drive conditions |
| Method | Preflow, purge, run, pause, cure | Makes sequence reproducible |
| Evidence | Photos, samples, readings, observations | Supports the disposition |
| Acceptance | Requirement, result, pass or fail | Prevents subjective release |
| Approval | Names, dates, revision, deviations | Controls later reuse |
Leave blank fields blank rather than replacing missing evidence with “normal.” If a pressure value was not recorded, say so. A transparent gap can trigger a repeat trial; an invented or assumed value can release the wrong configuration.
Control Changes After Sample Approval
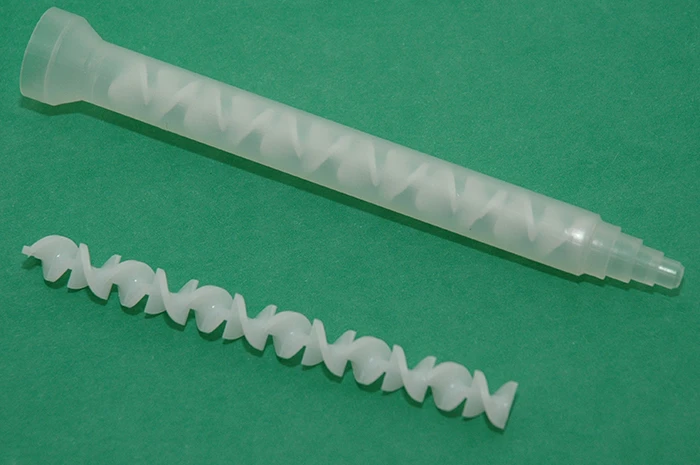
The approved sample must become a purchase and process specification. Freeze the mixer drawing, material, inlet, seal features, internal geometry, bore, element count, length, outlet, color or markings, packaging identity, and accepted supplier documents. Link the specification to the cartridge, adhesive, tip, and process record.
Haijing documents customization of element count, length, material, and outlet. Each custom change can affect fit, resistance, retained material, mix development, or bead placement. A supplier’s statement that the replacement is “equivalent” is not enough when a frozen field changes.
Define review levels. A label-only correction may need document approval. A material, inlet, element, dimension, outlet, or manufacturing-source change should trigger technical review and a justified test scope. A changed adhesive or downstream tip belongs in the same review because the released system has changed.
Ask for the evidence your risk requires. Haijing can provide test reports, first article inspection reports, STEP or IGES models, and chemical-compatibility tables. These documents support incoming inspection and candidate review, but the buyer still owns final release with the real adhesive and production conditions. See the epoxy mixing-nozzle material guide when polymer identity is part of the change.
Haijing supports engineering review with controlled samples and first-party technical documents; the production owner remains responsible for the final application release.
Production release starts after sample shortlisting. Use the resin static mixer selection guide to build the formulation input record and candidate matrix first.
Conclusion
A defensible mixing nozzle qualification does more than show that a part attaches and produces one acceptable bead. It freezes the complete configuration, separates evidence by stage, challenges steady output and restart behavior, verifies cure under the adhesive plan, and records the decision in a form another person can reproduce.
- Keep selection and production release as separate decisions.
- Use only product-specific purge, pause, temperature, and cure instructions.
- Retain the failed sample, passing control, observations, and signed disposition.
- Review any change to the approved physical or process configuration.
Use the epoxy mixing-nozzle buying guide to narrow candidates, then apply this release test before bulk approval. For documented A-, B-, C-, and F-System options, review Haijing’s static and dynamic mixer range and request controlled samples for the exact cartridge and adhesive.
Frequently Asked Questions
Does physical fit qualify a mixing nozzle?
Physical fit is only the dry gate. Qualification must also cover pre-mixer delivery, startup output, steady dispensing, the real pause-restart condition, and cure under the approved adhesive plan.
How much epoxy should be purged through a new mixer?
Use the named adhesive or equipment supplier’s current instruction and record it. Purge amounts published for one cartridge system must not become a universal rule for another.
Does a uniform bead color prove correct mixing?
No. Uniform color is a useful visual screen when component colors differ, but it does not prove ratio, cure, adhesion, or final bond performance.
Should qualification include a pause and restart?
Yes, when normal production includes pauses. Test the longest proposed approved condition, record elapsed time and temperature, then define restart acceptance and mixer-replacement triggers.
What changes require mixing nozzle requalification?
Review changes to cartridge, adhesive, mixer identity, material, dimensions, elements, outlet, downstream tip, dispenser settings, supplier source, or the acceptance method before reusing the release.
Technical source boundary: The numeric dispensing examples in this guide remain attached to the named 3M bulletin and Sika guideline. For a different adhesive, cartridge, or dispenser, use that system’s approved instructions.