A pneumatic dispensing gun often fails its first restart for a reason outside the gun. The regulator was recorded at idle, the mixer changed after approval, or a similar-looking plunger entered the station. Turning up the air may restore flow for one cycle while hiding the actual mismatch.
Key Takeaways
- Separate drive from ratio. Compressed air moves the plungers; the approved cartridge and plunger geometry establish volumetric ratio.
- Use product-specific limits. Haijing lists G1/8 inlets and 0.4–0.7 MPa for its documented A-System and B-System pneumatic guns.
- Record pressure under flow. An idle gauge value does not prove the gun held the same pressure during the approved bead.
- Diagnose upstream first. Check source, regulator, hose, and connection before replacing the gun, cartridge, or mixer.
- Release one complete stack. Freeze the gun, plunger, cartridge, mixer, adhesive, pressure, purge, cutoff, pause, and restart evidence.
The right setup is a controlled chain, not a preferred gauge number. This guide shows how to prove that chain, establish a working setting with production material, and route common symptoms to evidence instead of pressure guesses.
Know What Air Pressure Controls
Air pressure creates force inside the gun’s pneumatic drive. That force advances the plunger assembly, which acts on the cartridge pistons and moves material through the outlet and mixer. The regulator changes drive input and resulting flow response. It does not redefine cartridge ratio.
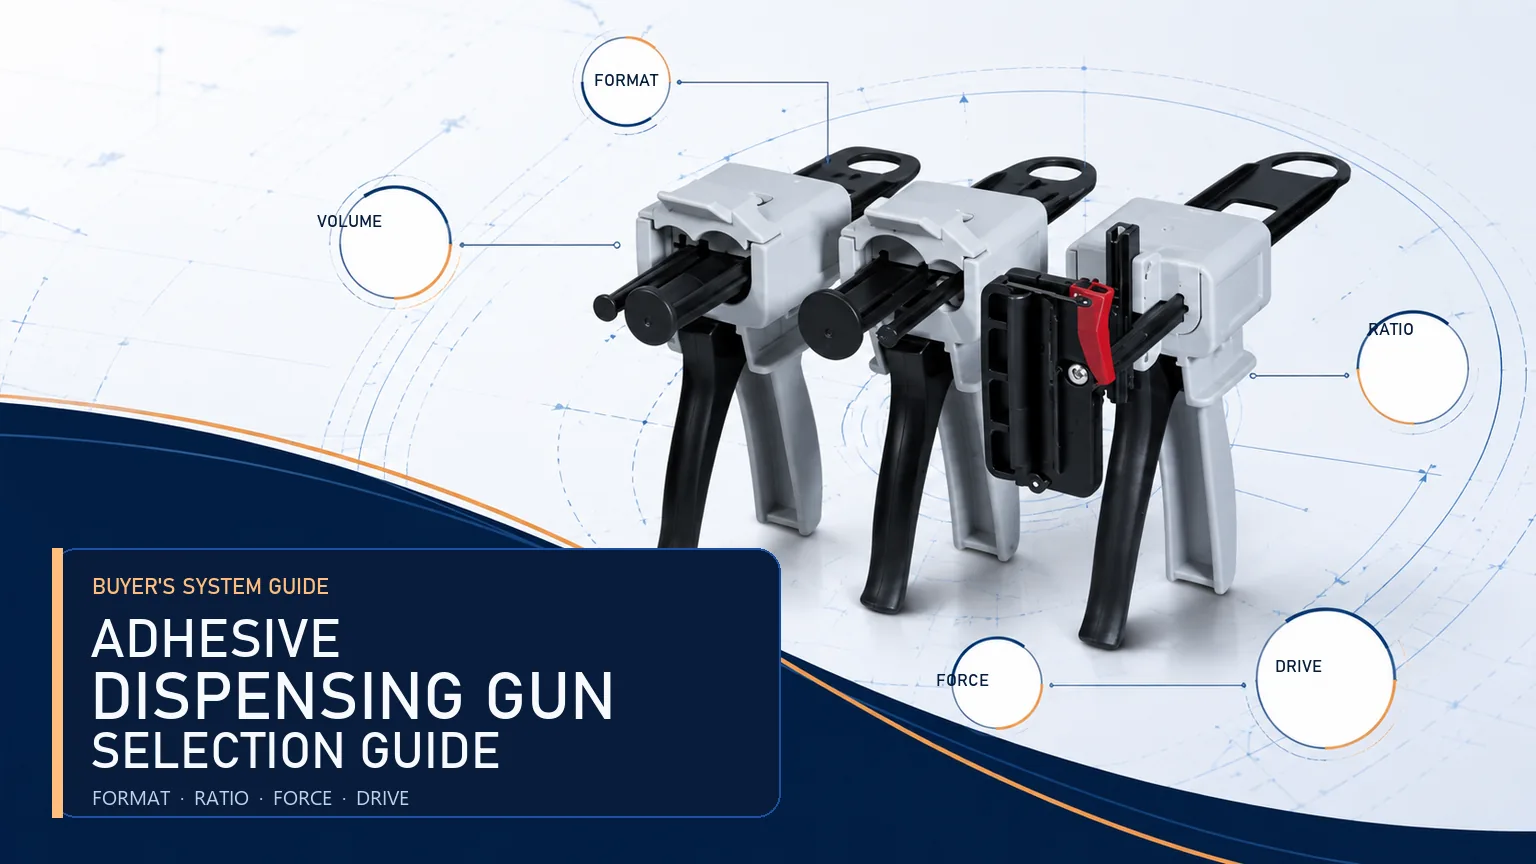
A two-component package meters volume through its chamber areas and matched plunger faces. The air side should move both rods through the intended stroke, but it cannot correct a 1:1 plunger installed behind a 2:1 cartridge. For broad package, ratio, and drive selection, use the adhesive dispensing gun guide before commissioning starts.
The release side matters too. Haijing’s pneumatic product page describes a quick exhaust valve that releases pneumatic pressure when the trigger is let go. A clean exhaust response removes drive force; the material column and cartridge can still retain pressure. Treat trigger release and material cutoff as related checks, not identical events.
Confirm the Gun Before Connecting Air
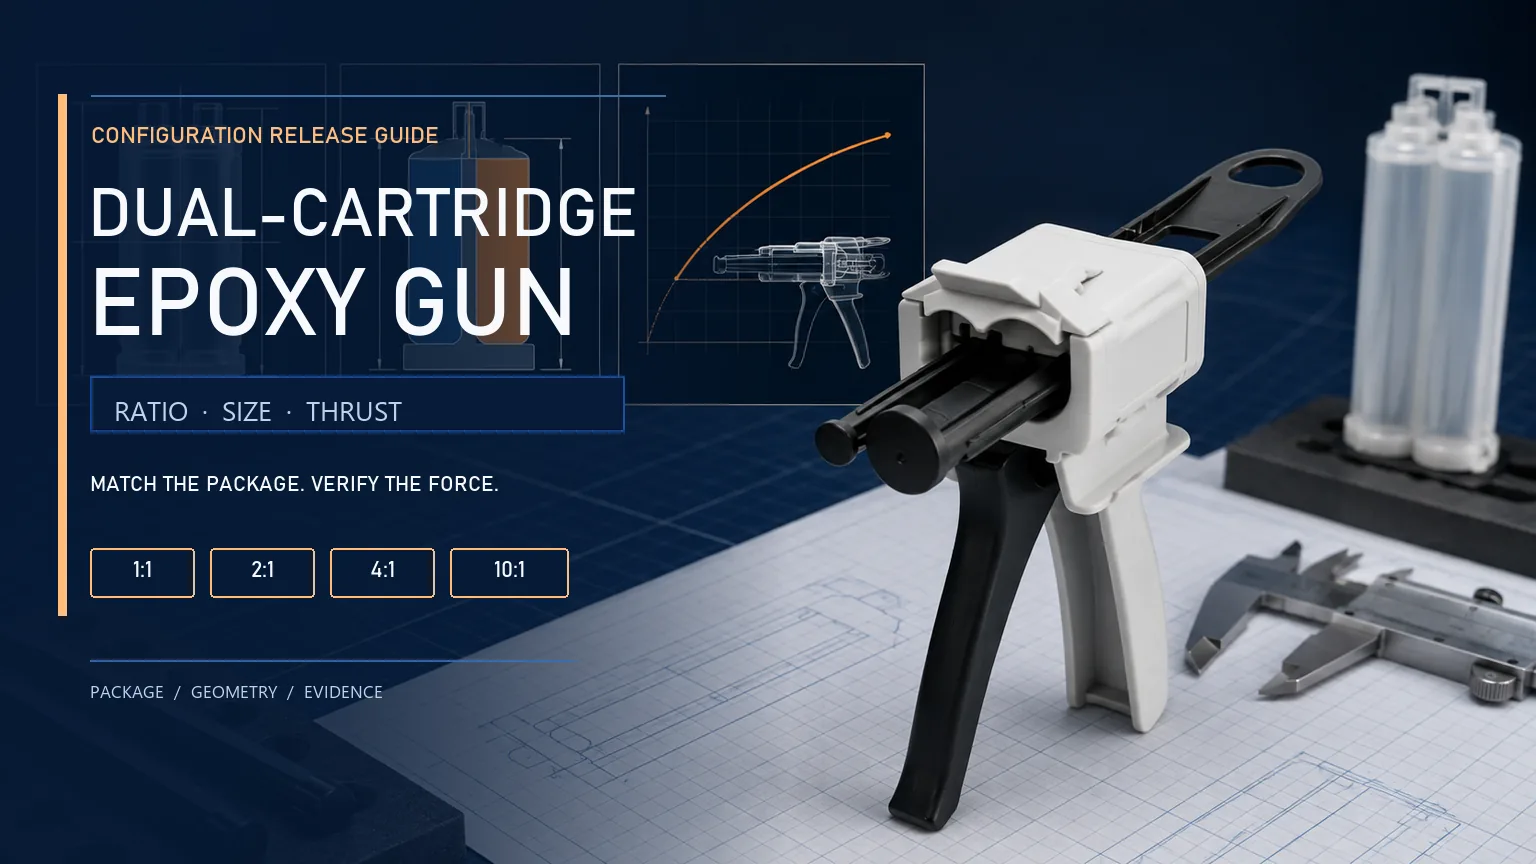
Do not connect plant air to an unidentified package. First confirm cartridge system, nominal size, volumetric ratio, flange, piston faces, retainer, mixer connection, and gun model. The dual-cartridge epoxy gun selection guide covers those fit gates for two-part epoxy packages.
Haijing publishes distinct pneumatic model records. A-DP50-11-01-STD is a 50 ml 1:1 A-System configuration, while A-DP50-21-01-STD is the listed 2:1 version. The B-System records BS-DP50-41-01-STD and BS-DP50-101-01-STD cover 4:1 and 10:1.

| Published Model | Recorded Package | Ratio | Do Not Infer |
|---|---|---|---|
| A-DP50-11-01-STD | A-System 50 ml | 1:1 | 2:1 plunger compatibility |
| A-DP50-21-01-STD | A-System 50 ml | 2:1 | 1:1 plunger compatibility |
| BS-DP50-41-01-STD | B-System 50 ml | 4:1 | Other B-System ratios |
| BS-DP50-101-01-STD | B-System 50 ml | 10:1 | Other B-System ratios |
| F-DP400-11-01-STD | C/F-System 400 ml | 1:1 | A/B pressure specification |
F-DP400-11-01-STD is the listed 400 ml 1:1 pneumatic gun for C and F Systems. The product page does not assign its A/B pressure statement to that row. Keep that boundary intact. A shared brand or product page is not permission to extend one model’s specification to another.
Build a Controlled Air Connection
The documented Haijing A-System and B-System guns use a standard G1/8 quick connector. Match the fitting and hose to the exact gun instructions and rated system. Do not solve a thread or coupling mismatch with improvised adapters that lack a controlled pressure rating.
Supply quality belongs in the release record. The Canadian Centre for Occupational Health and Safety recommends clean, dry compressed air and properly rated hoses and fittings. It also advises pressure-release quick disconnects, isolation when changing tools, and operation within manufacturer ratings.
Build the connection in this order:
- Isolate the source. Shut off and relieve stored pressure before connecting, loading, changing, or inspecting the tool.
- Inspect the path. Reject a cut, crushed, abraded, swollen, loose, or improperly rated hose and fitting.
- Condition the air. Use clean, dry, filtered air and the regulator arrangement specified for the station.
- Secure the connection. Use the exact fitting and a positive or pressure-release connection appropriate to the equipment and workplace rules.
- Set minimum input. Back the working regulator down before admitting air to a newly loaded configuration.
Lubrication is not a universal add-on. Some pneumatic tools specify a lubricator or periodic oiling; others require different air preparation. The exact manual owns that decision. Clean, dry, regulated air is the baseline, while the lubrication instruction remains model-specific.
Set Pressure With Production Material
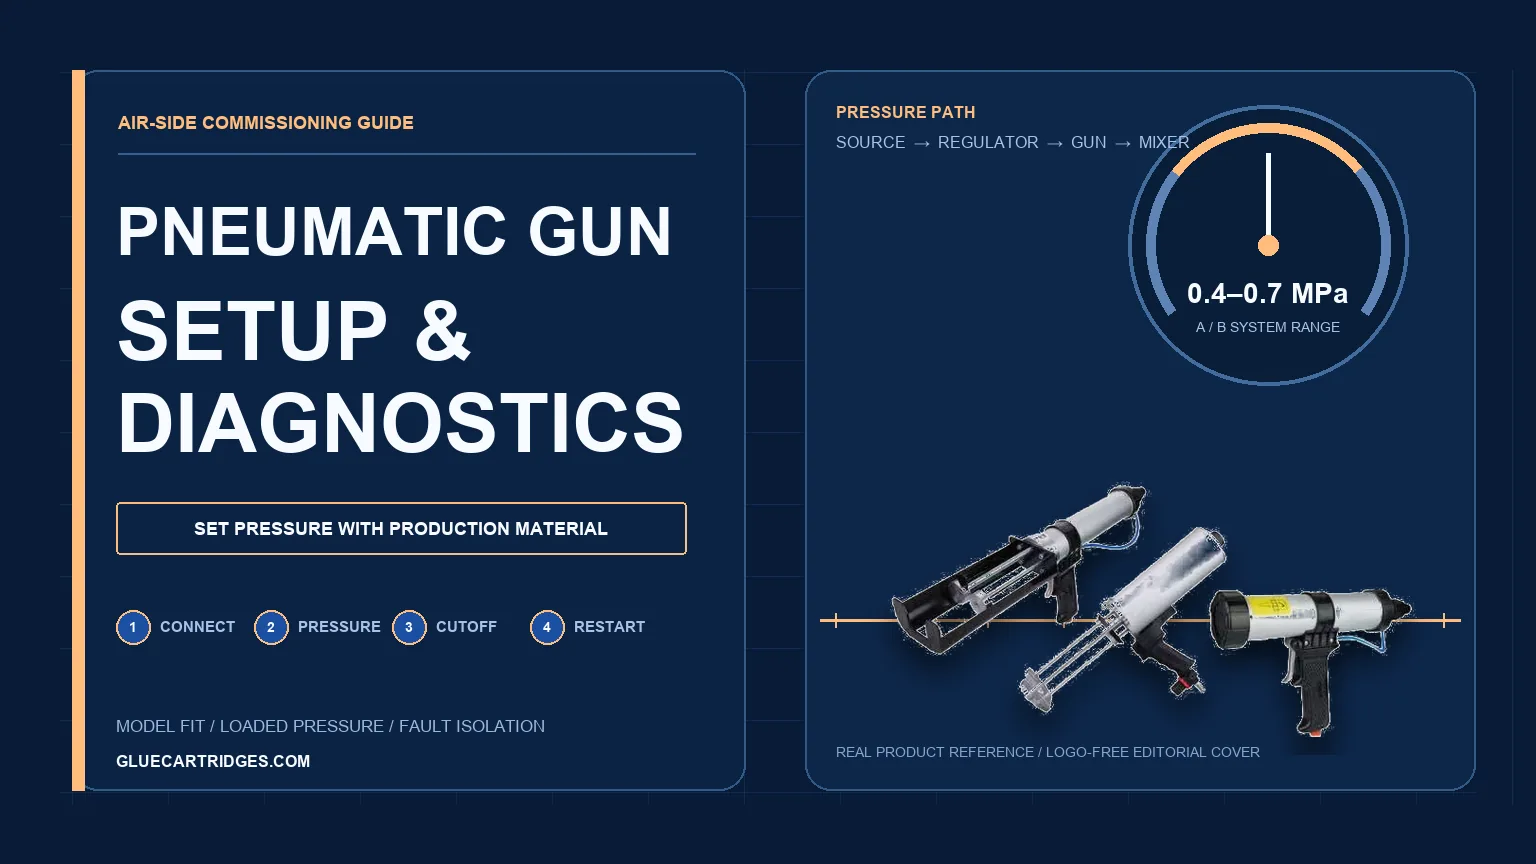
Haijing documents 0.4–0.7 MPa compressed air for the listed A-System and B-System pneumatic dispensers. Read that as the model-family operating envelope shown on the product page. Do not treat 0.7 MPa as the preferred starting point, and do not transfer the range to another gun.
Begin at the minimum regulator setting, then increase gradually during an approved purge. Stop when the bead or shot meets its acceptance rule with the production cartridge, adhesive, mixer, material condition, and cycle. The lowest passing setting provides evidence. A higher value without a need only adds load.
| Record Field | Why It Matters | Acceptable Evidence |
|---|---|---|
| Gun and plunger | Defines drive geometry | Full model and parts record |
| Cartridge and mixer | Defines package and restriction | Controlled part numbers |
| Material condition | Changes loaded resistance | Approved batch and condition |
| Pressure under flow | Shows loaded air response | Gauge value during accepted bead |
| Cutoff and restart | Reveals residual response | Observed test against criteria |
Record pressure while material is flowing, not only before the trigger is pulled. If the gauge falls or pulses under demand, the source, filter, regulator, hose, or connection may be restricting supply. Raising the idle setpoint does not identify which element failed.
Temperature can alter adhesive flow. Condition the material only within the adhesive supplier’s approved limits and record the actual condition with the test. A warm trial does not release a cold production process.
Run the Seven Step Startup
A startup sequence should preserve evidence from the empty tool to the first accepted bead. If the team changes three variables at once, the recovered flow proves nothing. Use the following order for a configuration whose fit and manufacturer instructions are already confirmed.

- Isolate and inspect. Relieve the air supply, then inspect hose, fitting, gun, rods, retainer, cartridge, outlets, and mixer.
- Load the approved package. Install the exact cartridge and ratio-specific plunger configuration from the released parts record.
- Open and balance the outlets. Follow the cartridge instructions and confirm both components reach the outlets before the approved mixer is fitted.
- Connect controlled air. Set the regulator to minimum, connect clean and dry rated air, and secure the hose.
- Prime at low pressure. Aim into approved waste containment and increase pressure gradually until a complete, stable purge appears.
- Tune and test cutoff. Establish the lowest passing setting, then test bead, trigger release, pause, and restart behavior.
- Record and release. Save the loaded pressure, component IDs, material condition, results, stop criteria, approver, and date.
Stop if only one component appears, a piston starts late, the cartridge moves, the retainer lifts, material leaks, or the gun loses air. Those are configuration or equipment findings. More pressure is not an acceptance method.
After a planned pause, restart into controlled waste before returning to the workpiece if the adhesive instructions require it. Judge the restarted output against the same visual or measured criterion used during approval. Record any changed purge rule with the configuration.
Send the full air-side and cartridge specification
Share the gun model, cartridge drawing, volumetric ratio, adhesive, mixer, desired bead, air connection, and work cycle. Haijing can review a sample configuration before bulk release.
Troubleshoot From Source to Nozzle
Fault isolation should follow the direction of energy and material flow. Begin at the air source, then move through the regulator, hose, connection, gun, cartridge, outlet, mixer, and application tip. This order finds upstream loss before a technician disturbs downstream evidence.
| Symptom | Check First | Then Inspect | Release Condition |
|---|---|---|---|
| No material flow | Isolation, source, regulator | Outlet, cartridge, mixer blockage | Cause removed; low-pressure purge passes |
| Weak loaded flow | Pressure under flow | Filter, hose, fitting, seals | Loaded value and bead repeat |
| Pulsing bead | Source and regulator stability | Air restriction, piston contact | Stable loaded gauge and output |
| Uneven components | Plunger and cartridge ratio | Pistons, outlets, mixer inlet | Both sides purge as approved |
| Drip after release | Quick-exhaust response | Mixer restriction, package compression | Cutoff meets accepted criterion |
| Audible air leak | Coupling and hose | Gun seals and valve | Leak removed before production |
A no-flow condition does not justify an immediate pressure increase. Confirm the source is open, the regulator is not at minimum, the cartridge outlets are correctly opened, and the mixer is not cured. Isolate pressure before touching the loaded hardware.
Weak or pulsing flow requires a loaded gauge observation. A stable idle reading paired with a falling loaded reading points upstream. If loaded pressure remains stable, inspect the gun, cartridge, material condition, and mixer without changing all of them together.
Uneven two-component output is a stop condition. Confirm the correct ratio-specific plunger and cartridge orientation, then inspect piston starting position and both outlets. Do not ask higher pressure to synchronize a mechanical mismatch.
Fix Drips Without Hiding the Cause
Run-on after trigger release has more than one source. The quick exhaust may not vent the drive cleanly, the mixer may retain material under restriction, or the cartridge and pistons may remain elastically loaded. One symptom can cross the air and material sides.
First, point the approved setup into waste containment and observe the trigger-release response at the gun. Listen for abnormal air leakage and confirm the plunger stops advancing. If drive motion continues, isolate the tool and inspect the air valve or exhaust path under the manufacturer’s procedure.
If the drive stops but material continues, inspect the mixer and tip for restriction, cured adhesive, incorrect geometry, or an unapproved change. Review cartridge condition and piston movement next. Lowering pressure may reduce the symptom, but the setup still needs a passing bead and restart result.
The existing manual versus pneumatic gun comparison helps when repeated air-side faults suggest the station architecture itself is wrong. This guide stays focused on commissioning a pneumatic path that has already been selected.
Lock the Commissioning Record
A commissioning record turns one successful setup into a repeatable station standard. Without it, the next shift can copy the gauge and miss the cartridge, mixer, material condition, or purge rule. The record must identify both hardware and loaded behavior.

Capture these fields on the signed record:
- Hardware identity: gun model, serial or asset ID, plunger assembly, retainer, inlet fitting, hose, regulator, cartridge, piston, mixer, and tip.
- Material identity: adhesive grade, batch when required, approved condition, and cartridge preparation method.
- Air evidence: source state, regulator identification, idle setpoint, pressure under accepted flow, and observed stability.
- Output evidence: purge result, accepted bead or shot, trigger cutoff, pause duration, restart result, and rejection signs.
- Control evidence: drawing revision, work instruction, approver, date, photographs, and the change rule that reopens testing.
Assign ownership. Maintenance owns the air source, hose, regulator, connection, and gun condition. Process engineering owns the material, mixer, bead, pause, and restart criteria. Quality or the designated release owner closes the combined result. Procurement preserves the approved model and no-substitution rule.
If the production line requires programmed shots, recipe logs, or coordinated motion, the adhesive dispensing systems guide provides the broader architecture path. A handheld pneumatic record should not be stretched into an automation specification.
Order Samples Before Bulk Release
Use a sample to verify the same configuration intended for production. Haijing’s samples sit outside bulk MOQ; the buyer pays sample and freight charges. The documented sample lead time is 3–7 days. Treat that sample as engineering evidence, not a generic demonstration unit.
Haijing’s documented MOQ is 50 pieces for 50, 75, and 100 ml dispensing guns. The documented MOQ for 200, 400, and 490 ml formats is 10 pieces. Ask for the quoted MOQ on any configuration outside those rows rather than extending the table by assumption.
Documented dispensing-gun production lead time is 1–2 weeks after the order details are agreed. The factory can also provide inspection reports, first article inspection reports, STEP or IGES models, and chemical compatibility charts where applicable. Request the evidence tied to the interfaces being released.
Put these controls on the purchase order:
- Complete gun model and installed plunger or adapter configuration.
- Approved cartridge system, volumetric ratio, drawing revision, mixer, and reference sample.
- Required inlet fitting, labeling, inspection evidence, and packaging identification.
- No substitution of model, geometry, seal, adapter, or controlled component without written approval.
- Receiving checks that compare the shipment with the signed commissioning record.
The most relevant product path is Haijing’s pneumatic dispensing gun range. When plant air is unavailable or field mobility governs the job, compare the approved package against the listed manual dispensing guns instead of forcing a pneumatic station into the workflow.
References
Product-specific models, G1/8 inlet, 0.4–0.7 MPa A/B range, sealing, regulator, and quick-exhaust claims come from Haijing’s published pneumatic gun page and Product Bible. General pneumatic safety boundaries are supported by CCOHS guidance for clean air, rated connections, isolation, and PPE.
BS EN ISO 4414:2010 defines general rules and safety requirements for pneumatic fluid-power systems and components. The British Standards Institution lists the 2010 edition as the current release. Apply the exact gun manual and local workplace rules to the station.
Frequently Asked Questions
What pressure should a pneumatic dispensing gun use?
Use the exact manufacturer-rated range, then validate the lowest setting that produces the approved bead with the production material and mixer. The recorded Haijing A-System and B-System range is 0.4 to 0.7 MPa.
Why does a pneumatic cartridge gun dispense slowly?
Check pressure under flow, air restrictions, cartridge condition, approved material temperature, and mixer blockage before raising pressure. A higher gauge setting can hide the restriction without removing it.
Why does adhesive drip after trigger release?
Residual pressure, a restricted mixer, poor quick-exhaust response, or cartridge compression can continue moving material after release. Isolate the source before changing regulator pressure.
Does every pneumatic gun need a lubricator?
No. Follow the exact gun instructions. Supply clean, dry, filtered air and add lubrication only when the manufacturer specifies it, since pneumatic tool requirements differ.
Can one pneumatic gun switch between 1:1 and 2:1 cartridges?
Only when the manufacturer approves the exact adapter and plunger configuration for both cartridge systems. Record the installed parts and repeat the material-loaded startup after conversion.
Conclusion
A pneumatic dispensing gun is ready for production when the team can reproduce the complete loaded result. That means the correct package, controlled air path, lowest passing pressure, accepted bead, clean cutoff, pause, and restart all belong to one signed record.
- Respect the boundary: 0.4–0.7 MPa is the published range for Haijing’s listed A-System and B-System models, not a universal setpoint.
- Observe the loaded system: record pressure during the accepted bead and diagnose any drop from source to nozzle.
- Protect the ratio: match the exact cartridge and plunger geometry before connecting air or increasing force.
- Close the handoff: maintenance, process engineering, quality, and procurement should each own named fields in the release record.
Send the gun model, cartridge drawing, volumetric ratio, adhesive, mixer, air connection, and work cycle to Haijing for a sample configuration review. Release bulk quantities only after the material-loaded startup and receiving controls are signed.