Manual vs. Pneumatic Dispensing Guns: Choosing for Assembly Lines

Precision vs. Budget: The Assembly Line Dispensing Challenge
-
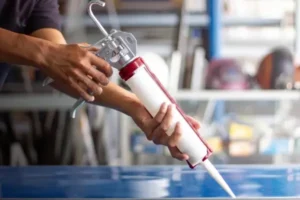
Manual tools on high-volume lines lead to operator hand fatigue, inconsistent travel speeds, erratic bead geometry, and frequent cartridge changeover pauses.
-
Pneumatic systems on flexible or low-volume stations introduce unnecessary air line tethering, compressor infrastructure costs, and over-complicated setups for intermittent tasks.
Mechanism & Operational Differences: How They Work
Manual Gun:
[Trigger Pull] → [Mechanical Gripper] → [Plunger Push] → [Pulsed Extrusion]
Pneumatic Gun:
[Air Pressure] → [Regulated Piston] → [Direct Thrust] → [Continuous Flow]
Manual Dispensing Guns: Mechanical Advantage & Operator Input
-
Force Transfer: Thrust ratios (ranging from 12:1 to 26:1 or higher) multiply hand force against single or dual plungers.
-
Flow Control: Extrusion rate depends on manual squeeze cadence and grip strength.
-
Operational Drawback: Sustained dispensing causes grip fatigue, which inevitably leads to fluctuating extrusion speeds, uneven bead cross-sections, and pulsating output across long shifts.
Pneumatic Dispensing Guns: Compressed Air Drive & Flow Regulation
-
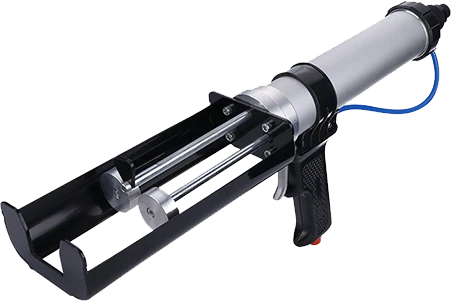
Force Transfer: Regulated workshop air (typically 4 to 8 bar / 60 to 115 psi, subject to specific tool ratings) delivers linear, uninterrupted force to dual or single pistons.
-
Flow Control: Integrated pressure regulators and precision triggers allow line operators to maintain exact bead widths regardless of shifts or cycle counts.
-
Anti-Drip & Exhaust: Industrial air applicators often incorporate quick-exhaust valves or reverse-pressure mechanisms that relieve internal pressure instantly upon trigger release, preventing adhesive drool on finished workpieces.
Manual vs. Pneumatic Dispensing Guns: Direct Comparison Matrix
| Evaluation Dimension | Manual Dispensing Guns | Pneumatic Dispensing Guns |
| Drive Mechanism | Manual mechanical leverage (hand squeeze) | Compressed air cylinder / pneumatic piston |
| Extrusion Force Stability | Fluctuating (dependent on operator stamina) | Constant, regulated linear thrust |
| Viscosity Handling | Low to medium (<50,000 cPs recommended) | Medium to ultra-high (>100,000+ cPs, thixotropic pastes) |
| Dispensing Precision & Bead Consistency | Moderate; prone to pulsing and start/stop variations | High; continuous bead profile with minimal variance |
| Cycle Speed & Throughput | Best for intermittent, low-to-medium takt times | Optimized for continuous, high-volume production |
| Operator Fatigue & Ergonomics | High repetitive strain risk on continuous shifts | Minimal; trigger actuation requires negligible force |
| Infrastructure Requirements | None (100% portable) | Clean, dry compressed air lines and regulators at workstation |
| Initial Equipment Cost | Low capital cost | Moderate capital cost plus pneumatic accessories |
| Typical Target Application | Field repairs, R&D, low-volume sub-assemblies | Dedicated workstations, continuous manufacturing cells |
5 Key Technical Evaluation Dimensions
1. Fluid Viscosity & Extrusion Force Capability
2. Throughput, Cycle Time, and Continuous Output
3. Dispensing Precision, Bead Consistency, and Repeatability
Manual Bead Profile:( ====== ~~~~ ====== ~~~~ ====== ) <-Variable width / Pulsed flow
Pneumatic Bead Profile:( ============================== ) <-Uniform width / Regulated flow
4. Ergonomics, Operator Fatigue, and Workplace Safety
5. Facility Infrastructure & Total Cost of Ownership (TCO)
-
Manual Guns: Minimal initial purchase cost, zero utility infrastructure required, zero air maintenance costs. Ideal where mobility across large structures is necessary.
-
Pneumatic Guns: Higher tool cost and requires filtered, lubricated, or dry workshop air drops at each workstation. However, labor time savings, reduced joint failure rates, and decreased adhesive scrap yield a rapid return on investment on continuous lines.
Application Matrix: Matching Tooling to Manufacturing Sectors
Production Volume & Viscosity Evaluation
Low Volume / Field – Manual Dispensers
- Field Maintenance
- Offline Sub-assembly
- Prototype R&D
High Volume / Industrial – Pneumatic Applicators
- Automotive & Structural
- Electronics Encapsulation
- Renewable Energy Modules
Low-Volume, Maintenance, and Field Operations
-
Field repair, marine installations, and remote construction sites.
-
Low-volume batch jobs or prototyping laboratories.
-
Intermittent structural bonding with long intervals between applications.
High-Volume Industrial Lines
-
Automotive & Transportation: Deploying structural seam sealers and windshield bonding on automotive and transportation assembly lines.
-
Electronics & Semiconductors: Controlled micro-potting, component staking, and thermal paste application in electronics and semiconductors manufacturing.
-
Renewable Energy & Aerospace: Dispensing large-volume two-part adhesives across aerospace composite assemblies and renewable energy panel frames.
Engineering Decision Framework: How to Choose for Your Line
To select the appropriate dispensing equipment, first audit your daily cartridge volume. If the volume is under 5 cartridges per day, choose a manual dispensing gun and the process ends there. If the volume exceeds 10 cartridges per day, proceed to check the fluid viscosity. For high‑viscosity fluids (above 50,000 cPs), a pneumatic gun is recommended. Next, regardless of viscosity, verify that the cartridge ratio is compatible with your application, ensuring that balanced plungers support the required mix ratios such as 1:1, 2:1, 4:1, or 10:1. Finally, audit your facility’s air supply: if clean, regulated air is available, install the pneumatic system; if not, upgrade the station with an appropriate air drop.
Step 1: Calculate Daily Dispensing Volume & Takt Time
-
If an operator empties fewer than 3 to 5 standard cartridges per shift intermittently, manual dispensing is cost-effective.
-
If consumption exceeds 10 cartridges per shift or continuous beads over 500 mm are required per part, pneumatic dispensing prevents production bottlenecks.
Step 2: Audit Fluid Properties (Viscosity & Thixotropy)
-
Test how the fluid behaves through the selected mixer geometry. If high back-pressure makes manual trigger squeeze difficult, specify a pneumatic gun to prevent operator strain and incomplete mixing.
Step 3: Evaluate Cartridge Ratios
-
Dual-component adhesives (1:1, 2:1, 4:1, and 10:1) require balanced, parallel thrust rods. High-ratio formulations (e.g., 10:1) concentrate force on a smaller component B plunger; pneumatic drives ensure smooth, proportional advancement without binding.
Step 4: Verify Compressed Air Availability
-
Confirm workstations possess clean, moisture-free compressed air lines capable of supplying constant pressure within the tool’s specified operating range.
Ensuring System Compatibility: Mixers, Cartridges & Custom Tooling
-
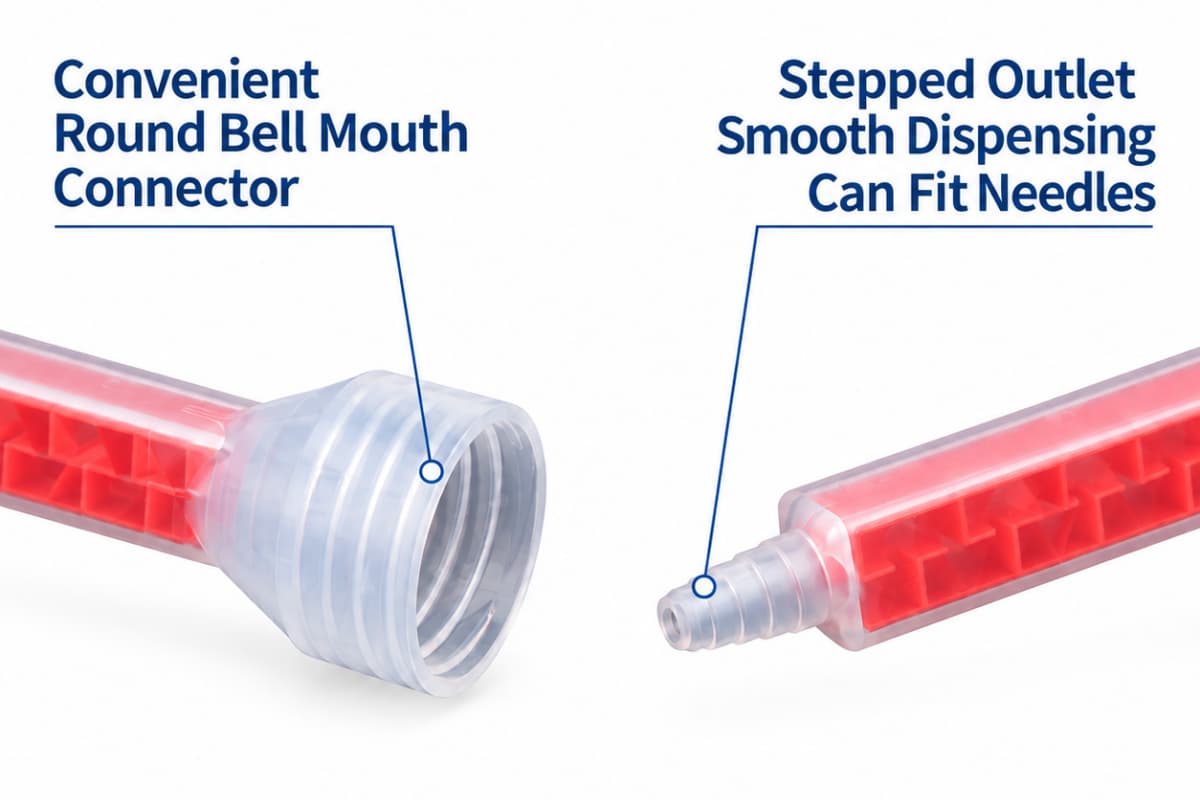
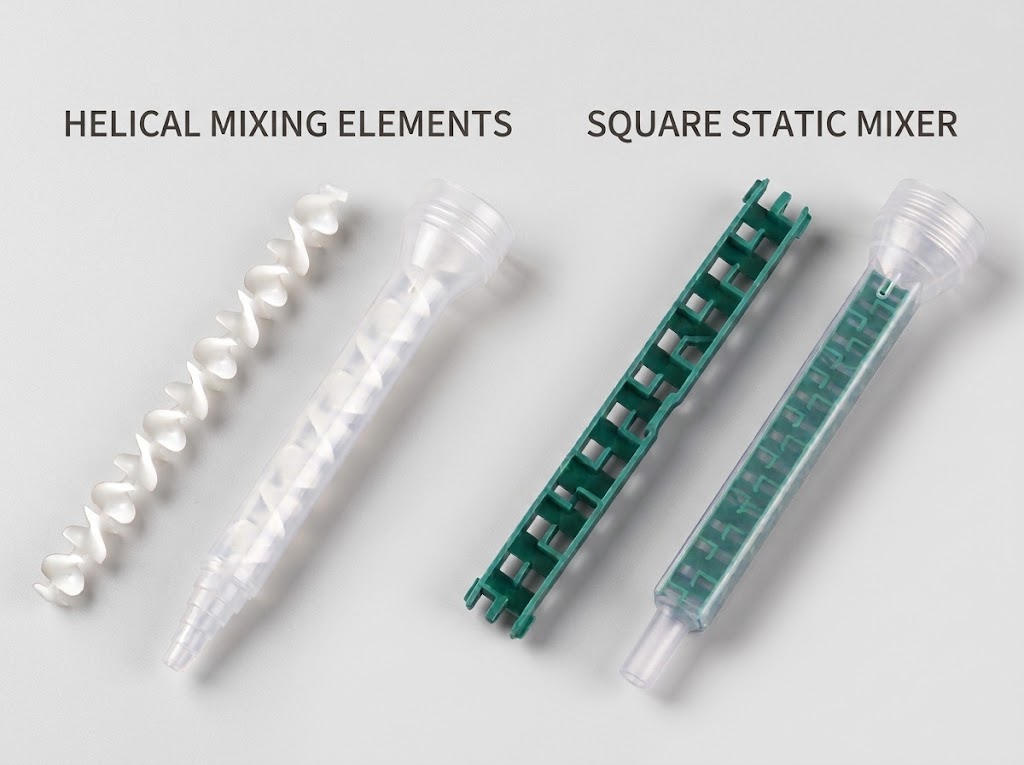
Static Mixer Pressure Limits: High-thrust pneumatic guns generate significant fluid back-pressure inside helical or square mixer elements. Ensure your static and dynamic mixers are rated to withstand line pressures without housing rupture or core deformation.
-
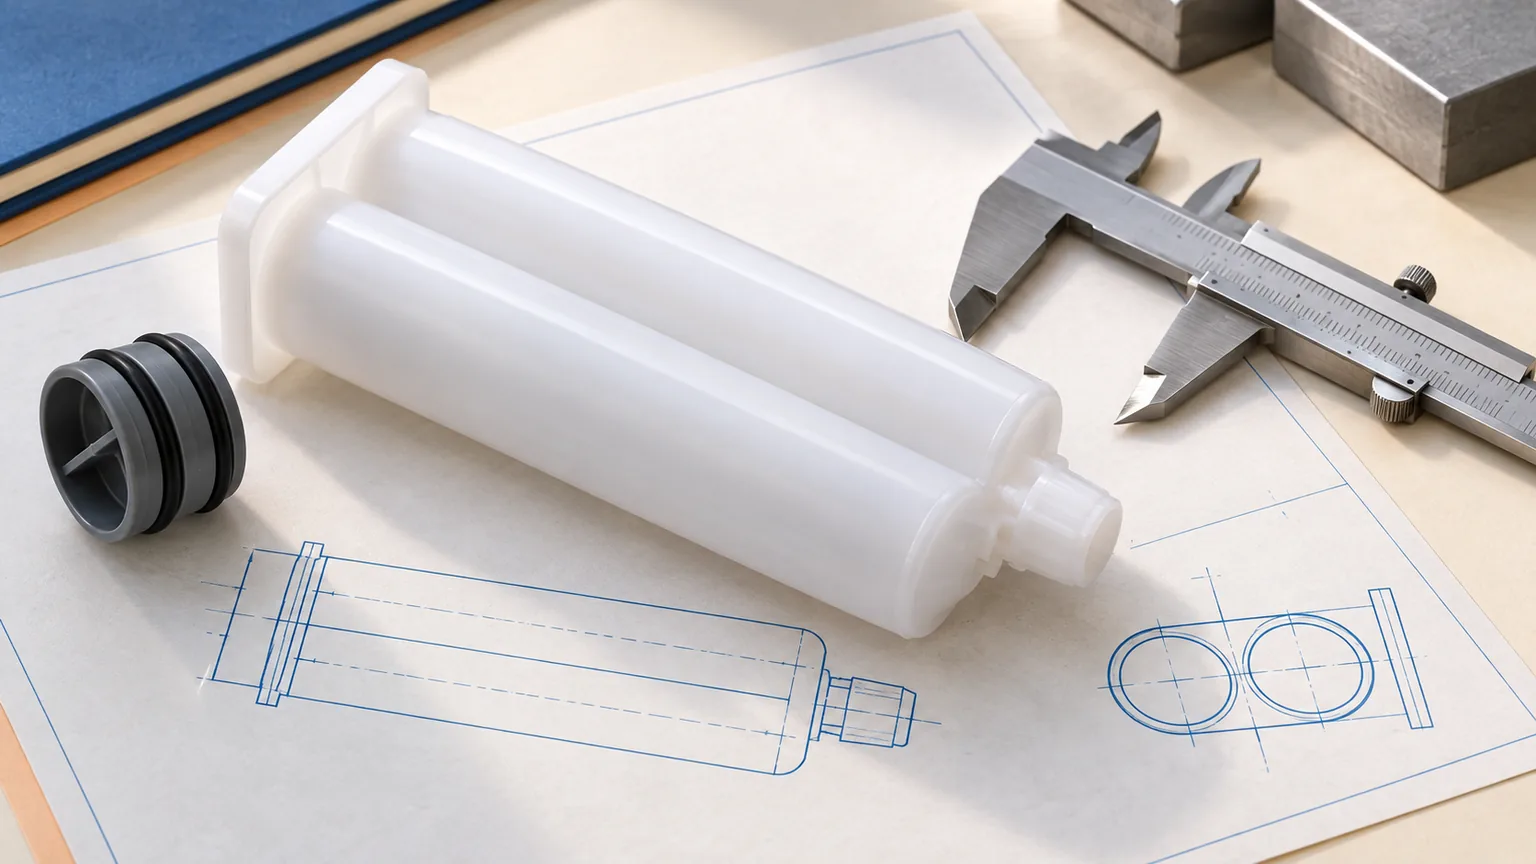
Cartridge Interface: Plunger discs must align with cartridge cylinders to prevent fluid bypass behind the pistons.
-
Custom Tooling: For assembly lines with confined spaces, unusual cartridge dimensions, or robotic end-of-arm tooling requirements, engineered OEM and customized dispensing tools ensure proper integration.
Key Takeaways
-
Mechanism Dictates Consistency: Manual guns rely on fluctuating human hand force, while pneumatic guns use regulated compressed air for smooth, uninterrupted bead profiles.
-
Viscosity Threshold: Fluids exceeding 50,000 cPs or requiring dense static mixing elements benefit significantly from pneumatic extrusion to avoid operator fatigue.
-
Throughput & Ergonomics: High-volume assembly lines should standardize on pneumatic applicators to eliminate repetitive strain injuries and maintain rigid takt times.
-
Portability vs. Infrastructure: Manual guns require zero infrastructure, making them ideal for maintenance and low-volume tasks. Pneumatic tools require clean, regulated air drops at the workstation.
-
System Integration: Match gun thrust capability with pressure-rated static mixers and precise dual-component cartridge ratios to eliminate fluid blow-by.
If the next step is automated motion, the coordinate workstation versus robot comparison shows when fixed-orientation paths are enough and when articulated access is justified.
Before choosing either drive, use the adhesive dispensing gun guide to freeze cartridge format, ratio, force evidence, and the complete flow path.
Once a fixed station selects pneumatic drive, the pneumatic gun setup and troubleshooting guide shows how to release the air path, loaded setting, cutoff, and restart.
Frequently Asked Questions (FAQ)
Can a pneumatic dispensing gun handle high-viscosity structural epoxies?
What air pressure is typically required for industrial pneumatic glue guns?
How does a battery-powered dispensing gun compare to pneumatic on assembly lines?
How do I prevent adhesive drooling when using a pneumatic dispensing gun?
Contact HaiJing for technical support.
Gun drive is one layer of a larger process. The adhesive dispensing systems guide maps the package, ratio, mixer, outlet, motion, controls, and validation evidence around that choice.