Choose adhesive cartridge caps and plugs as a matched closure assembly, then verify the filled package under its intended handling conditions. A cap that screws on is not necessarily sealing the outlet. A plug that fits an empty cartridge has not yet demonstrated compatibility with the formulation or resistance to transport exposure. Start with the sealing surface, the retention method and, for a dual cartridge, the separation of the two components.
This guide is for packaging engineers and buyers approving outlet closures. It separates incoming fit checks, filled-package sealing and post-transport acceptance so a promising sample does not become an unsupported production approval. Rear piston sealing is a different boundary, covered in our cartridge piston seal guide.
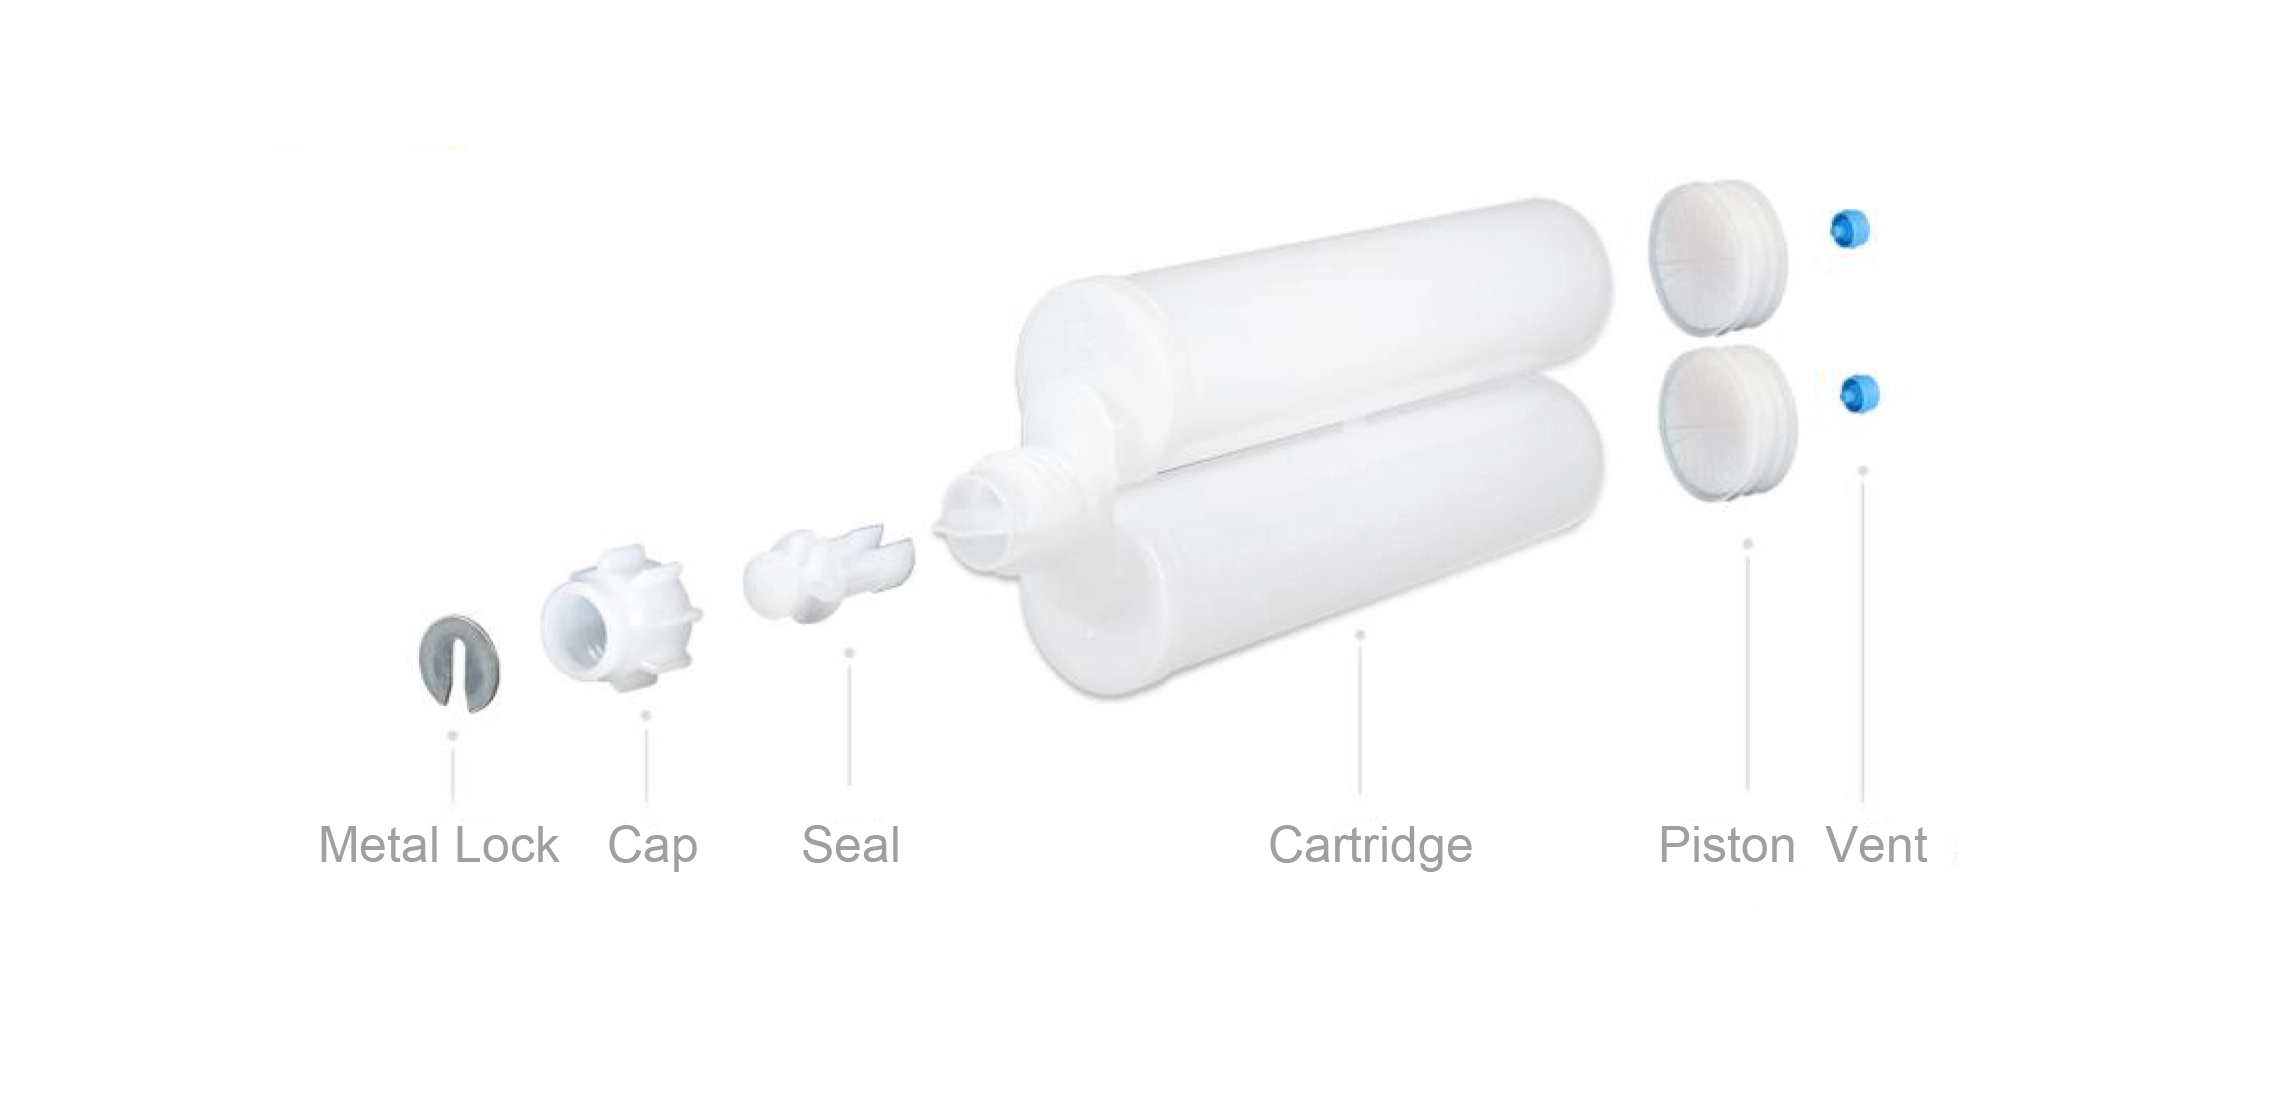
Identify what seals, what retains and what protects
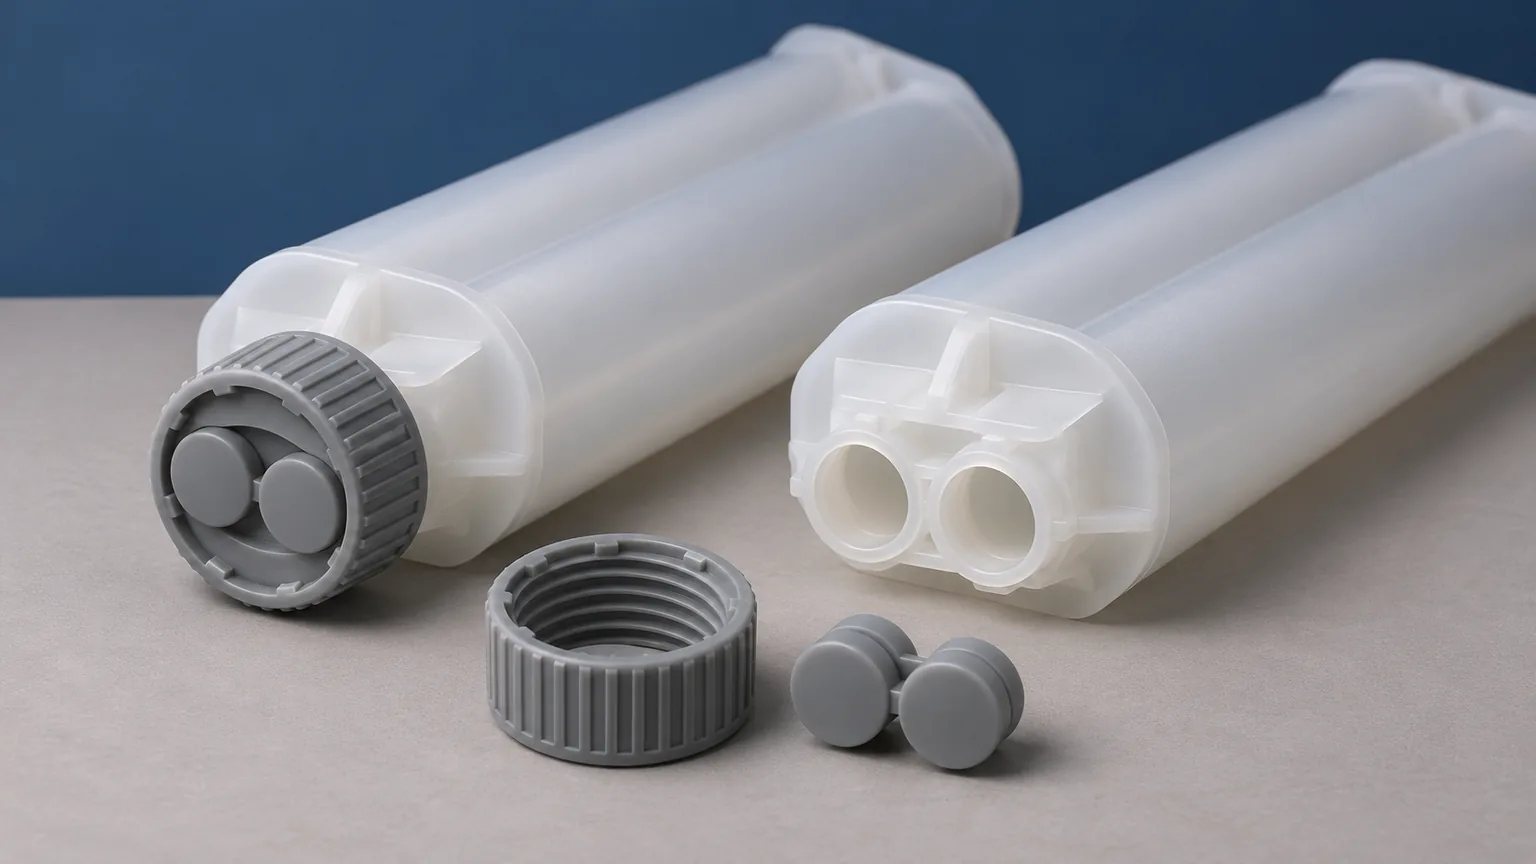
Supplier terminology varies. A “cap” may be a single molded closure, a retaining collar around a separate plug, or a protective cover that is not intended to contact the adhesive. Before comparing candidates, mark the actual sealing interface on the assembly drawing. Identify whether contact occurs at a face, taper, internal bore or another specified feature. Then identify the part that keeps that contact engaged.
- Sealing element: the surface or component intended to block the relevant fluid or air path.
- Retaining feature: the thread, bayonet or other engagement that holds the closure in its installed position.
- Protective feature: a cover or surrounding structure that protects against handling damage or contamination, without necessarily being the fluid seal.
- Rear closure: a separate boundary at the piston end. Passing an outlet-cap check does not qualify this boundary.
Nordson EFD distinguishes cartridge end caps from outlet caps and describes a tapered seat on its own threaded outlet-cap design. This is a useful example of why the seal and the attachment deserve separate attention. Its design and performance statements apply to that supplier’s system, not automatically to another cartridge family.
Approve the interface rather than the appearance
Two closures can have similar external dimensions while contacting the outlet differently. A collar may engage its thread but reach a stop before the sealing element is seated. Another candidate may appear fully closed because the plug is being distorted. Neither observation can be resolved by selecting the part that feels tighter.
Use the released cartridge and closure drawings together. Match the outlet family, engagement features, sealing geometry, material identification and revision. If a gasket or separate plug is part of the approved design, record it as a required component rather than an optional accessory. For a dual outlet, verify the position and identity of both sealing portions.
Conduct the first assembly comparison on clean, empty components, using the intended installation method. Observe seating, orientation, engagement and visible damage. If the supplier specifies an installation torque or axial force, use the documented method and equipment. If no limit has been agreed, record the gap and establish a validation method with the supplier; do not invent a universal torque from cartridge volume.
Measure the features that explain a fit discrepancy. For example, unexpected closure height should lead to a check of the axial stack and stop positions, not just another outside-diameter measurement. Our cartridge drawing acceptance guide explains how drawing revisions and datums keep those measurements comparable.
Keep two-component outlet paths separate
For a dual cartridge, preventing external leakage and maintaining separation between components are distinct tasks. A closure may keep the outside dry while allowing material to migrate between the outlets underneath it. A residue bridge introduced during closure handling can also create a local reaction without a failure through the plug material itself.
Examine how the proposed closure addresses each outlet and the region between them. Check orientation features and the installation sequence supplied for that design. Where the closure has a designated orientation, preserve it in the work instruction and sample identification. Do not assume a visually symmetric component may be reversed.
Use the formulation supplier’s procedure for handling material at the outlet before closure. Unapproved solvent cleaning can change the test object by affecting polymer surfaces or leaving residue. After exposure, examine both external migration and the separation region when the closure is opened by the agreed method. Record where material or cured residue first appears. A cured deposit is a finding to investigate, not proof by itself of the leakage route.
If the cartridge has already been used, the outlet condition, closure history and possible contact with mixed material differ from a newly filled package. Treat a resealing claim as a separate use condition. A transport approval for unopened cartridges should not silently become a promise about partly used cartridges.
Move from dry fit to formulation-exposed sealing
Empty-part assembly is an efficient screening step because it isolates geometry and engagement. Filled-package checks add variables that can change the result: formulation contact, outlet wetting, fill state, closure installation conditions and time. Keep these variables identifiable so a failure can be assigned to a useful next investigation.
- Freeze the candidate identity. Record cartridge, cap, plug and any separate seal part numbers, revisions and lots. Include the installed orientation and the closure application method.
- Establish a baseline. Document the empty-part fit, then the newly filled and closed package. Record visible condition and any agreed measurements before exposure.
- Expose the actual combination. Use the intended formulation components and an approved exposure schedule reflecting the proposed use. Record fill state, orientation, duration and environmental conditions rather than writing only “storage test.”
- Inspect by location. Separate external wetting, migration under the closure, cross-outlet evidence and rear-piston findings. Preserve sample orientation and photographs before disassembly.
- Compare with an unexposed control. Check whether removal behavior, closure geometry or relevant formulation condition has changed. Apply the pre-agreed acceptance criteria and record the next action.
A material designation alone does not establish chemical compatibility. Evaluate the supplied closure formulation and manufacturing version with the adhesive it will contact. If swelling, softening, cracking or unexpected residue is observed, retain the affected components and involve the material and formulation specialists. Replacing the candidate with a harder or tighter-fitting part does not explain the original failure.
Where a gravimetric check is used, define the measurement method, conditioning, balance suitability and interpretation. A mass change can have causes other than liquid leakage at the outlet. Conversely, an unchanged gross mass does not demonstrate that components remained separated inside a dual outlet. Pair each measurement with the failure mode it can actually detect.
Challenge the closed package in its shipping configuration
Transport sealing is a package-level question. The filled cartridge, installed closures, rear components, protective inserts and shipping pack interact. If an insert bears on the cap, or a loose cartridge can strike another cartridge, a closure test without that packaging arrangement misses a relevant load path.
Define the shipping conditions with the packaging and formulation teams before selecting the test procedure. Relevant factors may include orientation, temperature history, ambient-pressure changes and mechanical handling. Use a justified route profile or an applicable agreed distribution test method. There is no single defensible drop height, temperature cycle or leak-test pressure for every adhesive cartridge.
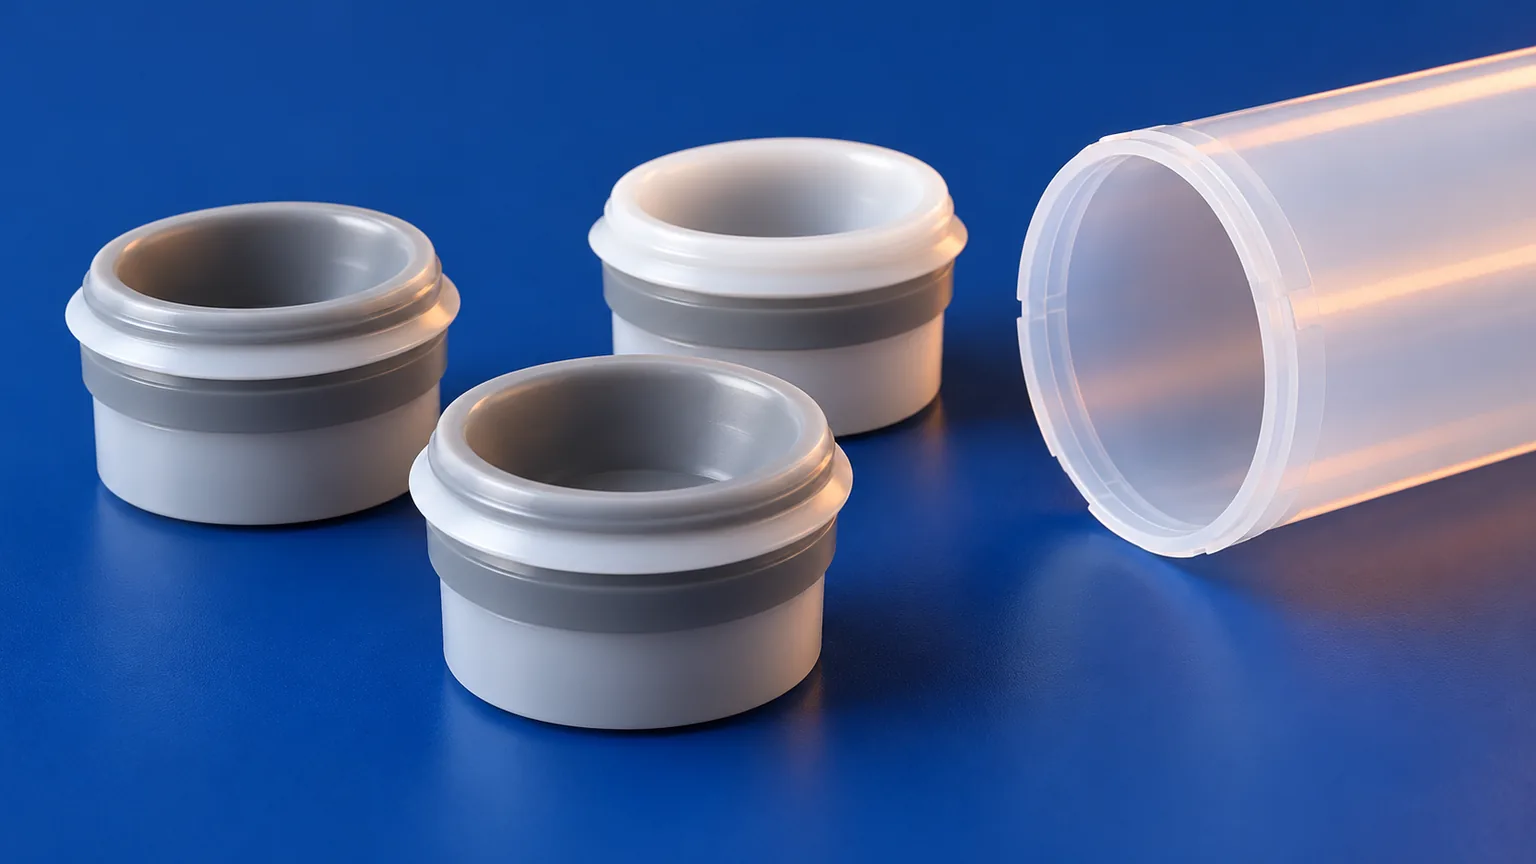
medmix’s discussion of air-free cartridge storage explains that environmental changes and vibration can affect the rear piston boundary. That is why a bubble found after transport should not automatically be blamed on the outlet cap. The source describes its cartridge-system mechanisms; it does not supply a universal closure qualification schedule.
In this stage, keep the focus on whether the approved outlet closure stays engaged and maintains its required barrier after the agreed exposure. Full transport-pack design and temperature-profile development are larger tasks. Record those interfaces in the protocol, but do not replace them with an improvised cap-only test or a claim of unlimited shipping suitability.
Use the observed path to choose the next check
A useful failure record leads to a discriminating check. The matrix below proposes investigation branches; the observations do not establish confirmed causes.
| Observation | Distinguish first | Useful next check |
|---|---|---|
| Material outside the closure | Seal-interface migration versus barrel or outlet damage | Preserve orientation; inspect the wetting path and contact surfaces before cleaning. |
| Dry outside, residue between outlets | Cross-outlet migration versus handling contamination | Compare outlet preparation, plug orientation and separation-region evidence with the baseline. |
| Closure loosens after handling | Incomplete engagement versus changed retention or pack contact | Check seating records, engagement damage and the shipping insert’s contact points. |
| Air observed after transport | Outlet path versus rear piston boundary or pre-existing air | Compare the initial filled condition and inspect both ends; do not assign the cap as the cause by default. |
| Closure is difficult to remove | Cured residue versus dimensional change or damaged engagement | Follow the approved opening method and preserve the closure for examination; do not force a suspect pressurized package. |
On a narrow screen, swipe within the table to see the final column. If leakage, reaction or pressure is suspected, stop the affected handling operation and follow the applicable safe containment and opening procedure.
Release a defined combination, with a usable record
Approve the combination and its tested scope, not “all caps” from a supplier. The release record should connect the cartridge and closure identities to the formulation, installation method, exposure conditions, acceptance criteria and actual observations. A report saying only “no leak” leaves the next team unable to determine which boundary was inspected or which handling conditions were covered.
As an illustrative trial, suppose two candidates both pass empty-part fit checks, but only one develops residue between the outlets after filled-package exposure. Keep both candidates’ geometry and installation records. Investigate the separation region, outlet preparation and exposure history before changing installation force. The dry-fit result remains valid as a fit observation; it does not overrule the failed filled-package result. This is a decision example, not a Haijing test result.
Agree how a changed plug resin, seal geometry or cartridge outlet revision triggers review. A replacement part that retains the same marketing description can still change the validated combination. For unresolved failures, the 2K cartridge failure-analysis guide explains how to preserve evidence for a reproducible supplier investigation.
Questions about cartridge caps and plugs
Does a tighter cap always seal better?
No. Additional tightening does not correct the wrong sealing geometry, a missing plug or an early mechanical stop. Use the specified installation method and investigate the actual contact and retention features.
Can an empty-cartridge leak check replace a filled-package test?
No. It can screen a defined assembly and test condition, but it does not establish formulation compatibility or performance after filled storage and handling. Keep the acceptance scopes separate.
Can the shipping approval cover repeated opening and resealing?
Only if repeated use is part of the approved validation scope. Outlet contamination, closure handling and contact with mixed material can differ from the unopened package.