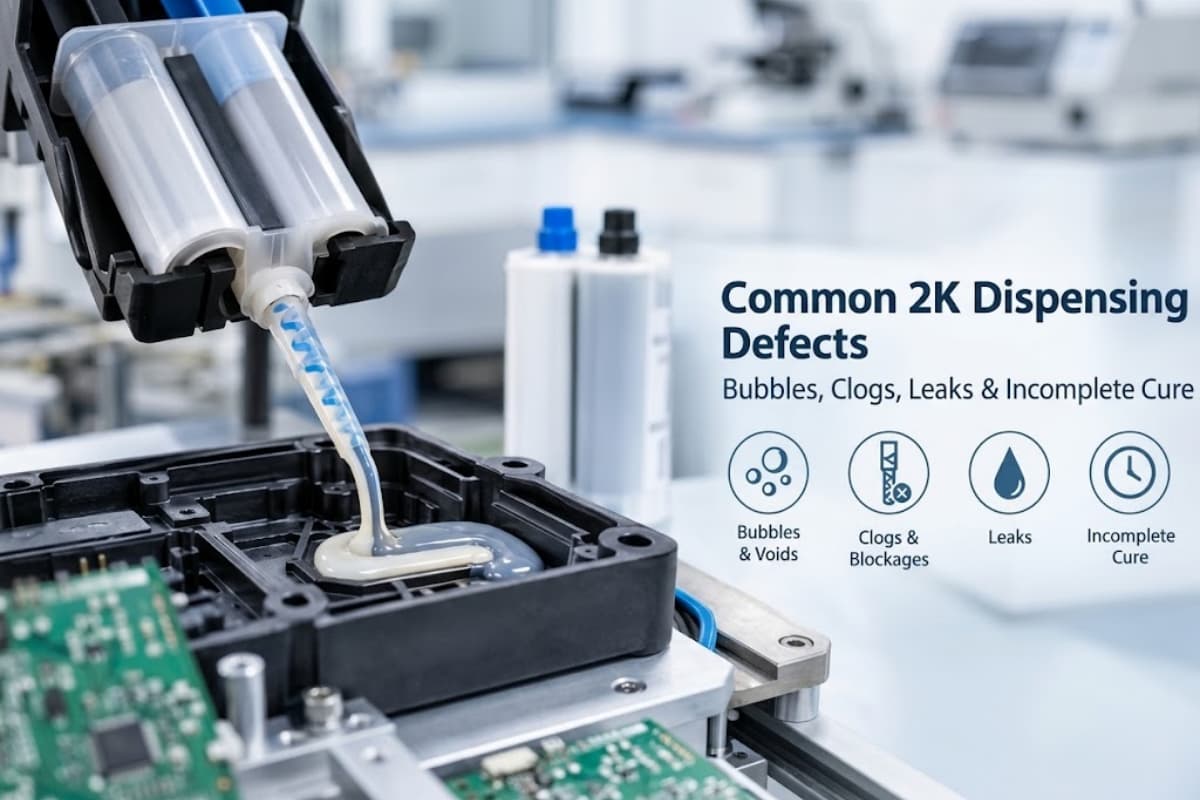
A bead comes out lumpy, sticky in one spot, or never cures at all. The easy answer is to blame the adhesive. But before returning a “bad batch” of epoxy or polyurethane, it helps to check the hardware pushing it out. Anyone assembling a dispensing setup should start with a static mixer selection guide, because most off-ratio problems begin there.
In most cases, an off-ratio bead traces to back-pressure and retained volume inside the mixer, not the resin or hardener. Too few mixing elements, a mismatched nozzle diameter, or a worn bayonet fitting can all shift the mix ratio. This can happen before the adhesive ever gets a fair test. So the fix is often mechanical, not chemical.
This guide works through five practical questions. It covers what creates resistance inside a mixer and how to separate a mechanical fault from a chemical one. The guide also explains how to match mixer geometry to gun thrust. It covers what retained volume costs over a shift, and how to diagnose a stalled bead on the line.
What Causes Back-Pressure Inside a Static Mixer?
Pushing adhesive through a narrow, twisting path, instead of letting it flow through open space, builds up back-pressure. Inside a static mixer, three things create most of that resistance. These three things are the number and shape of the mixing elements, and the diameter and length of the nozzle. The third is the thickness of the adhesive itself. Cold weather adds even more resistance, because most two-part adhesives get noticeably thicker as the temperature drops.
The Role of Mixing Element Count and Helix Geometry
Every static mixer works the same basic way. A series of fixed elements sits inside the tube. They split the two adhesive streams apart and fold them back together repeatedly until they leave the nozzle blended.
- Standard helical (spiral) mixers contain between 17 and 24 elements, depending on viscosity and mix ratio.
- Each extra element adds another split-and-fold cycle. This improves mixing quality but adds more surface area for the fluid to drag against.
- Quadro (square) element designs create sharper, more aggressive shear planes. So they often reach the same mixing quality in a shorter nozzle length than a helix design.
- Fewer elements than the adhesive needs leaves streaks of unmixed resin or hardener. Too many elements past the point of full mixing just add wasted back-pressure for no benefit.
Element count is a trade-off between mixing quality and flow resistance, not a spec to copy across every adhesive.
Nozzle Diameter and Length-to-Diameter Ratio
Engineers describe this resistance using the length-to-diameter ratio, or L/D ratio, a standard measurement in fluid dynamics.
- Basic fluid mechanics shows that pressure drop rises sharply as diameter shrinks. So a small drop in inner diameter can create a large jump in the force needed to push adhesive through.
- A longer nozzle at the same diameter raises the L/D ratio and increases resistance in a predictable, straight-line way.
- Narrow, long nozzles mix thoroughly but demand far more thrust from the gun.
- A wider, shorter nozzle demands less thrust but can undermix a highly viscous or asymmetric-ratio adhesive.
Matching diameter and length to the adhesive’s viscosity keeps back-pressure inside a workable range, instead of guessing.
How Adhesive Viscosity and Shear-Thinning Behavior Add Resistance
Viscosity causes the most obvious resistance, but many industrial adhesives do not behave with a single, constant thickness.
- Many structural epoxies and sealants are shear-thinning. They get thinner and flow more easily once force pushes them, then thicken again at rest.
- Heavily filled adhesives carry extra resistance from their filler particles, not just from the base resin. This includes adhesives loaded with ceramic or metallic particles for thermal conductivity.
- Highly thixotropic materials, designed to resist sagging on vertical surfaces, need a strong initial push before they start flowing smoothly.
Because viscosity is not constant, back-pressure can feel very different at the start of a stroke. It often eases once the adhesive is already moving.
Why Cold Temperatures Raise Back-Pressure
Temperature affects back-pressure more than most people expect, and it is easy to overlook on a busy factory floor.
- Most adhesives thicken as ambient temperature drops, sometimes requiring noticeably more plunger force below 15°C (59°F).
- Cartridges stored near a cold loading dock or an unheated corner can behave differently from ones kept at room temperature. This holds true even within the same batch.
- Pneumatic guns can partly compensate with higher air pressure, but manual guns rely entirely on the operator’s hand strength.
Bringing cartridges to a consistent temperature before dispensing removes one of the most common causes of high back-pressure.
Why Does an Off-Ratio Bead Happen Even When the Adhesive Is Good?
An off-ratio bead can happen even with fresh, correctly formulated adhesive. That is because the problem often sits in the delivery hardware, not the chemistry inside the cartridge. Cross-talk at the cartridge-to-mixer joint, worn or eroded mixing elements, and an uneven plunger stroke can all shift the ratio. Each one pushes more of one component than the other into the nozzle. The simplest way to tell a mechanical fault from a chemical one is straightforward. Run the same cartridge through a mixer that works correctly.
Chemistry Problem vs. Mechanical Problem — How to Tell Them Apart
Adhesive chemistry and dispensing mechanics fail in different, fairly predictable ways.
- A true chemistry defect shows up the same way in every cartridge from that batch. An expired resin or a contaminated hardener are common examples. It does not matter which gun or mixer applies it.
- A mechanical fault, such as a worn element or a cross-talk leak, tends to show up on one gun-and-mixer combination. It disappears once the same cartridge runs through a known-good setup.
- Chemistry failures usually affect cure time and final hardness evenly across the whole bead.
- Mechanical failures usually show up as uneven curing along the length of a single bead. Soft or tacky patches often sit right next to fully cured sections.
Swapping the mixer before swapping the adhesive batch is the fastest way to rule out the more expensive explanation first.
Cross-Talk and Component Bleed at the Cartridge Interface
Cross-talk happens when Part A and Part B meet each other before they reach the mixing elements. The two parts should stay isolated until the exact right moment.
- A worn or slightly oversized bayonet lug at the cartridge-to-mixer joint can leak. A small amount of resin or hardener then bleeds sideways into the wrong chamber.
- Even a tiny amount of premature mixing at the interface can trigger localized curing right at the joint. This partially blocks one side of the flow path.
- Once a partial blockage forms on one side, the other component pushes through more freely. This shifts the entering ratio before the fluids ever reach the mixing elements.
- Reusing a mixer, or twisting and damaging its lock, makes cross-talk far more likely. A fresh mixer seated correctly on a new cartridge avoids this risk.
Cross-talk is a fit-and-tolerance problem at the joint, so tightening or replacing that connection solves it without touching the adhesive.
Element Damage From Abrasive, Filled Adhesives
Mixing elements wear out faster than most operators expect, especially with heavily filled adhesives.
- Thermal interface materials loaded with ceramic or metallic particles act like fine sandpaper against the internal mixing elements. This happens every time an operator dispenses a cartridge.
- Worn or rounded-off elements lose their sharp shear edges. They fold the two streams together less aggressively than a fresh mixer would.
- A mixer with eroded elements can still let fluid pass through. The exit stream may carry visible streaks of unmixed resin or hardener.
- Reusing a mixer beyond its single-use life often causes gradual, hard-to-notice ratio drift. This especially applies to multiple cartridges of an abrasive, filled adhesive.
Treating mixers as single-use consumables, particularly with abrasive fillers, prevents this slow decline from ever reaching the assembly line.
Field Signs That Point to the Mixer, Not the Resin
A few visible clues on the shop floor can separate a hardware issue from a batch issue, without lab testing.
- A bead can cure fine everywhere except right at the very start of the stroke. This usually points to trapped air or a mixer priming issue, not the adhesive.
- Visible marbling or streaking inside a cured bead almost always means the elements did not fully blend the streams.
- A sudden jump in plunger force usually signals a partial blockage inside the mixer, not a chemistry change.
- If switching to a fresh mixer on the same cartridge fixes the problem immediately, the mixer was the root cause.
These field signs let an operator make a fast call before pulling an entire batch of adhesive off the line.
| Symptom Observed | Points to Chemistry | Points to Mechanical |
|---|---|---|
| Bead never cures, stays tacky end to end | Yes, if it repeats across every mixer and gun | Rare unless every mixer in the batch is also faulty |
| Bead cures fine except at the very start of the stroke | Very unlikely | Yes, points to trapped air or an unprimed mixer |
| Visible streaks or marbling in the cured bead | Rare with properly stored adhesive | Yes, points to too few or worn mixing elements |
| Soft, uncured patch appears only at the cartridge-to-mixer joint | Not applicable | Yes, points to cross-talk at the interface |
| Plunger force climbs sharply partway through the cartridge | Not applicable | Yes, points to a forming blockage inside the mixer |
| Same defect shows up on every gun and every mixer tested | Yes, likely a true batch defect | Ruled out once several mixers all show the same fault |
How Do You Match a Static Mixer to Your Gun’s Thrust Ratio?
Matching a mixer to a gun starts with thrust, not habit. A gun’s mechanical or pneumatic design sets a ceiling on how much back-pressure it can push through. Past that ceiling, the operator or the machine stalls. The mixer needs enough elements, and the right diameter, to fully blend the adhesive within that ceiling. Choosing a mixer with more elements than the gun can actually drive just produces a stalled bead.
Manual, Pneumatic, and Powered Guns — Thrust Differences Explained
Every gun type delivers force in a different way, and that difference decides how much mixer resistance it can overcome.
- Manual guns rely on mechanical leverage. Manufacturers often advertise this as a ratio, such as 8:1, 12:1, or 18:1. This shows how much the lever multiplies hand force.
- Pneumatic guns run on standard shop air, typically delivered around 90 to 100 psi (6 to 7 bar). This gives steady, fatigue-free thrust for an entire shift.
- Battery-powered and motor-driven guns deliver a fixed, programmable speed. They can drive a mixer at a constant rate that a human hand cannot match over many hours.
- A higher mechanical advantage or higher air pressure lets a gun handle a mixer with more elements. It can also handle a narrower diameter before it stalls.
Picking the gun type first avoids most mismatches. Sizing the mixer to what the gun can actually push comes next.
How Mix Ratio (1:1, 2:1, 4:1, 10:1) Changes Element Requirements
The mix ratio itself changes how hard the elements have to work to reach an even blend.
- In a 1:1 ratio, both streams enter the mixer in equal volume. Blending them evenly takes comparatively few elements.
- In a 10:1 ratio, the minor component makes up a small fraction of the total volume. The elements must split and fold it many more times to reach an even spread.
- Moving from 1:1 toward 10:1 usually calls for more elements or a longer mixer. It can also call for a more aggressive geometry such as Quadro, not just a smaller nozzle.
- Using a 1:1-style mixer on a 10:1 adhesive commonly causes visible streaks of unmixed material in the bead.
A wider gap between the two components means more mixing work. The elements have to work harder to catch the smaller stream up evenly.
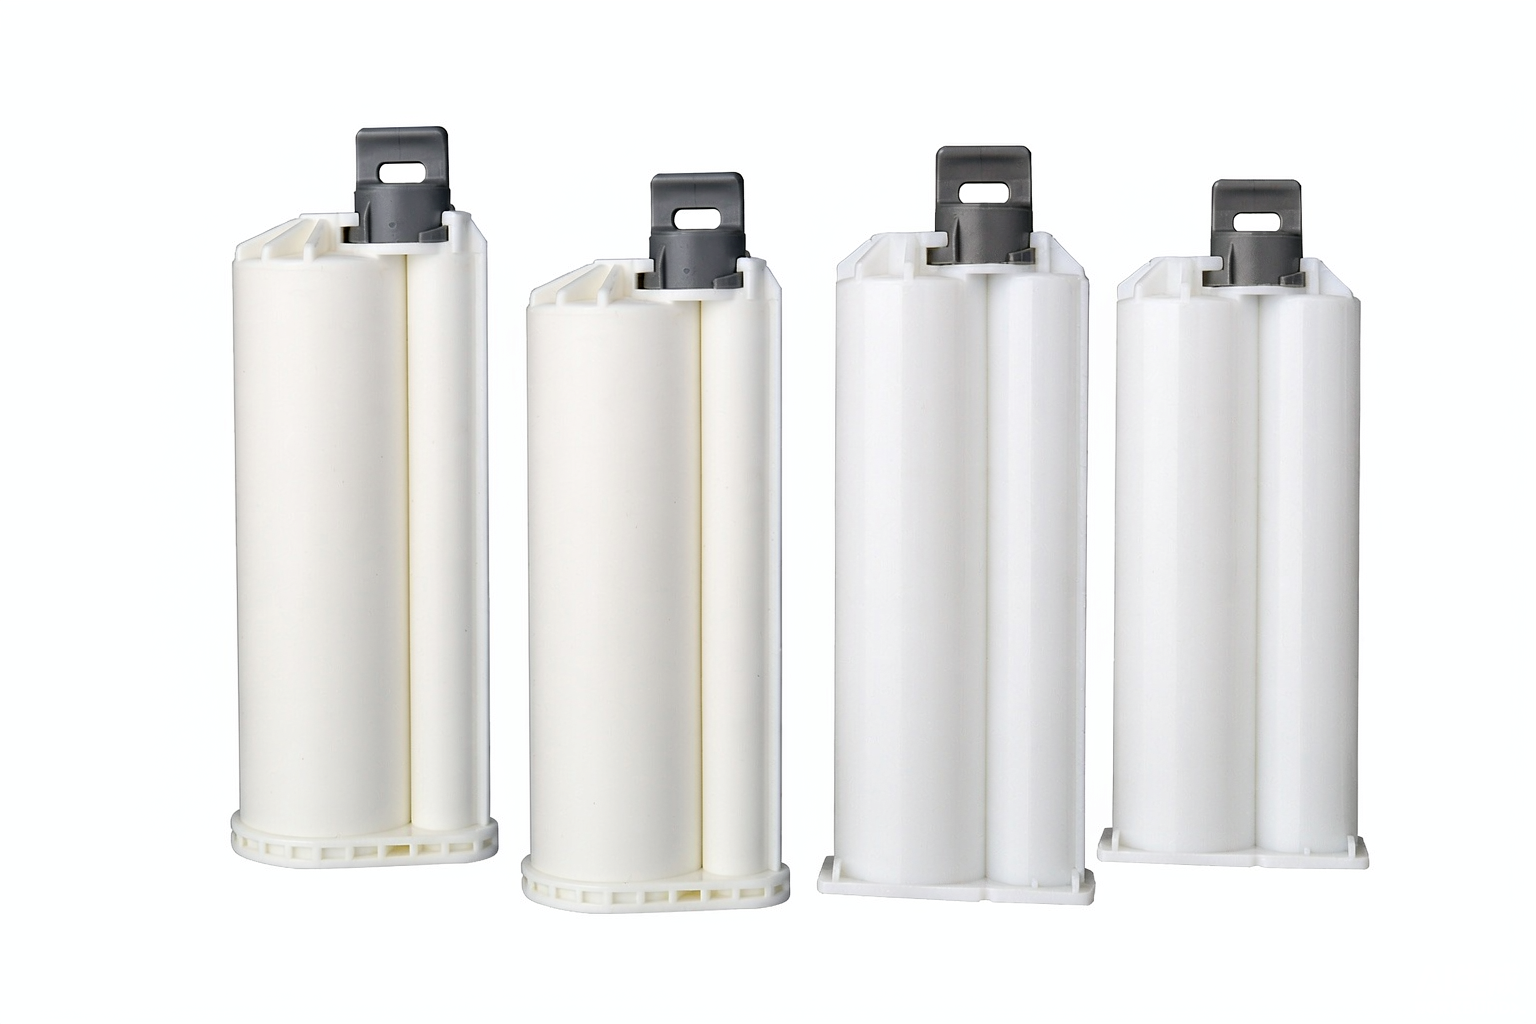
Cartridge Volume vs. Required Mixer Length
Cartridge size changes how much adhesive moves through the mixer, which changes how long that mixer needs to be.
- Small 50ml cartridges push adhesive through at low volume. A compact mixer can fully blend the stream in a short length.
- Larger 400ml and 490ml cartridges move far more adhesive per stroke. The mixer needs a longer path or a wider bore to blend the ratio without a large jump in back-pressure.
- Bulk 1500ml systems used in high-throughput lines demand mixers engineered specifically for that flow rate. A mixer scaled for a 50ml cartridge simply cannot keep up.
- Cartridge bore diameter and mixer inlet diameter need to match closely. Otherwise the joint itself becomes a bottleneck before the fluid even reaches the elements.
Sizing the mixer to the cartridge volume, not just to the mix ratio, keeps the flow rate in check. It also keeps the back-pressure inside a range the gun can actually handle.
The ranges below reflect general reference points across common industry mixer catalogs. Actual element counts vary by manufacturer, adhesive viscosity, and filler content.
| Mix Ratio | Typical Cartridge Volume | General Element Range | Practical Note |
|---|---|---|---|
| 1:1 | 50ml – 400ml | Roughly 17–21 elements | Easiest ratio to blend; equal volumes need less aggressive shear |
| 2:1 | 50ml – 400ml | Roughly 18–21 elements | Slightly more elements than 1:1 to fully disperse the smaller stream |
| 4:1 | 200ml – 490ml | Roughly 21–24 elements | Needs a longer mixing path to catch the minor component up |
| 10:1 | 400ml – 1500ml | 24 or more elements, or a Quadro/dynamic design | Standard helix designs often struggle; many operators prefer Quadro or dynamic mixers |
What Is Retained Volume and Why Does It Matter?
Retained volume is the adhesive that stays inside the mixer once the bead stops. It never reaches the part. Every static mixer traps some amount of adhesive along its internal elements and nozzle length. Operators discard that trapped material along with the disposable mixer after a single use. On high-ratio or high-viscosity jobs, this small, repeated waste can add up to a meaningful cost across a full shift.
Dead Volume Inside a Mixer, Explained Simply
Dead volume is a set amount of internal space inside the mixing chamber and nozzle. It always holds some adhesive, no matter how careful the operator is.
- A longer mixer or a design with more elements increases dead volume. There is simply more internal surface and channel length for adhesive to cling to.
- Operators cannot recover or reuse adhesive left behind in this dead volume. They simply discard it along with the disposable mixer body.
- For small, low-viscosity beads, dead volume is a minor line item on the cost sheet.
- For thick, expensive structural adhesives, that same dead volume becomes a real and recurring cost driver.
Dead volume is not a defect in the mixer. It is simply the physical price of getting a smooth, bubble-free bead.
What Retained Adhesive Actually Costs Over a Shift
A single mixer holds back only a small amount of adhesive, but that amount repeats constantly across a production day.
- One mixer might retain only a fraction of a milliliter, or a few milliliters, depending on its length and diameter.
- Multiply that small loss by hundreds of mixer changes across an eight-hour shift. The retained adhesive adds up to a measurable volume of wasted material every single day.
- High-performance structural epoxies and silver-filled conductive adhesives cost far more per milliliter than a basic sealant. The same retained volume becomes a bigger expense as the adhesive chemistry advances.
- Choosing a shorter, better-matched mixer, instead of defaulting to the longest one in stock, cuts this recurring cost.
Retained volume rarely looks significant on a single cartridge. Across a full production run, it becomes a line item worth tracking.
Pot Life and Adhesive Curing Inside the Mixer
Pot life is the standard industry term for how long an adhesive stays workable before it begins to set.
- Once the two components combine inside the mixer, the pot-life clock starts running immediately. This happens whether or not the operator is actively applying the bead.
- A mixer left idle mid-shift can begin curing internally before its pot life expires. This leaves a partially hardened plug the next time the gun fires.
- Fast-curing chemistries with a short pot life are especially sensitive to any pause in dispensing.
- The retained adhesive inside the mixer has less time margin before it sets, compared to fresh adhesive inside the cartridge.
Treating pot life as a countdown helps avoid most mid-shift plugging problems. The clock starts the moment mixing begins, not the moment someone pulls the trigger.
Helix vs. Quadro (Square) Geometry — Trade-Offs on Waste
The internal shape of a mixer changes how much retained adhesive it carries for the same level of mixing quality.
- Helix (spiral) mixers use a continuous twisting channel. This design is gentle on pressure drop but generally needs more length to reach full mixing.
- Quadro (square) mixers force the fluid through a tighter series of shear planes. They often reach the same mix quality in a shorter overall length.
- A shorter Quadro mixer can hold less dead volume than an equivalent helix mixer.
- The trade-off is that Quadro geometry can create higher back-pressure per unit length, so gun thrust needs checking first.
Choosing between helix and Quadro geometry is really a choice about mixer length and back-pressure. It also affects how much adhesive a facility wastes with every change.
How Can You Diagnose a Stalled Bead or Blocked Mixer on the Line?
Diagnosing a stalled bead starts with a quick visual and mechanical check, not a call to the adhesive supplier. Look at the mixer outlet and check the plunger force against what the gun normally needs. Confirm the cartridge seated correctly before assuming the chemistry has failed. Most stalls trace back to trapped air, a partial blockage, or a worn mixer. Each of these leaves its own distinct, recognizable signature on the line.
Visual Checks to Run Before Blaming the Adhesive
A few seconds of direct observation at the nozzle often tells the whole story before any tools come out.
- Watch the bead as it leaves the nozzle. A uniform color and texture points to good mixing, while streaks or marbling point to a mixer problem.
- Check whether the flow is smooth and continuous, or pulses and starts and stops. Pulsing usually means trapped air moving through the system.
- Inspect the cartridge-to-mixer joint for any visible ooze or bleed at the seam. This is a classic sign of cross-talk at the interface.
- Look at the nozzle tip itself for a small, dried, cured plug. This can form quickly whenever the gun sits idle mid-shift.
Most mechanical faults leave a visible clue between the cartridge and the nozzle tip, for anyone who looks.
Reading Pressure Gauges and Plunger Force Correctly
Pressure and force readings turn a vague feeling that “something is off” into a measurable signal.
- On pneumatic guns, a sudden jump in the regulator pressure signals rising resistance inside the mixer.
- On manual guns, the same problem shows up differently. The trigger suddenly needs far more hand force partway through a stroke than it did at the start.
- Establishing a baseline force or pressure reading with a known-good mixer makes any later deviation much easier to notice quickly.
- A pressure reading that keeps climbing steadily usually points to a growing blockage. This differs from one that simply settles at a new, fixed level.
A gun’s own gauge or trigger feel is often the earliest warning system available, well before a bead visibly fails.
When to Swap the Mixer vs. Adjust the Gun Settings
Deciding what to change first saves time. It also keeps operators from blaming a good gun for a worn mixer, or the other way around.
- If the stall appeared after switching to a new cartridge or mixer batch, swap the mixer first.
- Revert any recently changed gun setting, such as air pressure, to rule out an operator adjustment before touching the mixer.
- If the bead ran fine but got worse partway through the stroke, the mixer is likely developing a clog. Swap it out.
- If the same fault shows up across every mixer, the problem likely sits upstream. It is probably in the gun’s seals or plunger alignment, not the mixer.
Swapping the cheapest, easiest part first, usually the mixer, rules out the simplest explanation before spending more time troubleshooting.
Quick-Reference Troubleshooting Checklist
The table below matches common shop-floor symptoms to their most likely cause and fix.
| Symptom | Likely Cause | Recommended Fix |
|---|---|---|
| Bead suddenly stops mid-stroke, plunger force spikes | Growing blockage from worn elements or abrasive filler buildup | Replace the mixer immediately; do not force through with extra pressure |
| Adhesive keeps oozing from the nozzle once the operator releases the trigger | Trapped air acting as a compressed spring inside the cartridge or mixer | Check cartridge filling quality and purge trapped air before starting the bead |
| Bead flows but shows visible streaks or marbling | Too few mixing elements, or worn shear surfaces | Switch to the correct element count and geometry for the ratio and viscosity |
| Soft or uncured patch appears right at the cartridge-to-mixer joint | Cross-talk or bleed at the connection interface | Inspect and reseat the bayonet or twist-lock fitting; replace if worn |
| Required plunger force rises gradually across the shift with the same mixer type | Cold ambient temperature raising adhesive viscosity | Bring cartridges to room temperature before dispensing |
| A fresh mixer immediately fixes the problem on the same cartridge | Confirmed mixer-side fault, not the adhesive | Continue with the new mixer and flag the old batch for inspection |
Frequently Asked Questions
What is a static mixer used for?
A static mixer blends two separate adhesive components, such as a resin and a hardener, into one consistent stream. This happens as the components pass through the nozzle. It uses a series of fixed internal elements to split and fold the two fluids together. This design needs no motor or moving parts. Once the adhesive exits the mixer, it should look uniform and be ready to bond, seal, or pot a part.
Why is my two-part epoxy not curing evenly?
Uneven curing almost always means the two components did not blend in the correct ratio before they left the mixer. A worn or undersized mixer, a blocked element, or cross-talk at the cartridge joint can all cause this problem. Each one can leave unmixed pockets of resin or hardener behind. Testing the cartridge in a different, correctly sized mixer shows whether the fault lies with the mixer or the adhesive.
What does back-pressure mean in glue dispensing?
Back-pressure is the resistance a gun feels as it pushes adhesive through the mixer and nozzle. It builds up from the mixing elements, the nozzle diameter, and the thickness of the adhesive itself. Higher back-pressure needs more thrust from the gun, so matching mixer size to gun strength keeps dispensing smooth, not forced.
How many mixing elements does a static mixer need?
Element count depends on the mix ratio and viscosity of the adhesive, not a single fixed number. Standard helical mixers commonly use somewhere between 17 and 24 elements. Higher ratios like 10:1 usually need more elements, or a different geometry, to fully blend the smaller component.
What is the difference between a static mixer and a dynamic mixer?
A static mixer has no moving parts. It relies entirely on fixed internal elements to fold the fluids together as pressure pushes them through. A dynamic mixer adds a motorized rotating element inside the nozzle, actively shearing the fluids together. Most production lines reserve dynamic mixers for adhesives with extreme viscosity differences that a static design cannot fully blend.
Why does adhesive keep oozing out after the operator releases the trigger?
The industry calls this run-on, and it points to trapped air inside the cartridge or mixer. Air compresses under the pressure of the gun. It expands once the trigger releases, pushing extra adhesive out of the nozzle. Vacuum-assisted or bottom-up filling leaves cartridges far less prone to this problem.
Can a static mixer nozzle be reused?
Manufacturers design static mixers as single-use, disposable components. Adhesive begins curing inside the mixer as soon as blending starts. A used mixer often has a partially hardened plug inside it by the next use. Reusing one risks cross-contamination, uneven mixing, and a sudden blockage mid-bead.
What causes air bubbles in a mixed epoxy bead?
Air bubbles usually enter during cartridge filling or through the mixer’s internal geometry. They can also enter from an unprimed mixer at the very start of a stroke. A mixer with too few elements, or the wrong geometry for the adhesive’s viscosity, can trap air. This happens instead of pushing the air through evenly. Priming the mixer with a short discard stroke before applying the bead removes most trapped air.
Getting Every Bead Right, Every Time
Most off-ratio beads and stalled dispensing runs trace back to the mixer, not the adhesive. Element count, nozzle diameter, mix ratio, and gun thrust need to match before blaming a batch of resin or hardener. Retained volume and pot life then decide how much material a facility wastes with every cartridge change. Working through these mechanical checks first, before assuming a chemistry failure, saves both material and downtime. Brands that need dispensing hardware built to these standards can turn to Haijing. The company manufactures the static mixers, cartridges, and dispensing guns that hold this precision on the line.