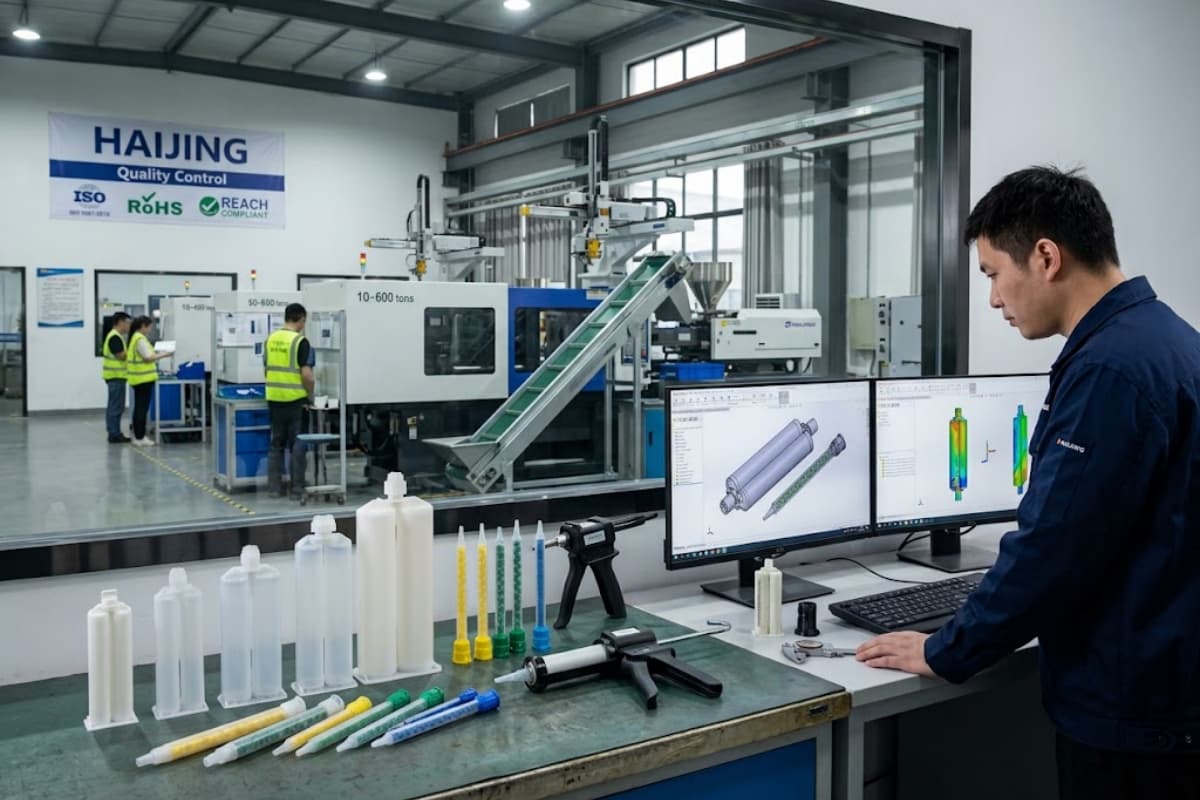
A custom adhesive cartridge OEM or ODM program turns a specific adhesive packaging or dispensing requirement into a production-ready component—dual cartridges, mixer nozzles, or dispensing guns—built to your dimensions, materials, mix ratio, and brand. A typical custom project moves through seven stages: requirement analysis, design-for-manufacturing (DFM) review and quotation, prototyping, in-house tooling, injection molding with first article inspection (FAI), mass production with in-process quality control, and packaging with global delivery. This guide explains what to prepare before you request a quote, how each development stage works, where quality checks sit, and which engagement model fits your program. The objective is practical: lower development risk and lead time while keeping specifications and intellectual property under your control.
What Is Custom Adhesive Cartridge OEM/ODM?
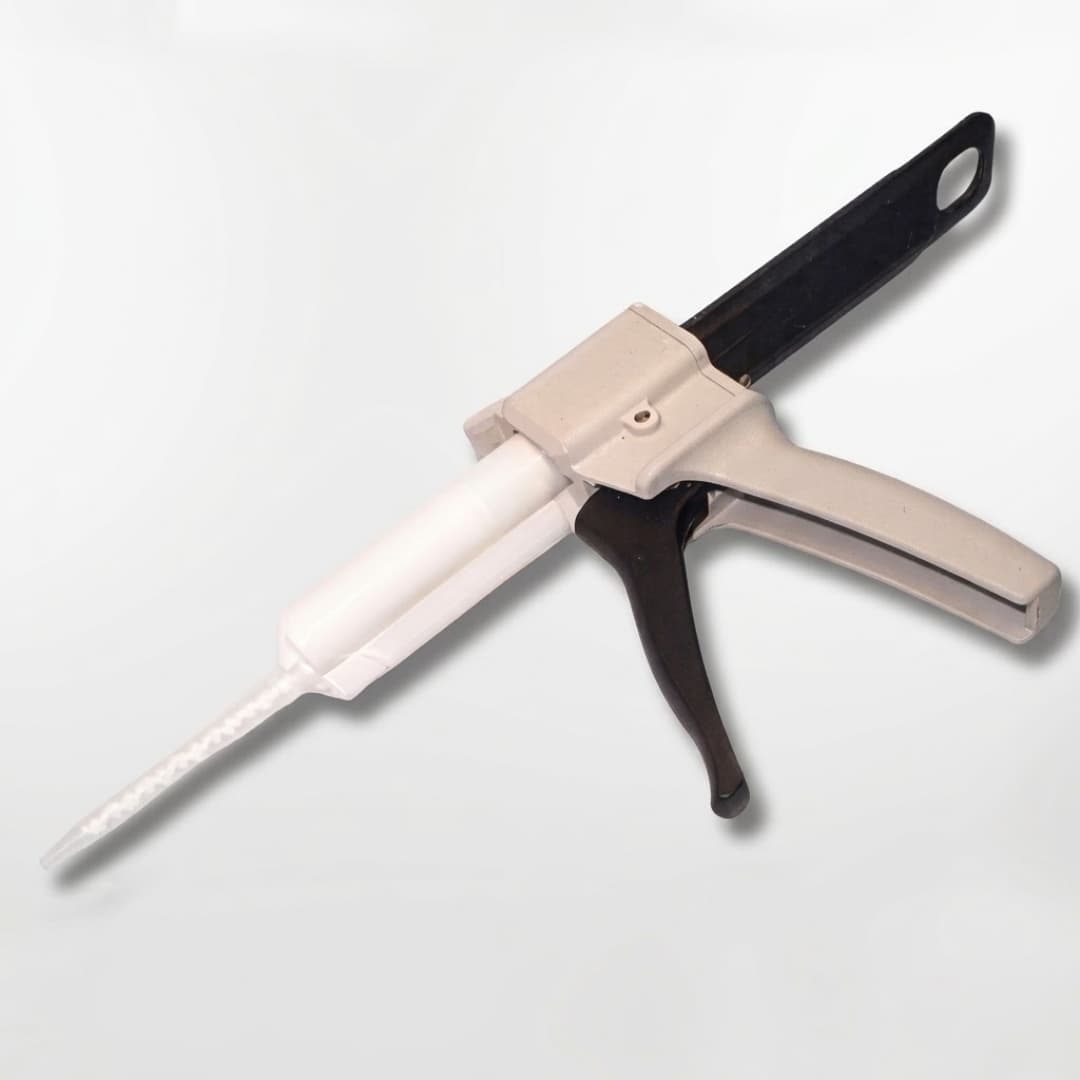
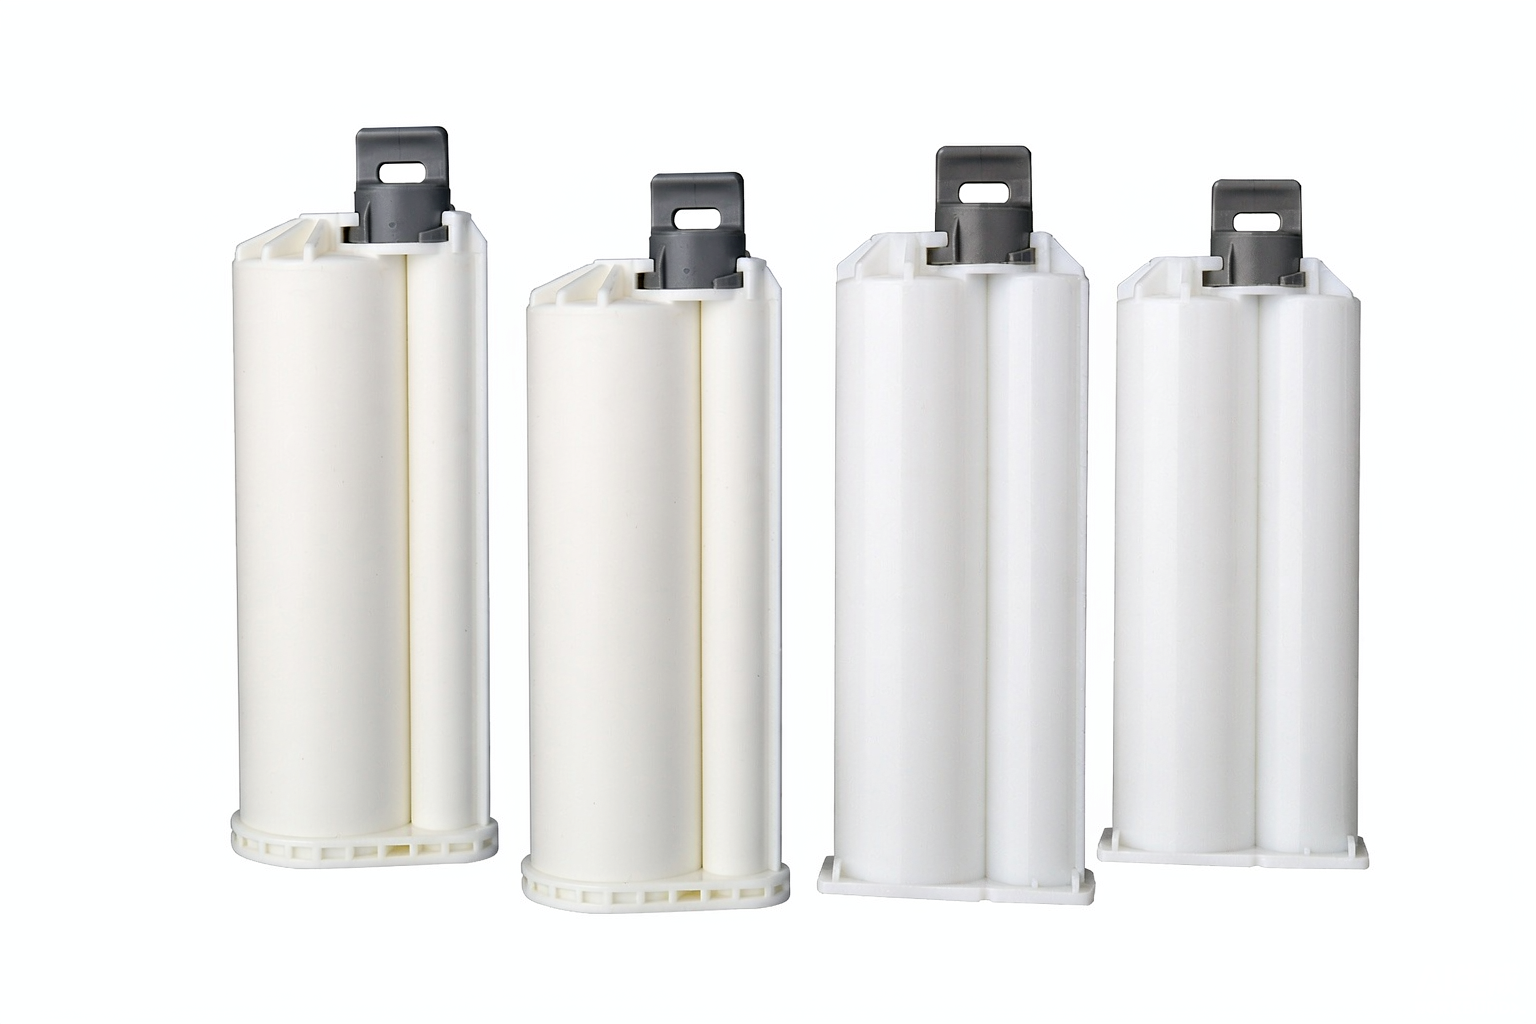
Custom adhesive cartridge OEM and ODM work covers the engineering and manufacturing of two-component (2K) dispensing components to a buyer’s specification. The components most often involved are dual cartridges, static and dynamic mixer nozzles, manual and pneumatic dispensing guns, and—at the system level—automated dispensing equipment. A custom program is relevant when an off-the-shelf cartridge or mixer cannot meet the material chemistry, geometry, mix ratio, or branding requirement of a specific adhesive product.
OEM vs ODM for Dispensing Components: What’s the Difference?
OEM (original equipment manufacturing) means you supply the design—drawings, dimensions, material specification—and the factory produces it. The factory’s value is manufacturing capability: mold making, injection molding, assembly, and quality control. ODM (original design manufacturing) means the factory contributes the design or adapts a proven platform to your requirement. For example, a standard mixer geometry can be modified for a specific viscosity ratio, or a cartridge body can be reconfigured for a 10:1 mix ratio and a different interface. Many buyers use a hybrid: an existing tooling platform (OEM-style) with branded and dimensional changes (ODM-style). The right model depends on how much of the design you already own and how much development risk you want the factory to carry.
When Custom Beats Off-the-Shelf Cartridges & Mixers
Standard cartridges and mixers cover common volumes (200 ml and 400 ml) and common ratios (1:1, 2:1, 4:1, 10:1). Custom development becomes the better choice when any of these conditions apply: the adhesive chemistry requires a specific resin grade (for example, silicone-free PP for electronics); the mix ratio or viscosity profile is outside standard ranges; the interface must match a proprietary or Mixpac-compatible connector; the component must survive a defined pressure or temperature envelope; or the product is sold under a private label and needs logo printing and custom packaging. In those cases, a custom program removes field failures and returns-related costs that off-the-shelf parts introduce.
Who This Is For: Adhesive Brands, Equipment Makers, Distributors
Three buyer types run custom cartridge and mixer programs most often. Adhesive formulators need cartridges and mixers matched to their chemistry and sold under their own brand. Dispensing equipment makers need components that integrate with their guns and automated platforms. Industrial distributors need private-label or region-specific packaging to serve local markets. Each group shares the same concern: a component that looks correct but fails at the mix ratio, seal, or cure stage damages the finished product and the relationship with the end user.
What to Prepare Before You Request a Quote
A precise quote depends on the quality of the input specification. The more the factory knows upfront, the fewer iterations the prototype stage requires. The four areas below cover what most custom cartridge and mixer programs need.
Adhesive & Application Specs
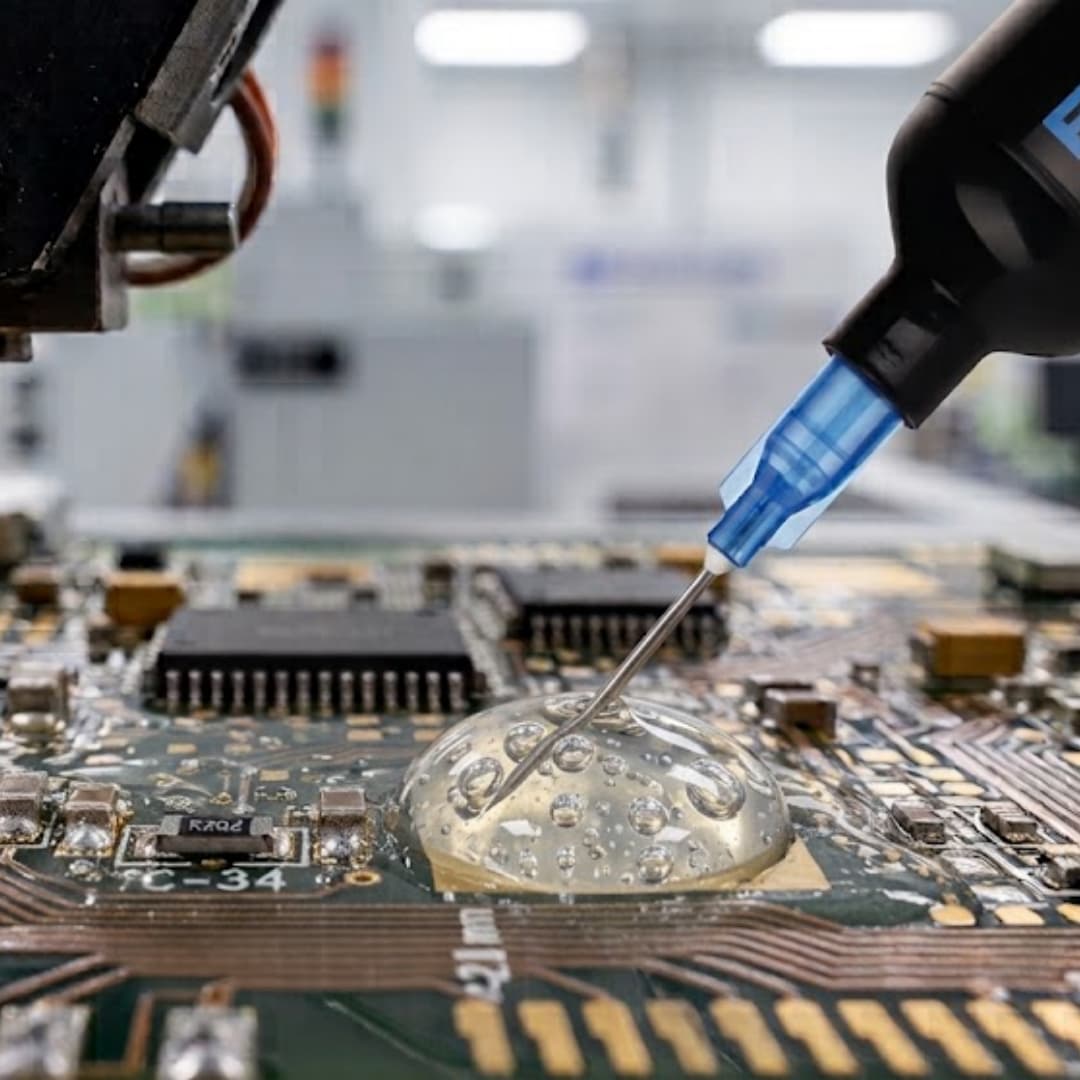
Start with the adhesive itself. Provide the chemistry (epoxy, polyurethane, silicone, acrylic, or other), viscosity range, and the mix ratio (1:1, 2:1, 4:1, or 10:1). Note cure conditions and any filler content, because abrasive fillers change mixer geometry and mold wear. Describe the application: potting, gasketing, bonding, or sealing, and the substrate. This information determines whether a static mixer, a dynamic mixer, or a hybrid is appropriate, and it selects the material family for the cartridge and nozzle.
Cartridge Specs
Define the cartridge body: target volume (commonly 200 ml or 400 ml, but other sizes are possible), the number of chambers, the mix ratio it must support, the wall material (PP, PBT, POM, or PC), color, and any silk-screen printing on the body. If the cartridge must meet silicone-free or food-contact-adjacent requirements, state that explicitly, because it changes the resin grade and the production line used.
Mixer & Nozzle Specs
For the mixer, specify the interface system (A, B, C, or F), the required element count, the internal geometry (helical or quadro), the outlet type, and the diameter. The geometry and element count must match the viscosity asymmetry of the two components; a 10:1 system needs a different mixing structure than a 1:1 system. If the mixer must connect to a specific gun or automated head, provide that interface so the factory can verify compatibility during DFM.
Volume, Target Cost & Compliance Needs
State the annual volume and the target unit cost, because both shape the tooling and material strategy. Confirm compliance requirements up front: RoHS, REACH, silicone-free, or UL-related documentation. Compliance is easier and cheaper to design in than to retrofit after tooling is cut.
The 7-Stage Custom Cartridge & Mixer Development Process
This is the core of a custom program. Each stage has a defined output that lets you approve progress before committing to the next.
Stage 1 — Consultation & Requirement Analysis
You share the project goal, the adhesive specification, target volumes, and any constraints. The factory’s engineering team reviews the requirement to identify feasibility issues early—such as a mix ratio that conflicts with a chosen interface. The output of this stage is a shared understanding of scope and risk, not a finished design.
Stage 2 — DFM Analysis, Engineering Proposal & Quotation
The factory performs design-for-manufacturing analysis: it checks wall thickness, draft angles, gate location, and mold-flow behavior, then proposes material and process adjustments that improve yield and reduce cost. The proposal includes material suggestions, a development timeline, and a transparent quotation that separates one-time tooling from per-unit cost. This is the stage where most specification risk is resolved.
Stage 3 — Prototyping & Client Validation
Before cutting production tooling, the factory builds functional prototypes using 3D printing or a pilot mold. You test the prototype with your actual adhesive to confirm fit, mix quality, and dispensing behavior. Validation at this stage prevents expensive tooling changes later.
Stage 4 — In-House Mold Making & Tooling
Once the prototype is approved, the production mold is built. A vertically integrated manufacturer runs this in its own mold workshop, using CNC machining, mirror EDM, and precision grinders. Keeping tooling in-house shortens the development cycle and protects design confidentiality, because the mold data stays within one facility. HAIJING operates this model with an in-house mold workshop and more than 60 injection molding machines ranging from 10 to 600 tons.
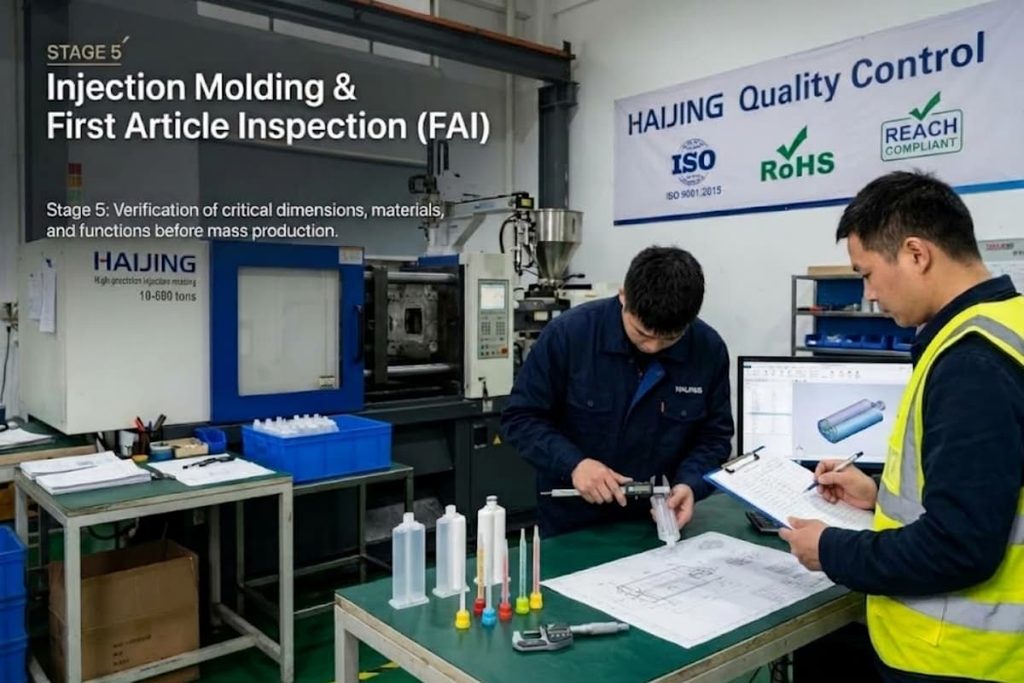
Stage 5 — Injection Molding & First Article Inspection (FAI)
Production tooling is qualified by running trial parts and measuring them against the drawing. The First Article Inspection (FAI) report documents critical dimensions, material, and function so you can sign off before mass production. This is the formal gate between development and volume supply.
Stage 6 — Mass Production & In-Process QC
With FAI approved, the program moves to full-scale production. Quality control runs at two levels: automated in-process monitoring on the molding machines and patrol inspection on the production line. The goal is dimensional and cosmetic consistency across the entire run, not just on the first parts.
Stage 7 — Packaging, Compliance Documents & Global Delivery
Finished components are packed to your specification—individual cartons, bulk, or retail-ready—and the required compliance documents (RoHS, REACH, silicone-free declarations, or others) are assembled. The factory manages logistics to deliver to your facility. For private-label programs, this stage also confirms that printed branding and packaging match the approved artwork.
How Quality Is Controlled from Prototype to Mass Production
Quality control is not a single inspection at the end; it is built into each stage so that problems are caught where they are cheapest to fix.
In-Process Monitoring & Patrol Inspection
During molding, machines run automated real-time monitoring of process parameters, and the line undergoes regular patrol inspection. This catches drift in dimensions or cosmetics during the run, rather than after a batch is complete.
Final Quality Assurance (AQL-Based FQA)
Before packaging, each batch is inspected to AQL (Acceptable Quality Limit) standards. The check covers dimensions, function, and packaging. AQL-based inspection gives a statistically supported pass/fail decision without 100% manual sorting, which keeps cost reasonable at volume.
Certifications & Compliance: ISO 9001:2015, RoHS, REACH, Silicone-Free
The manufacturing system should hold ISO 9001:2015 certification, which governs the consistency of the quality management process. Material-level compliance (RoHS, REACH, silicone-free) is documented per program and supplied with the shipment when required. Confirm the exact certificates applicable to your market before release.
Engagement Models & Customization Options
The same factory can support different depths of customization depending on what you need.
Component Customization
This covers mixers and tips (element design, diameter, material such as PP, PA, or PBT, and outlet type matched to viscosity and mix ratio), cartridges (volume, ratio, material, color, silk-screen printing), and dispensing guns (thrust ratio, color, and private labeling for high-volume orders). Component customization is the most common entry point for a custom program.
Private Label & Branding
Private-label programs add logo printing on the cartridge or gun and custom packaging. This is relevant for distributors and adhesive brands that sell under their own name. Branding changes are handled during tooling and printing setup, so they should be specified before Stage 4.
Custom Automated Dispensing Systems
At the system level, standard automated platforms can be modified for working area, fixtures, and software, and can integrate specific dispensing valves or vision systems. This engagement is heavier than component customization and is suitable when the component is part of a larger automated process.
Timeline, Cost Drivers, MOQ & Scaling
Development timing and cost depend on complexity, so the numbers below describe structure rather than fixed values. Exact figures should be confirmed with the supplier for your program.
Typical Timeline by Stage
A simple customization—existing platform, dimensional and branding changes—can move from quote to first samples in a relatively short window. A fully new tooled cartridge or mixer adds mold-making and FAI time. Sampling and tooling are the longest stages; mass production lead time depends on order volume and current capacity. State your target launch date early so the factory can sequence tooling accordingly.
What Drives Cost: Tooling, Material, Volume & Printing
Cost has two parts. Tooling is a one-time investment amortized across the order quantity; higher volumes lower the effective per-unit tooling cost. Material choice (virgin resin grade versus standard grade, and the specific polymer) affects both performance and price. Printing and private-label packaging add setup cost. The dominant lever on unit price is annual volume, because it spreads tooling and setup and improves machine utilization.
MOQ & Scaling with a Vertically Integrated Factory
Minimum order quantity depends on the component and whether new tooling is required; programs built on existing tooling typically support lower starting volumes than fully new tools. A vertically integrated manufacturer—with its own molding, tooling, and assembly—scales from pilot runs to millions of parts without moving the project between vendors. HAIJING’s 20,000 m² facility and 60+ injection molding machines (10–600 tons) are built for that scaling path.
Frequently Asked Questions
What is the minimum order quantity (MOQ) for custom cartridges? MOQ depends on whether the program uses existing tooling or requires a new mold, and on the component size. Programs on existing platforms generally support lower starting volumes. Confirm the MOQ for your specific configuration with the supplier.
Can you produce cartridges and mixers for 10:1 and 4:1 mix ratios? Yes. Custom cartridge and mixer development supports 1:1, 2:1, 4:1, and 10:1 ratios. The mixer geometry and element count are selected to handle the viscosity asymmetry of the specific ratio, so the ratio must be stated in the specification.
How long do tooling and sampling take before mass production? Sampling and tooling are the longest stages. A light customization on an existing platform is faster than a fully new tooled part. Provide your target date so tooling can be sequenced; exact lead times depend on part complexity and current capacity.
Can you print our logo or brand on the cartridge and packaging? Yes. Logo printing on the cartridge body and custom packaging are supported for private-label programs. Branding and artwork should be confirmed before mold and printing setup to avoid rework.
Do you sign an NDA and protect our IP? A non-disclosure agreement and internal IP controls are standard for custom programs, because the design and mold data are sensitive. Confirm the NDA terms before sharing drawings.
Are your cartridges and mixers RoHS and REACH compliant? Compliance documentation (RoHS, REACH, and silicone-free declarations where applicable) is provided per program. Confirm the specific certificates required for your target market before release.
Can you match Mixpac-compatible A/B/C/F interfaces? Interface compatibility—A, B, C, and F systems—can be designed and verified during DFM so the custom mixer connects correctly to the intended gun or automated head. Provide the target interface in the specification.
Conclusion
A custom adhesive cartridge or mixer program succeeds when the development process is staged and gated: clarify the requirement, resolve design risk in DFM, validate with a prototype, qualify the tool with FAI, then scale under in-process and AQL quality control. The decision logic is straightforward—choose custom when chemistry, ratio, interface, or branding rules out a standard part, and choose the engagement model (component, private label, or system) that matches how much of the design you own. The cost and lead-time levers are tooling, material grade, volume, and printing, all of which are decided before mass production.
If you are defining a custom cartridge, mixer, or dispensing system and want to review feasibility, DFM feedback, and a development timeline, the HaiJing engineering team is available to support your project technically from the first drawing to mass production.