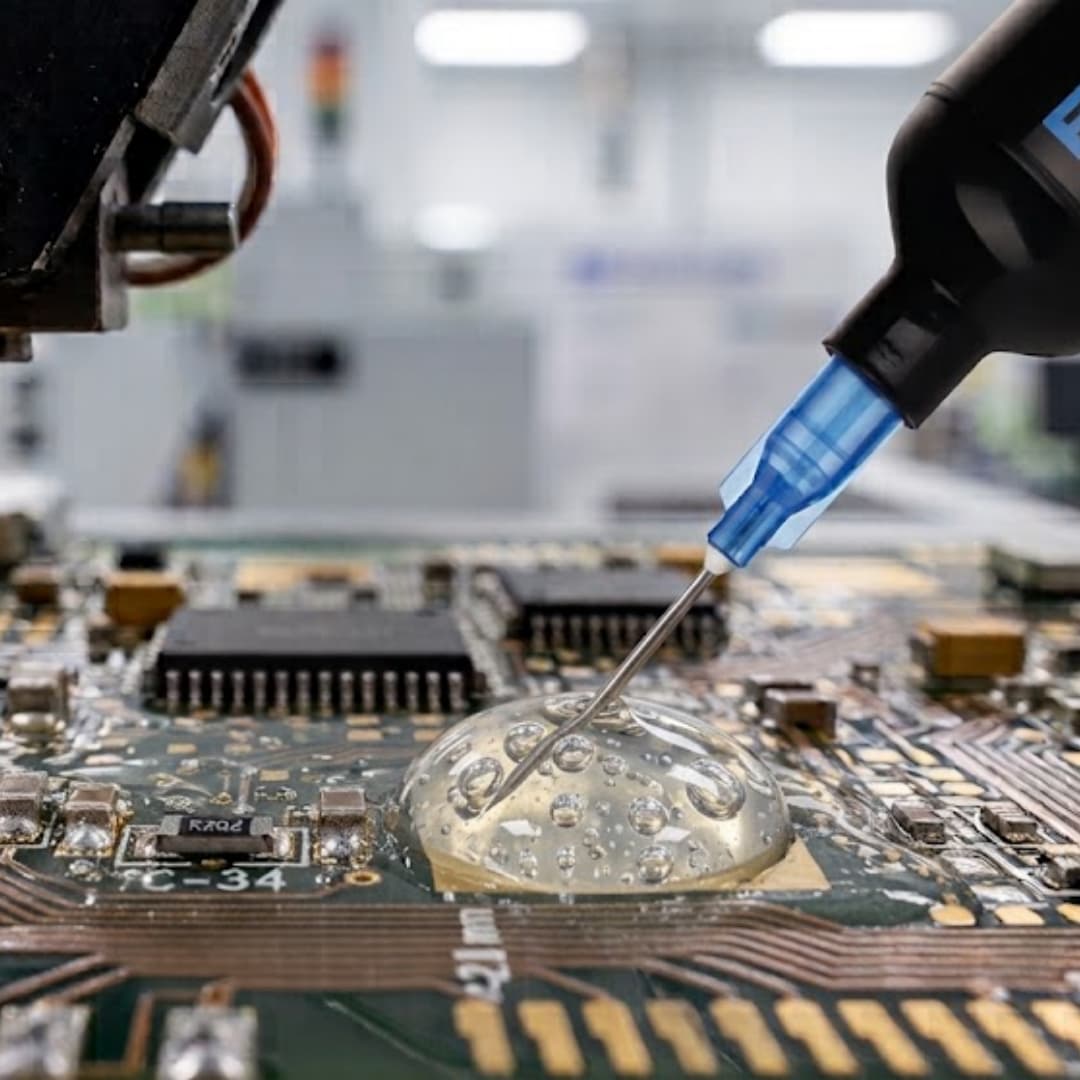
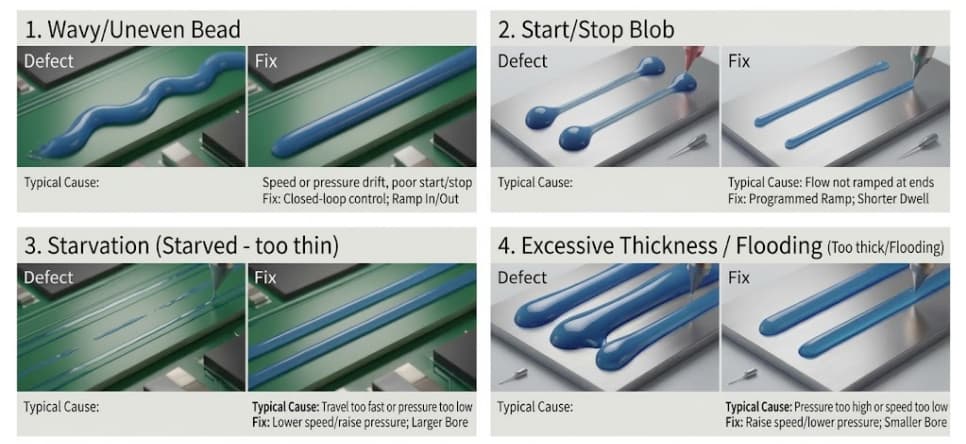
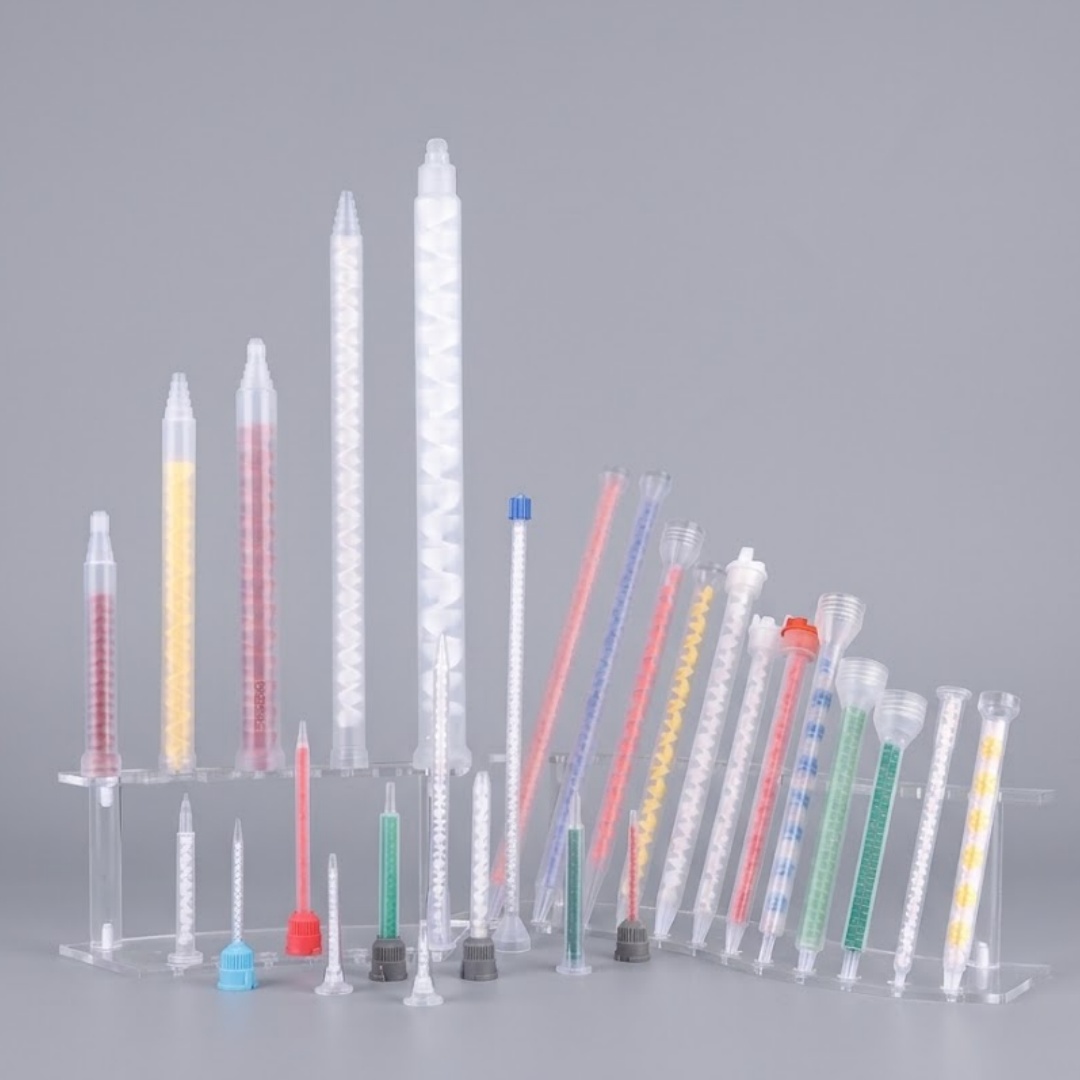
Air bubbles in potting and encapsulation are one of the most common—and most avoidable—causes of field returns in electronics, automotive, and photonics assemblies. A single void can break a dielectric path, hide a weak bond, or concentrate stress until the part fails under thermal cycling. This guide walks through where entrapped air actually comes from, the two main degassing routes (vacuum and centrifugal), the process settings that suppress bubbles at the source, and how to verify a bond is truly void-free before it ships.
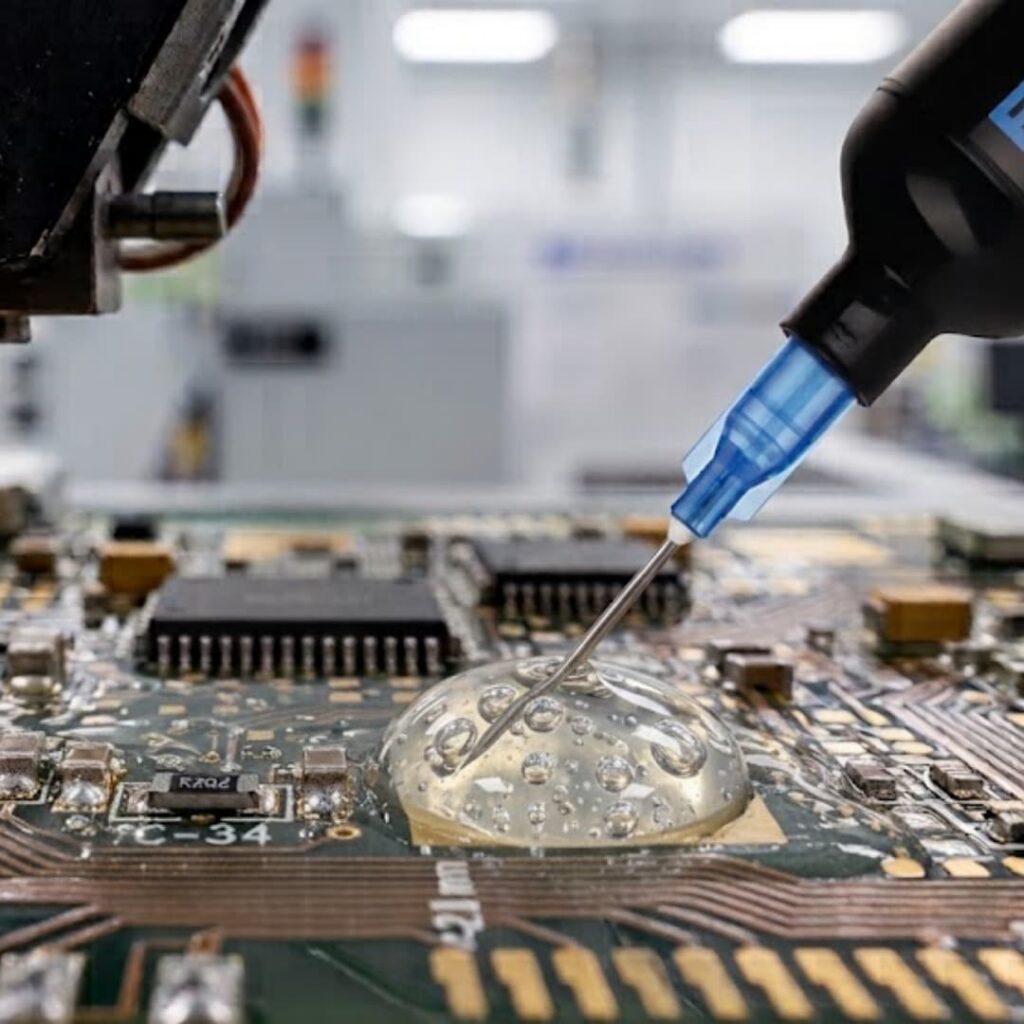
Why Bubbles in Potting Are More Than Cosmetic
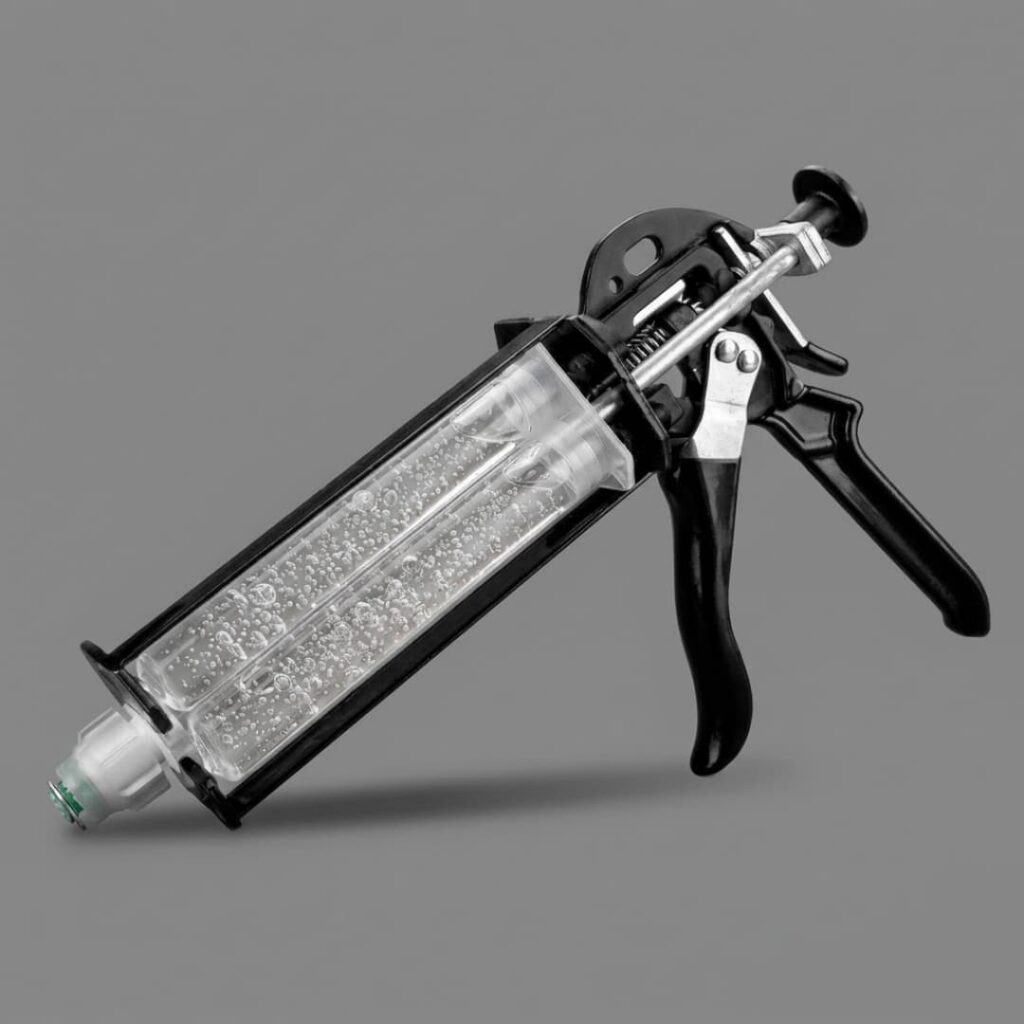
In a filled or encapsulated part, a bubble is not a surface blemish—it is a missing volume of material where the design assumed solid resin. The failure modes are concrete:
- Dielectric breakdown: in potted electronics, a void reduces creepage distance and can initiate partial discharge.
- Hidden bond loss: a bubble at an interface means no adhesive contact at that spot, so the joint is locally unbonded.
- Stress concentration: round voids act as crack-initiation points under thermal or mechanical load.
- Appearance and inspection rejects: even when functionally harmless, visible bubbles trigger customer rejects.
For electronics-grade encapsulation, bubble control is treated as a reliability requirement, not a cosmetic one. The electronics potting guide covers where void sensitivity is highest in those programs.
The Three Routes Air Enters Your Encapsulation
Before choosing a degassing method, identify which route is feeding air into the part. Most voids trace to one of three sources:
| Air route | How it enters | Best response |
|---|---|---|
| Entrained during fill | Turbulent pouring or pumping draws air into the bulk material | Slow, submerged filling; vacuum-assisted dispense |
| Material-borne gas | Low-viscosity components release dissolved or reacted volatiles under shear or cure | Bulk degassing before dispense |
| Trapped by drop height | A falling stream folds air into the cavity as it fills | Bottom-up dispense; needle or side-wall feed |
This mapping decides the fix: entrained and material-borne air respond to degassing; drop-height air responds to dispense geometry. The filling machine settings—fill rate, vacuum assistance, and nozzle placement—are where most of that control lives.
Vacuum Degassing: How It Works and When to Use It
Vacuum degassing lowers the pressure above the material so dissolved and entrained gas expands and rises out of the resin. In practice it takes one of two forms:
- Off-line chamber degassing: the bulk resin (or pre-mix) sits in a vacuum chamber, is held at a reduced pressure for a defined time, then released to atmosphere before potting.
- In-line vacuum dispense: the material passes through a vacuum manifold or cavity immediately before it is deposited, removing gas at the point of use.
It works best on low-to-medium viscosity materials that do not violently boil or outgas uncontrollably under vacuum. The operating envelope—target vacuum level, hold time, and any temperature preconditioning—should come from the material’s technical data sheet or be confirmed with the supplier; guessing here either leaves bubbles in or pulls volatiles that change the formulation.
A typical in-line setup on a filling machine pairs a controlled, lower fill rate with a vacuum stage so entrained air is removed without raising line speed.
Centrifugal Degassing as an Alternative
Centrifugal degassing removes gas by spinning the material at high speed; the density difference between the liquid resin and the gas drives bubbles toward the center or surface where they break. Its main advantage over vacuum is that it does not rely on a reduced-pressure environment, which matters for materials that volatilize or react badly under vacuum.
| Factor | Vacuum degassing | Centrifugal degassing |
|---|---|---|
| Principle | Pressure drop expands and releases gas | Centrifugal force separates gas by density |
| Best for | Low/medium viscosity, vacuum-stable materials | Higher viscosity or vacuum-sensitive materials |
| Equipment form | Chamber or in-line vacuum manifold | Spin chamber or centrifuge |
| Watch-outs | Boiling/outgassing if set too aggressive; fill level limits | Loading and balance; cycle time per batch |
Neither is universally better; the choice follows the material. Both are process steps that belong on the filling machine or its associated prep station rather than a manual bench step if you want repeatability.
Process Settings That Suppress Entrained Air
Even with a degassing step, poor fill practice reintroduces air. The controls that matter:
- Fill slowly with the inlet submerged so the material does not fall and fold air as it enters the reservoir or cavity.
- Dispense bottom-up—feed from the lowest point so the air naturally rises and vents instead of being trapped under an advancing front.
- Use a needle or side-wall feed rather than a free-falling stream for deep or narrow cavities.
- Set fill rate and vacuum together on the filling machine: a controlled lower rate with vacuum assistance removes most entrained air without changing the chemistry.
- Pre-warm or condition where the TDS allows, since viscosity and gas solubility both shift with temperature—confirm the safe range with the supplier.
The rule of thumb from the field: if bubbles appear only after a material change, suspect the material or its degassing; if they appear only at high speed, suspect entrainment and slow the process.
Verifying a Bubble-Free Bond
You cannot manage what you do not measure. Verification options scale with the criticality of the part:
| Method | What it shows | When to use |
|---|---|---|
| X-ray / CT | Internal voids and their size without destroying the part | High-reliability electronics, sampled or 100% |
| Ultrasound | Delamination and large voids | In-line or batch screening |
| Cured cross-section + microscope | Direct void count and location | Failure analysis, qualification |
| Visual (clear systems) | Surface and near-surface bubbles | Transparent encapsulation only |
Acceptable void rate or maximum void size should be defined in the product specification or confirmed with the supplier—do not assume a universal threshold. For electronics programs, the electronics potting guide frames where the tightest limits apply.
A Pre-Potting Degassing Checklist
Confirm each item against your actual material before a new run, not against a generic assumption:
Material
- Is degassing required for this resin? (check TDS / supplier)
- Vacuum vs centrifugal chosen by material behavior
- Target vacuum level, hold time, temperature defined from TDS
Process
- Fill rate and vacuum set on the filling machine
- Bottom-up or submerged feed confirmed for the cavity geometry
- Drop height minimized
Verification
- Inspection method selected (X-ray / cross-section / visual)
- Acceptance criterion written into the spec
- First-article inspected before volume runs
Haijing’s customization team qualifies the degassing and potting configuration against exactly this data set, so the setup is proven on your material rather than assumed.
Frequently Asked Questions
How do I remove air bubbles from potting compound?
Identify the source first—entrained air from turbulent filling, material-borne volatiles, or a falling dispense stream. Degas the bulk material under vacuum (or by centrifugation for vacuum-sensitive resins), fill slowly with the inlet submerged, and dispense bottom-up with vacuum assistance on the filling machine. The right combination depends on the material, so confirm parameters with its TDS or supplier.
What is the vacuum degassing procedure for epoxy?
A typical procedure holds the resin (or pre-mix) in a vacuum chamber at a reduced pressure for a defined time, then releases it before potting; in-line systems do the same at the point of dispense. The specific vacuum level, hold time, and any temperature preconditioning must come from the epoxy’s technical data sheet or the supplier—setting them by guesswork risks incomplete degassing or unwanted outgassing.
Vacuum degassing vs centrifugal degassing: which is better?
Neither is universally better. Vacuum suits low-to-medium viscosity, vacuum-stable materials and is simple to apply in-line or in a chamber. Centrifugal suits higher-viscosity or vacuum-sensitive materials that boil or react under reduced pressure. Choose by material behavior, not by preference.
Why are there bubbles in my cured epoxy after potting?
Usually because air was entrained during fill, released from the material under shear or cure, or folded in by a falling stream—and no degassing or controlled-fill step removed it. Trace the three routes, confirm whether the bubble appeared after a material change or only at high speed, and apply the matching control (degassing and/or bottom-up, slow, submerged fill).
Can I prevent bubbles without a vacuum chamber?
Often yes, for entrainment-driven bubbles: fill slowly with the inlet submerged, dispense bottom-up through a needle or side-wall feed, and minimize drop height. These process controls remove most mechanically trapped air. Material-borne gas, however, usually still needs a degassing step (vacuum or centrifugal) to release dissolved or reacted volatiles.
Conclusion
Air bubbles in potting come from three routes—entrained air, material-borne gas, and drop-height trapping—and each has a matching control. Vacuum and centrifugal degassing are the two main ways to release gas from the material; slow, submerged, bottom-up filling suppresses entrainment at the source; and X-ray or cross-section inspection confirms the result. Define the degassing method and acceptance criterion from the material’s data sheet, build the controls into the filling machine process, and bubble-related returns drop out of the line.
If your material or cavity geometry makes void control difficult, the fastest next step is to send the resin data and part drawing to an applications engineer.
Welcome to contact the HaiJing team: Send us your material data and potting geometry—our engineers will specify the right vacuum or centrifugal degassing setup and filling configuration. → customization