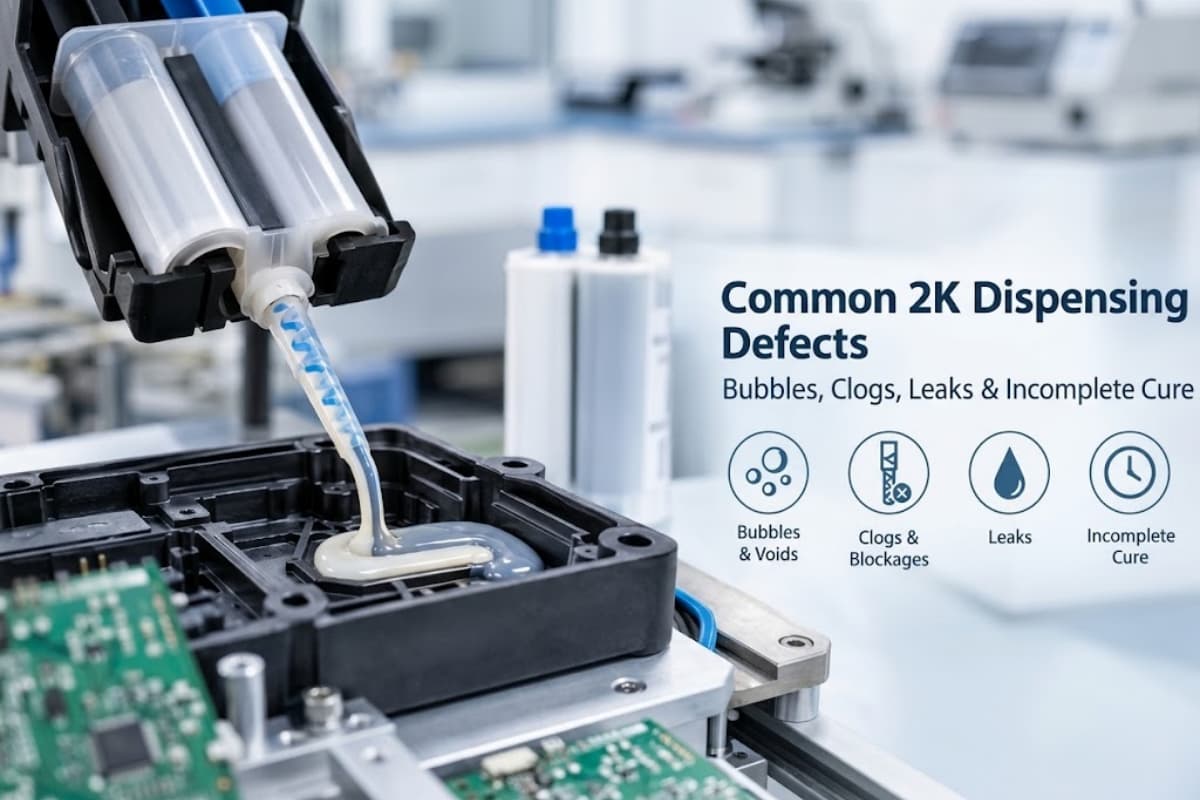
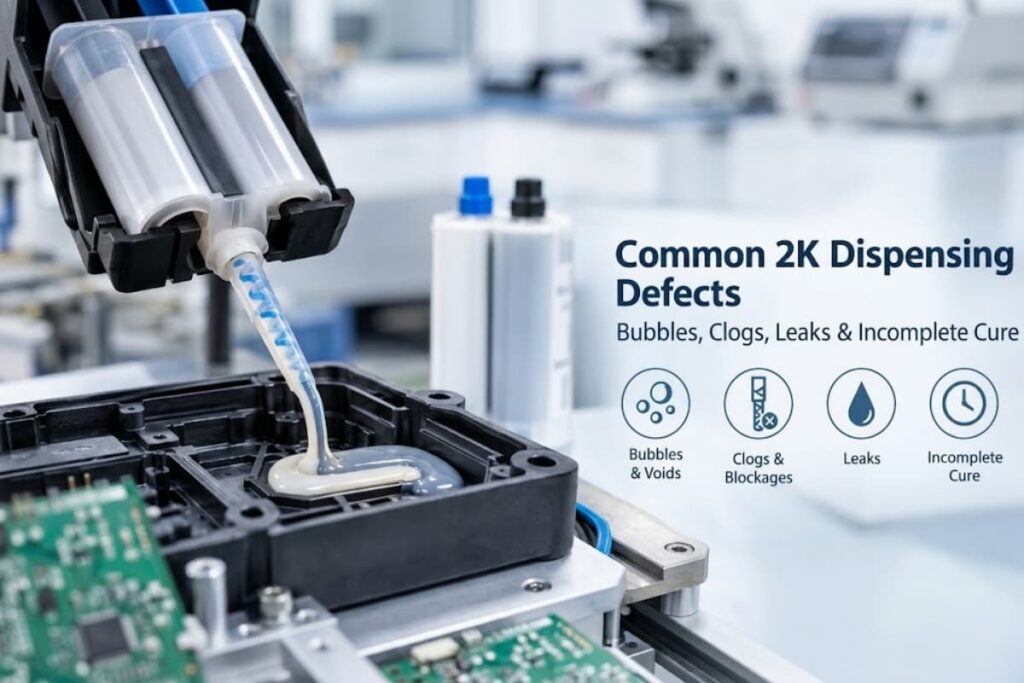
When you search for two part adhesive dispensing problems, you usually already have a failure on the line—bubbles in a potted part, a clogged mixer, adhesive leaking from the cartridge, or a bond that never sets. These four defects—air entrapment, clogging, leakage, and incomplete cure—account for most 2K dispensing rejects, and each has a distinct root cause located in a specific part of the process. This article gives you a diagnostic path: how to tell which defect you have, what causes it, and the concrete fix for each, so you can stop changing parts at random and correct the actual source.
How to Diagnose a 2K Dispensing Defect
Before replacing hardware, confirm what you are actually seeing. Most misdiagnosis comes from treating the symptom (a clogged tip) as the cause (premature cure from too-long residence time). Use a short triage:
- Capture the symptom precisely: where does it appear—in the mixed bead, inside the mixer, at the cartridge, or in the cured part?
- Note the pattern: every shot, intermittent, or only after idle or a slow cycle.
- Record the material data: viscosity at process temperature, pot life, cure profile, mix ratio, filler content.
- Isolate the stage: material supply (cartridge/plunger), metering, mixing, or dispense tip.
- Change one variable at a time and re-run, rather than swapping gun, mixer, and nozzle together.
That sequence points you to the right section below. Many defects trace back to the cartridge systems hardware or its seals, so start by confirming the cartridge and plunger are sound before blaming the mixer.
Air Bubbles and Voids in the Bead or Potting
Bubbles are trapped gas, not a mixing failure. They enter through four routes, and the fix depends on which one is active.
| Bubble source | How it enters | Fix |
|---|---|---|
| Entrained air during fill | Material poured or pumped with turbulence draws air | Degas bulk material; fill slowly; submerge inlet |
| Material-borne volatiles | Low-viscosity components release dissolved gas under shear | Vacuum degassing before dispense |
| Mixer aspiration | Static mixer at too-high vacuum or wrong orientation pulls air | Keep mixer below its vacuum limit; vent correctly |
| Potting drop height | Falling stream traps air into the cavity | Dispense from the bottom up; use a needle or side wall |
In potting and encapsulation, a single void can breach a dielectric path or hide a bond, so electronics programs treat bubbles as a reject trigger, not a cosmetic issue. Running the filling machine at a controlled, lower fill rate with vacuum assistance removes most entrained air without changing the chemistry. The rule of thumb: if bubbles appear only after a material change, suspect the material or its degassing; if they appear only at high speed, suspect entrainment and slow the process.
Clogs and Blockages in the Mixer or Nozzle
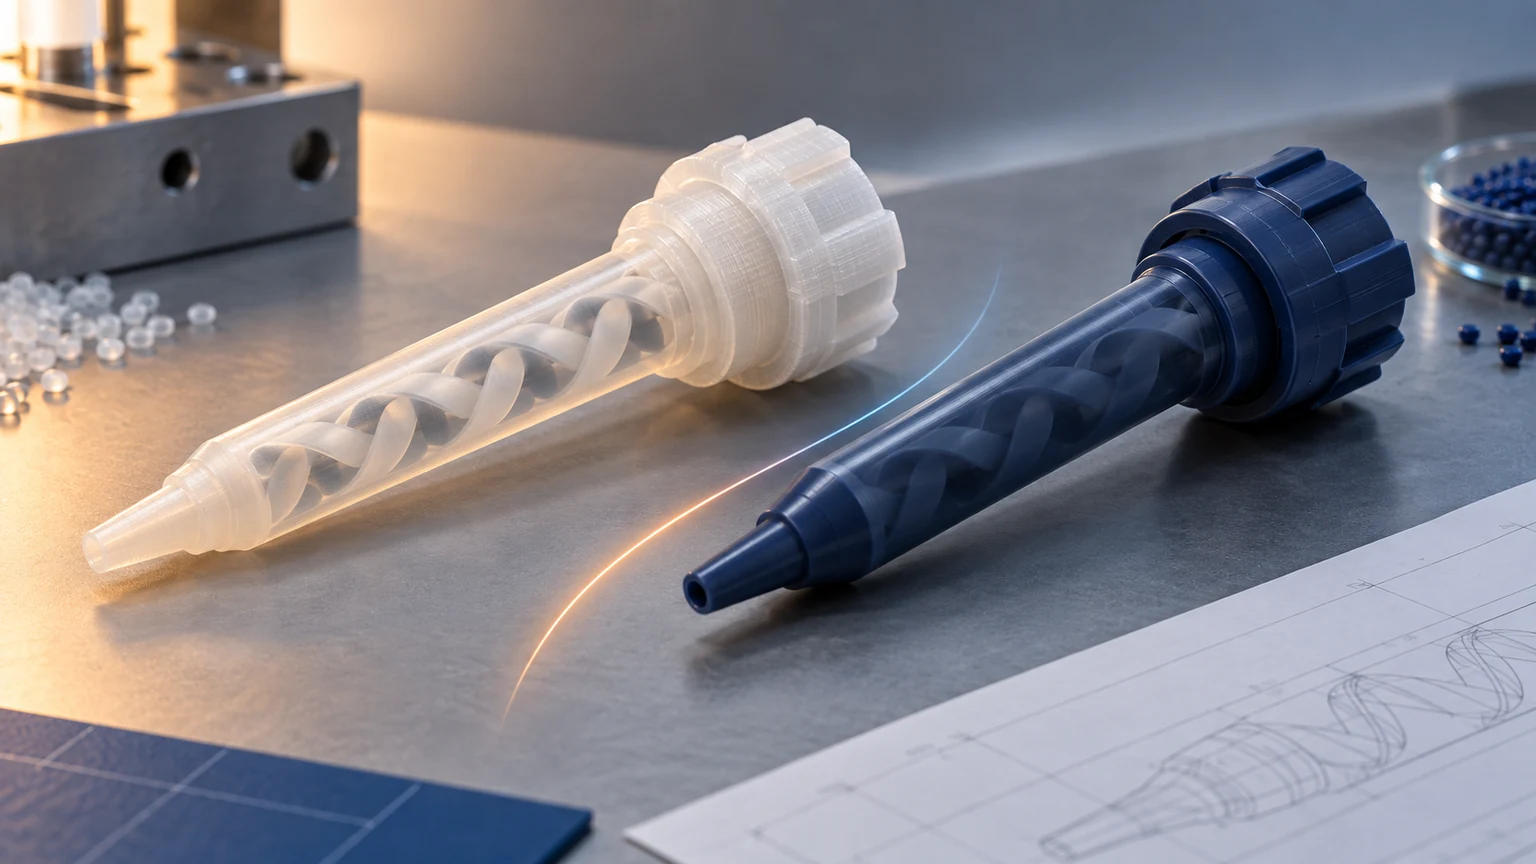
A clog is almost always cured or partially-cured adhesive that should still have been liquid. The static mixer is the usual victim because mixed material dwells inside it.
| Clog cause | Mechanism | Fix |
|---|---|---|
| Premature cure in mixer | Residence time exceeds pot life at low flow | Raise flow or switch to a dynamic mixer; shorten mixer |
| High viscosity / filler | Paste stalls in narrow elements | Larger bore or higher drive pressure |
| Particle or cured speck | Contamination seeds curing | Filter material; clean lines |
| Temperature rise (exotherm) | Mixed volume heats and accelerates cure | Reduce mixed volume; control temperature |
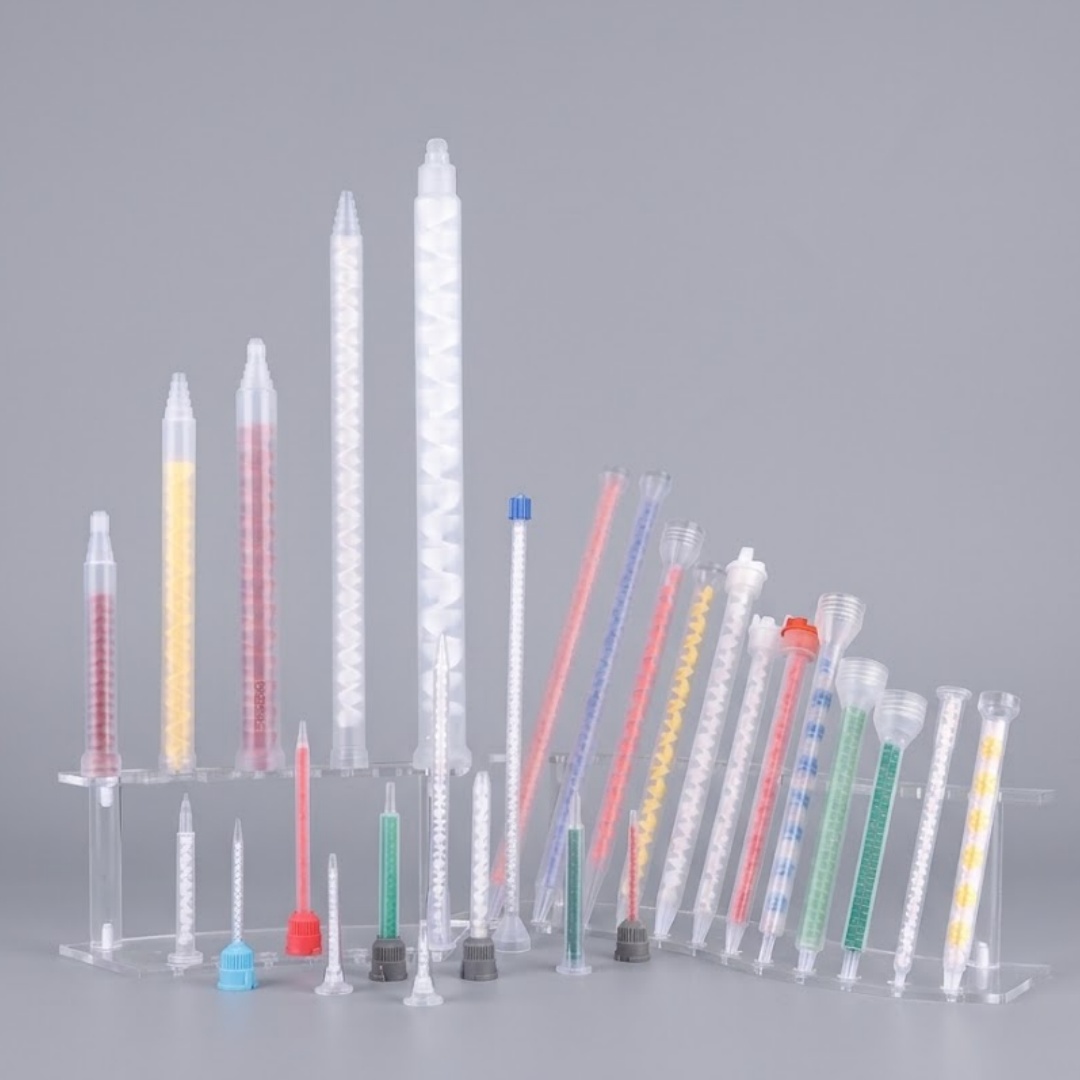
The static and dynamic mixers decision is the lever here: a static mixer is cheap and maintenance-light when pot life is long, but once residence time approaches pot life at your minimum flow, it will block. Switching to a dynamic or on-demand mixer keeps the mixed volume tiny and removes the clog. Clearing a blocked static mixer usually means discarding it—cleaning cured adhesive out of fixed elements is rarely worth the labor—so the fix is prevention, not scrubbing.
Leaks and Material Escape from the Cartridge or Gun
Leaks mean pressure is reaching a path the seal was supposed to close. The source is rarely the adhesive; it is the hardware interface.
- Inspect the cartridge and plunger first: a cracked barrel, a worn plunger seal, or a mis-seated cap lets material bypass the intended flow.
- Check for over-pressure: driving a high-viscosity material through too-small a bore spikes line pressure and pushes past seals that were fine at lower viscosity.
- Verify the dispensing gun’s dynamic seals and retaining ring; worn or incorrectly assembled parts leak at the retainer, not at the tip.
- Confirm the cartridge is the correct grade for the chemistry—some aggressive solvents swell incompatible seals and open a leak path.
Because the cartridge systems structure and its seals sit at the front of every leak, qualifying the cartridge and plunger against your material is the first diagnostic step, not the last. A leak that appears only above a certain pressure is a sizing problem (bore too small or pump pressure too high), while a leak present at rest is a seal or cartridge defect.
Incomplete Cure and Soft or Tacky Bond Lines
A two-part adhesive that stays soft or tacky after its stated cure time has not reacted completely. The causes are narrow but easy to miss.
| Incomplete cure cause | How to verify | Fix |
|---|---|---|
| Wrong mix ratio | Weigh or meter each side; check against TDS | Recalibrate metering; confirm ratio tolerance |
| Incomplete mixing | Streaks in the bead; soft spots localize | Use adequate mixer elements; raise flow if needed |
| Low temperature | Cure profile slows below threshold | Warm parts/material; extend fixture time |
| Inhibited surface | Contaminant blocks cure at the interface | Clean substrate; avoid silicone-contaminated surfaces |
| Expired pot life exceeded | Material sat mixed too long | Reduce mixed residence; flush sooner |
Ratio and mixing are linked: a mix ratio and cartridge geometry error—too much or too little of one component—leaves unreacted chemistry that never reaches full properties, and a starved mixer leaves unmixed streaks that cure partially or not at all. Verify ratio by weighing outputs over a timed shot; verify mixing by inspecting a cured cross-section for striations. Both checks take minutes and prevent shipping soft bonds.
A Preventive Checklist: Designing Defects Out of the Process
Use this before a new material or a new line goes into production. Confirm each against your actual material, not a generic assumption.
Material
- Viscosity measured at process temperature, not only at 25 °C
- Pot life and cure profile from the current TDS
- Filler type and loading noted (affects clog and abrasion)
- Degas step defined if bubbles have been a problem
Hardware
- Cartridge and plunger qualified against the chemistry and pressure
- Mixer type (static vs. dynamic) justified by the pot-life rule
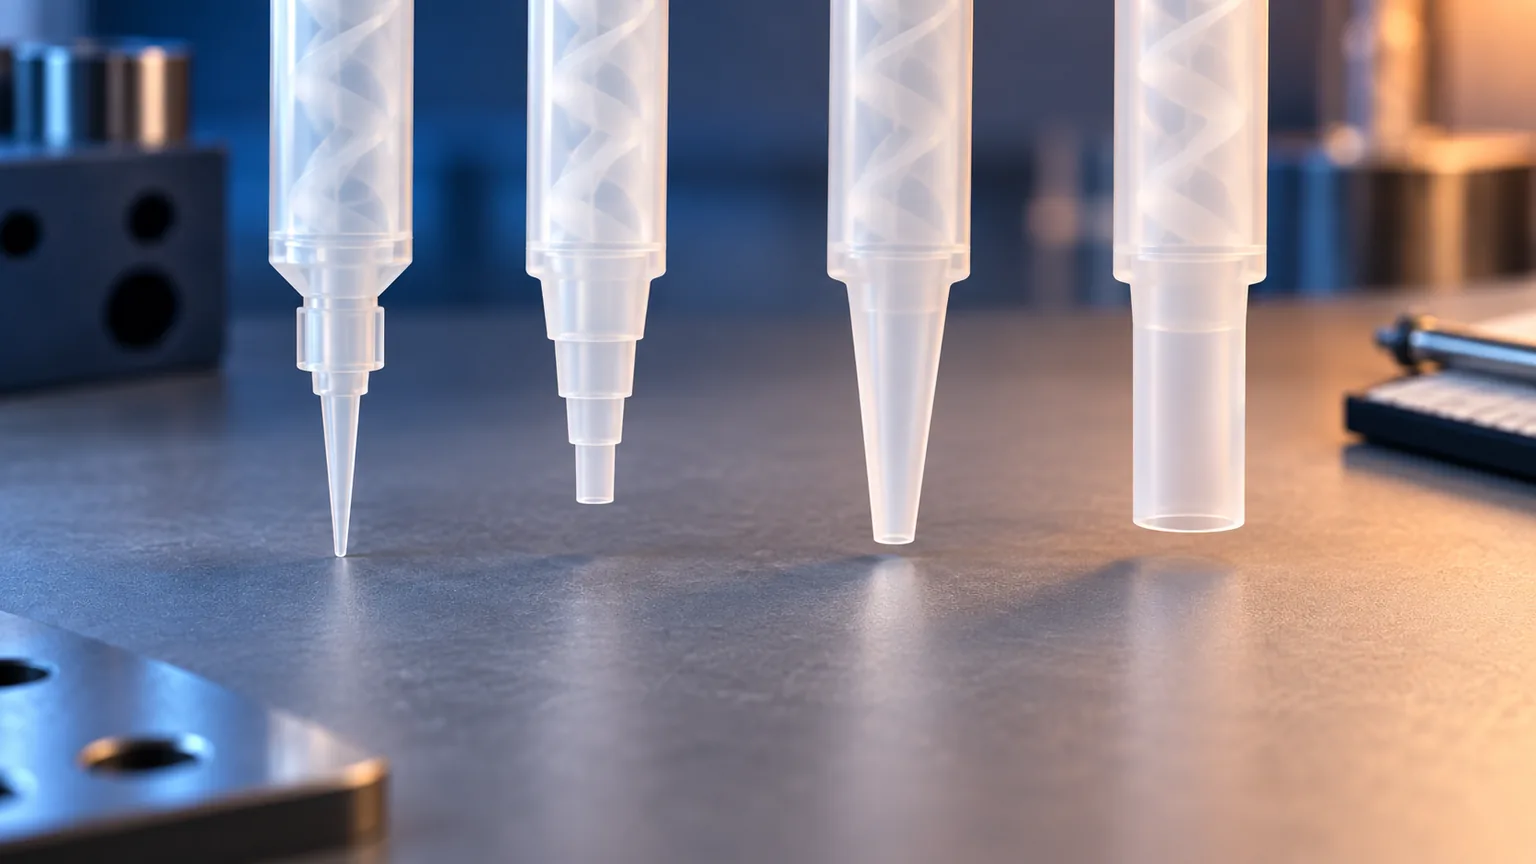
- Nozzle bore sized to viscosity and deposit geometry
- Seals specified for the solvent and cure system
Process
- Residence time below pot life at minimum flow
- Fill rate and vacuum set to suppress entrained air
- Ratio verified by timed weigh-out before volume runs
- Flush window set from cure speed and expected idle
Haijing’s customization team qualifies pump, mixer, and nozzle against exactly this data set, so the configuration is proven against your material rather than guessed.
Frequently Asked Questions
Why does my 2K adhesive clog the static mixer?
Because mixed material is dwelling in the mixer longer than the pot life allows. This happens most at low flow, after idle, or when the mixer has too many elements for the flow rate. Raise the flow, shorten the mixer, or move to a dynamic mixer that keeps the mixed volume minimal. Temperature and exotherm also accelerate cure inside the mixed volume.
How do I get air bubbles out of potting compound?
Start by identifying the source: entrained air from turbulent filling, material-borne volatiles, or a falling dispense stream. Degas the bulk material under vacuum, fill slowly with the inlet submerged, and dispense from the bottom up. For production potting, run the filling machine at a controlled lower rate with vacuum assistance rather than increasing speed.
Why is my adhesive leaking from the cartridge?
Leaks usually come from the hardware interface, not the adhesive. Check the cartridge barrel and plunger seal for cracks or wear, confirm you are not over-pressuring a too-small bore, and inspect the gun’s dynamic seals and retainer. A leak at rest points to a seal or cartridge defect; a leak only above a certain pressure points to a sizing or pump-pressure problem.
Why didn’t my two-part adhesive cure?
Most often the mix ratio was off or the two parts were not fully mixed, leaving unreacted chemistry. Low temperature, a cure-inhibiting surface contaminant, or exceeding the pot life also prevent full cure. Verify ratio by weighing each component over a timed shot and inspect a cured cross-section for striations that signal incomplete mixing.
Can I fix these defects by changing the dispensing gun alone?
Sometimes, but not always. A gun swap helps when the leak or pressure problem is in the gun’s seals or retainer. It will not fix bubbles from entrained air, clogs from premature cure in the mixer, or incomplete cure from a ratio error. Diagnose the stage first—material supply, metering, mixing, or tip—then decide whether the gun is actually the failing component.
Conclusion
The four common 2K dispensing defects each map to a different part of the process: bubbles come from entrained or material-borne gas and are fixed by degassing and controlled fill; clogs come from premature cure in the mixer and are fixed by residence-time control or a dynamic mixer; leaks come from the cartridge, seals, or over-pressure and are fixed by qualifying the hardware; incomplete cure comes from ratio or mixing errors and is fixed by metering verification and adequate mixing. Diagnose the stage before changing parts, write the key parameters into the specification, and the line runs without chasing the same reject twice.
If you have a defect you cannot pin down, the fastest next step is to send the symptom and your material data to an applications engineer.
Contact Us: Send us your defect symptoms and process data—our engineers will diagnose the root cause and recommend the right mixer, nozzle, and machine configuration. → customization