Static mixer outlet types solve different problems at the discharge end of a two-component adhesive system. A Luer-compatible outlet provides a route to a specified dispense tip; a stepped outlet can offer defined cut positions where the manufacturer permits cutting; a tapered outlet guides material to a narrower exit; and a straight or full-bore outlet leaves a comparatively open discharge. Choose from the bead or fill operation backward, then verify the complete cartridge–mixer–tip assembly with your material and equipment. A photograph or outlet label alone cannot establish pressure, mixing quality or fit.
First identify which end of the mixer you are specifying
The inlet attaches to the cartridge or dispensing manifold and keeps the two components routed into the mixer. The outlet is where mixed material leaves. A detachable needle or nozzle fitted beyond that outlet is a third component. Those distinctions sound elementary, yet a specification such as “bell-mouth Luer mixer” can combine a cartridge-side connection with a discharge-side tip and leave both interfaces ambiguous.
Supplier catalogs make the separation explicit. Medmix presents bell, bayonet and threaded forms under mixer inlet types while showing Luer, tapered, straight and stepped configurations on the outlet side. Nordson EFD likewise describes bell inlets on particular spiral-mixer series and lists stepped, tapered and full-bore outlets separately.1, 2 In this guide, “bell” or “bell-mouth” is therefore not an outlet option. If a supplier drawing uses that word differently, resolve it by identifying the physical end and mating part on the drawing.
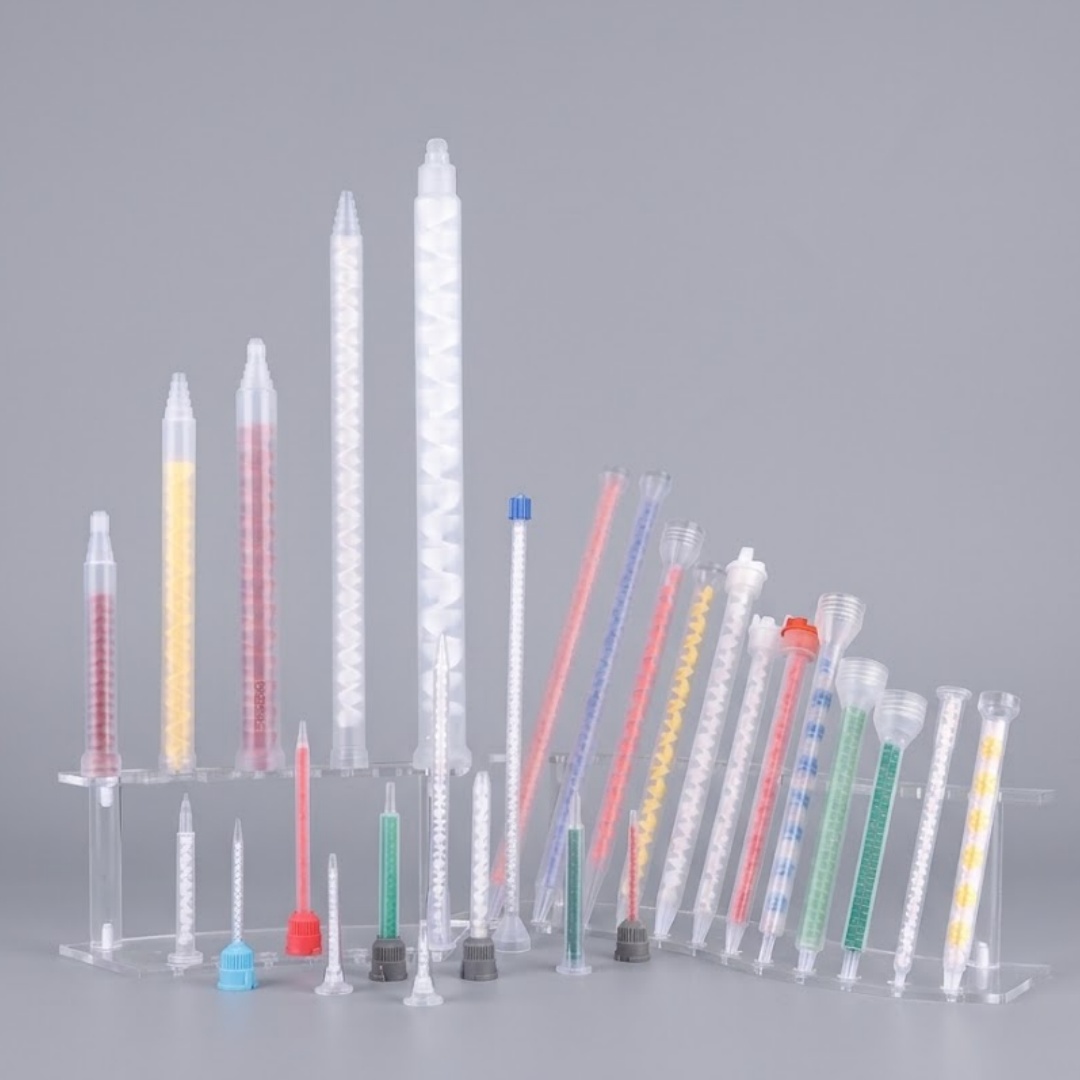
Haijing’s A-System mixer page describes stepped outlets and Luer Lock tips. Its product photography and model suffixes are useful for finding candidate parts, but the purchasing specification should still name the exact part revision, mating cartridge, outlet geometry and any add-on tip. The mixer range is a starting catalog, not a dimensional approval for a particular adhesive line. For cartridge-side retention, use the relevant connection drawing rather than treating an outlet article as an inlet-compatibility guide.
What each outlet type gives you—and what it does not
The choice is not a ranking from “best” to “worst.” It changes how the mixed material leaves the mixer and what must be controlled downstream. The table is a selection aid, not a performance table. Terms such as “open” and “narrow” are relative to the specified part dimensions; different manufacturers and series can assign different sizes to the same general label.
Outlet choice for a two-part adhesive mixer
On a narrow screen, swipe to see the full comparison.
| Outlet family | Useful when… | Specify and check | Watch for |
|---|---|---|---|
| Luer-compatible outlet or adapter | A removable dispense tip is needed for reach, dot or bead control. | Exact slip/lock interface, adapter if used, tip hub and internal diameter, attachment retention and access. | The tip can add restriction, retained material and another joint; “Luer” alone does not prove this mixer accepts your tip. |
| Stepped / cut-back outlet | A direct discharge opening can be selected at a documented step without an extra tip. | Approved cut location, resulting bore, cut quality and part revision; whether modification is permitted. | Cutting at an arbitrary point may damage the outlet or leave debris; each cut position is a different configuration. |
| Tapered outlet | The discharge needs to enter or approach a smaller target opening without a separate needle. | Exit diameter, taper length, insertion clearance and the required flow. | A smaller or longer path may raise required dispensing effort; a taper does not guarantee a fine, repeatable bead. |
| Straight / full-bore outlet | A comparatively open discharge or connection to a qualified downstream fixture is appropriate. | Actual outlet ID/OD, fixture seal, stand-off and deposit target. | An open discharge may not give the desired fine feature; external attachment can still add restriction. |
A “full-bore” label does not mean zero pressure loss; the mixing elements, body, inlet, outlet and any attachment still contribute to the system. Likewise, a narrow outlet cannot correct incomplete A/B mixing upstream. Nordson’s mixer-selection guidance treats fluid properties, flow, backpressure and dispense pattern as connected decisions.3 Use that relationship to set up a test, not to assume a universal pressure advantage for one profile.
Luer outlets: separate the mixer port from the tip
If the deposit is a small dot, a narrow bead or a hard-to-reach location, a Luer-compatible outlet may let the team choose a downstream tip without changing the mixing body. It may also require a separate adapter. The bill of materials must say whether the mixer has an integral Luer interface, a Luer-slip outlet, a lockable adapter, or another mating feature. Do not assume that “Luer tip” is interchangeable across all of them. Confirm the hub geometry and retention in the supplier drawing and test assembly at the intended operating condition.
Next specify the tip itself. Its internal opening and length affect the material path; its outside shape and length affect access to the workpiece. A gauge number on its own is not a process specification, because tip series and actual dimensions matter. Haijing lists separate adhesive dispense tips; a buyer should identify the exact tip SKU or drawing alongside the mixer. For detailed gauge and tip-selection questions, use the dedicated tip guidance rather than assuming a mixer outlet determines the final deposit.
The extra component also creates a new joint and a new place for mixed material to remain after a shot. Test seating, leakage, removal and replacement after the longest realistic pause. If your line frequently changes tips, include operator handling and disposal in the trial. A tip that produces a neat first bead but clogs or loosens during the actual shift has not solved the application. No generic “best gauge” can be supplied without material rheology, flow, tip dimensions and the dispensing system.
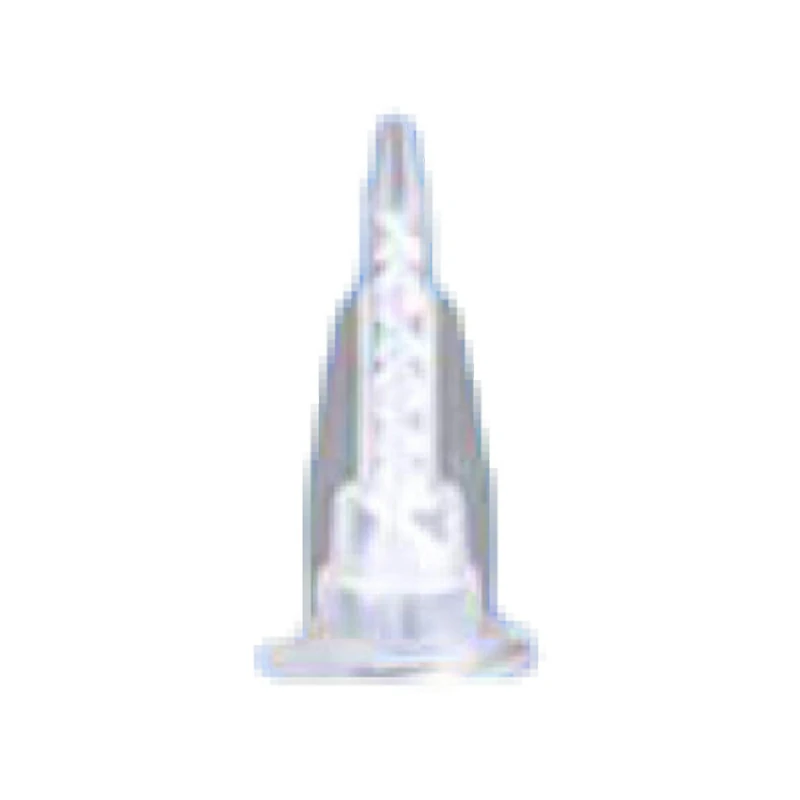
Stepped outlets: a cut position is part of the part number
A stepped outlet provides successive outside sections and, on designs intended for cut-back use, designated positions for obtaining different exit openings. That can avoid a separate tip when the required deposit is controlled by the direct mixer outlet. It is not permission to cut any stepped-looking mixer wherever convenient. Ask whether the specific material and part design allow field cutting, and request an approved cut location or pre-cut variant with its actual resulting ID.
When cutting is approved, define a repeatable operation: identify the intended step on the drawing; use the supplier-approved tool and cut plane; inspect for deformation, burrs and particles; verify the opening and cleanliness; and treat that cut version as its own tested configuration. A cut made by an operator at a different step changes the final geometry and possibly the deposit. Never cut into a mixing element or upstream of the permitted outlet section. If you cannot control the cut, ordering the specified pre-cut outlet may be the more reproducible choice.
The outlet opening is not the mixer bore. Opening the tip of a stepped outlet does not change the entire internal mixing path or compensate for an unsuitable element design. If a larger cut reduces restriction at the last section, that does not prove that the whole assembly will operate within the dispenser’s limits; measure actual delivered flow and system pressure under the intended conditions. The same qualification logic applies if the cut edge changes how a bead detaches at stop/start.
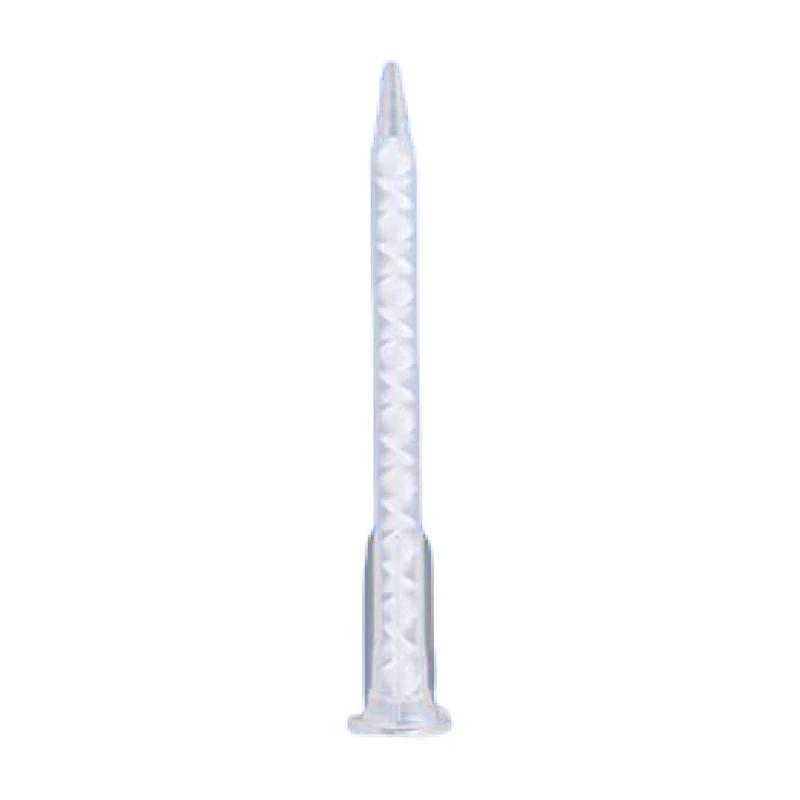
Tapered versus straight/full-bore: start with the placement task
A tapered outlet can bring the discharge toward a recess, hole or controlled stand-off without fitting another needle. The useful question is not “Is a taper more precise?” but “Does the specified exit and approach geometry produce the required deposit at the required flow?” Measure the target feature, access angle and clearance. Then review the drawing for exit diameter and the length of the narrowed path. A very fine-looking tip may be a poor match for a viscous filled adhesive or a fast production cycle; a broad taper may be entirely appropriate for a larger cavity.
A straight or full-bore outlet can be attractive where the material should leave the mixer through a relatively open path—for example, into a broader deposit area or a qualified downstream fixture. It does not automatically create a good bead: the dispenser control, stand-off, movement and substrate still matter. If the material must pass through a hose or separate nozzle afterward, evaluate that whole path. A wide mixer outlet followed by a restrictive attachment is not a wide-open dispensing system.
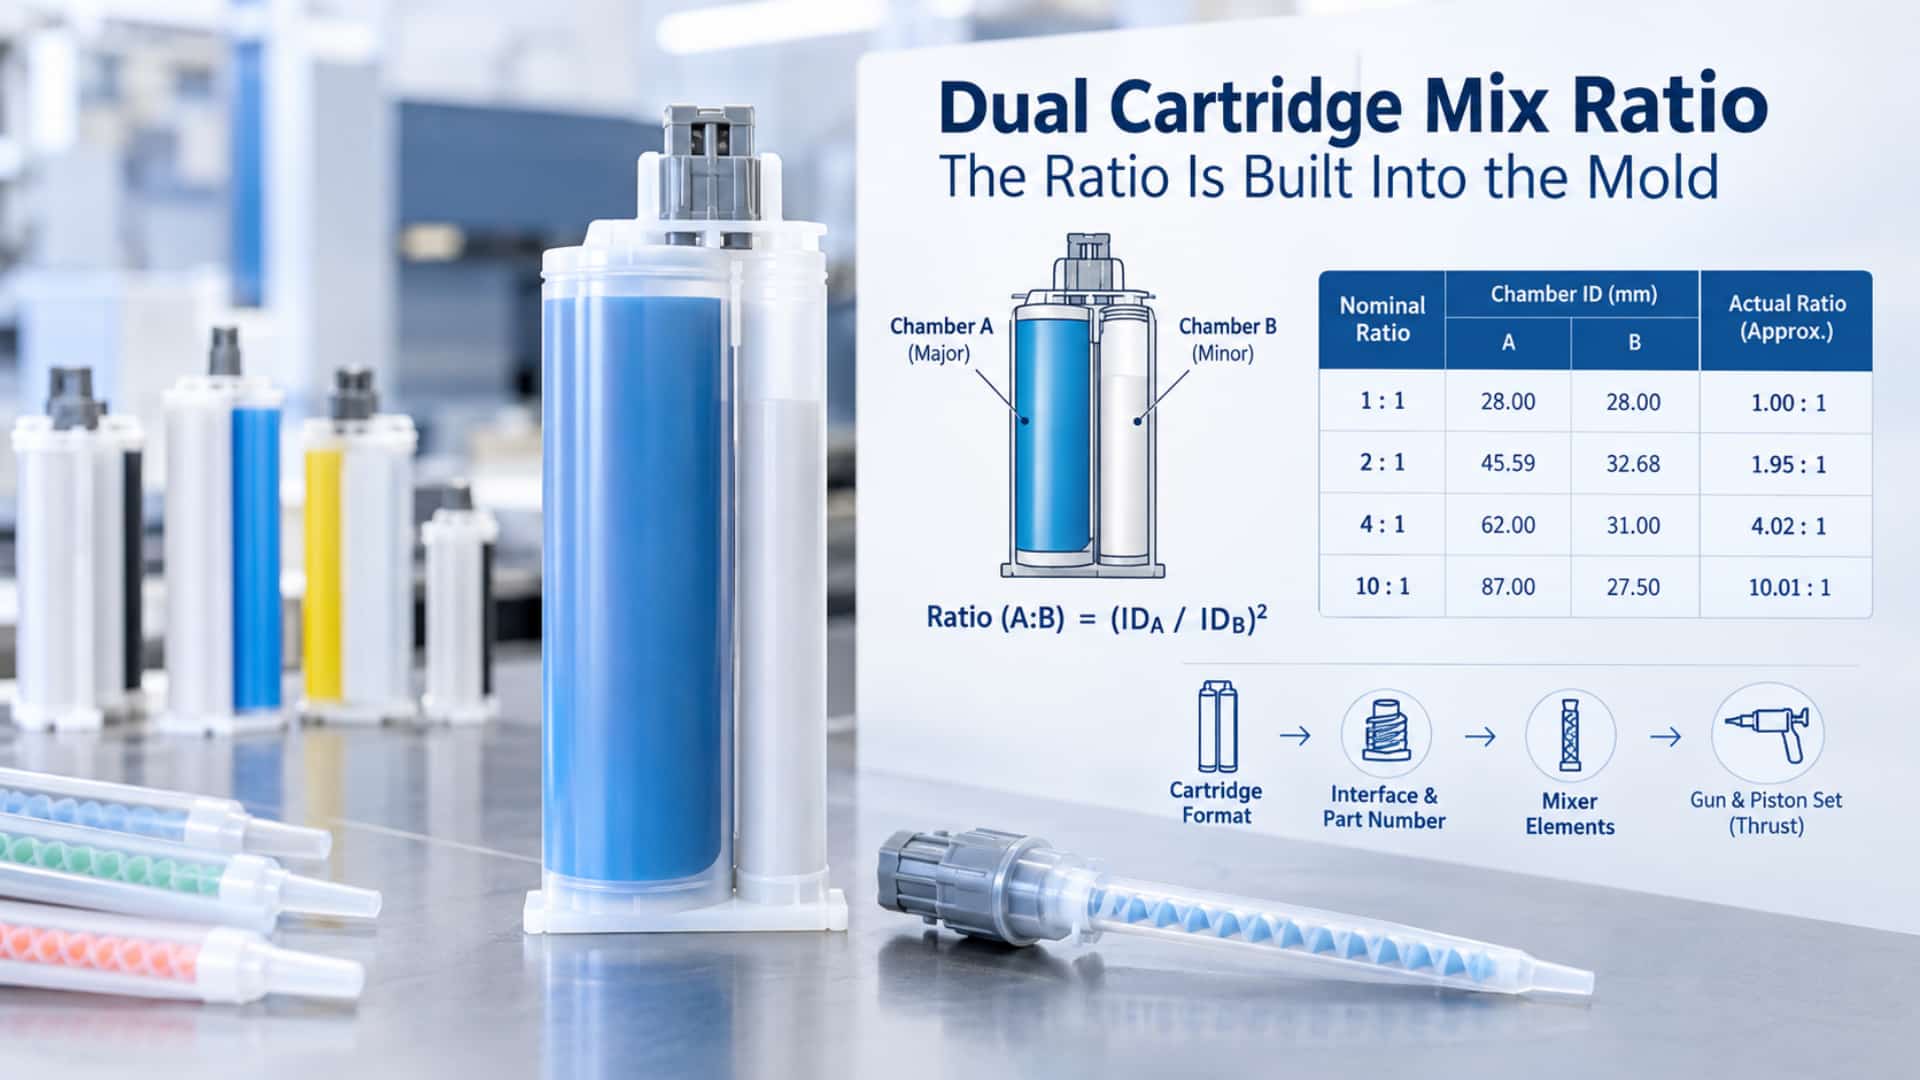
The easiest mistake is to compare two outlet shapes while also changing mixer element count, body diameter or cartridge interface. Then any change in output cannot be assigned to the outlet. Keep the mixer body and material constant where feasible; if the candidate product line requires other changes, call the result a whole-assembly comparison and record every changed part. Our general static-mixer selection guide covers upstream sizing decisions; the present decision begins after the mixed material reaches the discharge end.
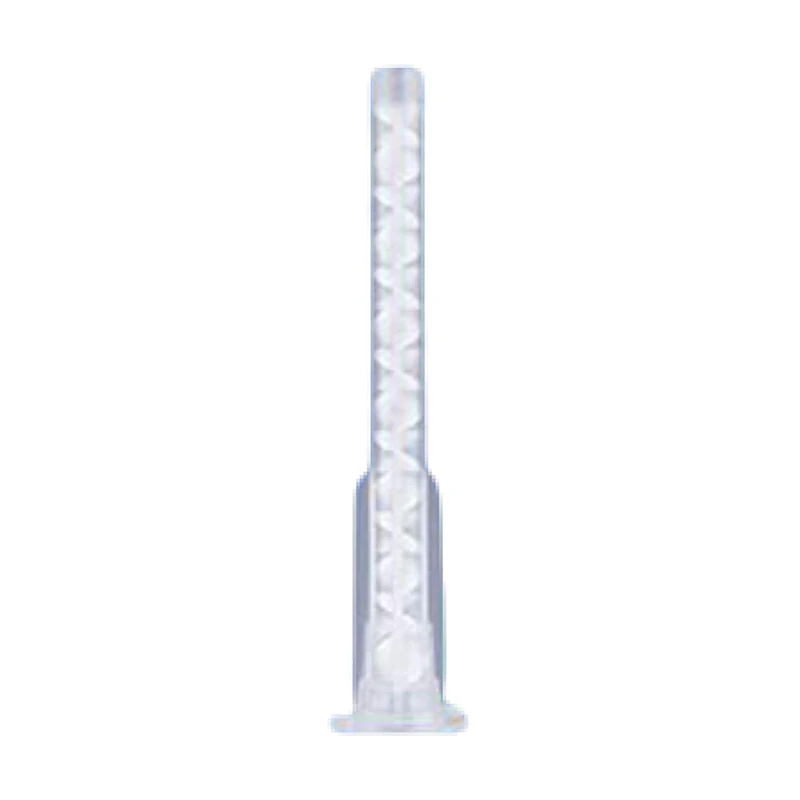
Qualify the complete outlet choice in a controlled dispense trial
A bench comparison is useful only if it answers the real production question. Freeze the cartridge and inlet fit, A/B adhesive identities and ratio, material temperature, dispenser, target flow or shot volume, mixer body, outlet configuration and any tip or adapter. Record the adhesive batch and drawing revisions. If different candidate mixers cannot share the same body, document the difference rather than labeling the experiment an outlet-only test.
- Confirm assembly and safety. Verify the mating interface, outlet/adapter/tip retention, chemical compatibility evidence and the rated limits of the actual cartridge, mixer and dispenser. Use the equipment and adhesive suppliers’ procedures; do not infer safe pressure from a catalog photograph.
- Prime consistently. Follow the adhesive maker’s start-up method and identify material discarded before collecting the first acceptable mixed sample. Note any leakage or component separation at the tip joint.
- Measure the production task. At the intended setting, record delivered mass or volume over time, bead or fill dimensions, placement, start/stop behavior and observed tailing or stringing. “Looks fine” is not a recorded acceptance criterion.
- Record the operating effort. Capture available dispenser pressure or force data and the actual output. If sensors are not placed to measure a pressure differential across the mixer, call the value system pressure or dispenser setting—not “mixer pressure drop.”
- Check mixed-output quality and pauses. Use the adhesive supplier’s appropriate cure or mixed-material method. Repeat after the longest realistic stop, at end of the intended usable period, and after a tip replacement if that is routine.
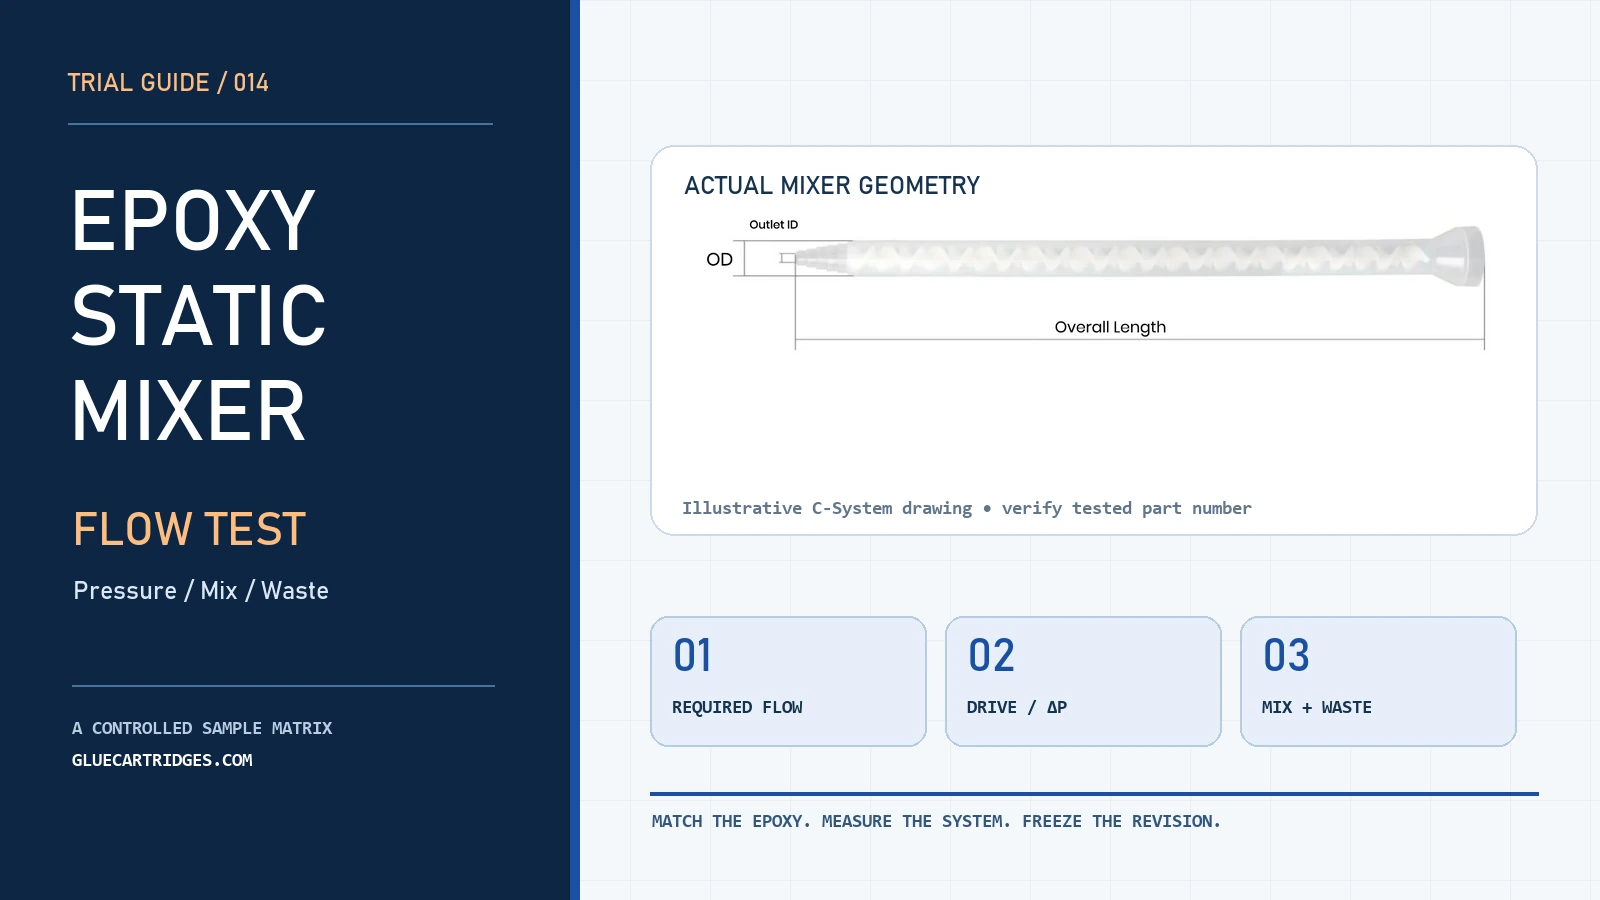
Failure modes direct the next move. If a fine tip produces the right bead but output falls below cycle demand, review the entire flow path and test a larger opening or another dispensing setting within rated limits. If an open outlet meets flow but floods a recess, examine stand-off and motion before assuming the mixer must be narrower. If the deposit looks right but cure is inconsistent, investigate ratio, purge, residence and mixer selection—not just the outlet. Our epoxy flow-test guide covers a fuller test-window method; it can be adapted to the outlet comparison without treating a single shot as release evidence.
A compact outlet specification for a supplier or line trial
“Need a Luer mixer” leaves too many open variables for a reliable sample request. A useful RFQ or test record is short, but it links the drawing, desired deposit and full assembly. The fields below are prompts, not claimed Haijing test data or universal acceptance limits. If an input is unknown, mark it unknown and ask which sample can resolve it.
Minimum information to compare outlet candidates
On a narrow screen, swipe to see all columns.
| Record field | What to supply | Decision it supports |
|---|---|---|
| Cartridge and mixer identity | Cartridge SKU/interface; current mixer and drawing revision; A/B ratio basis. | Prevents an outlet comparison from failing at the inlet or mixing body. |
| Outlet stack | Outlet family and actual ID/OD; adapter and tip SKUs; approved cut step, if any. | Defines the discharge assembly to be built and repeated. |
| Material and duty | Adhesive identities, component conditions, temperature, required flow or shot, pauses and cycle. | Sets the conditions under which restriction and cure are assessed. |
| Deposit requirement | Target dot, bead, fill or cavity; reach, stand-off, access limits and acceptance method. | Determines whether a fine tip, direct taper or open discharge is useful. |
| Trial result | Delivered quantity, system effort, leakage, start/stop behavior, cure/mix result and rejected material. | Shows the actual trade-off instead of relying on outlet labels. |
Haijing’s static and dynamic mixer range and A-System offering indicate that outlet choice and customization can be discussed with the manufacturer. They do not establish that a named part will accept a customer’s existing Luer tip or that a photo matches the currently supplied drawing. Ask for the current revision and a sample of the complete assembly, including any adapter. Where cutting or a custom outlet is needed, state whether the supplier will deliver it pre-formed or the line will perform a controlled operation.
Match an outlet to your dispense task
Send Haijing the cartridge and mixer drawing or part number, adhesive A/B materials, desired deposit, flow/cycle and any tip or cut-back requirement. A sample choice can then be checked against the actual mating parts and tested on your line.
Questions that prevent expensive outlet mismatches
Can a Luer Lock tip fit every mixer sold with a Luer outlet?
No such conclusion follows from the word “Luer.” Identify whether the mixer has the required integral hub or needs a specified adapter, and check the exact tip hub and retention. A dry fit is a first check, not proof of sealing or performance under dispensing load.
Will cutting a stepped outlet improve flow without affecting mixing?
A permitted cut changes the exit geometry; it does not redesign the internal mixing elements. It may change the outlet’s contribution to restriction and the deposited shape, but the magnitude depends on the entire assembly and operating conditions. Test the approved cut version, and never assume arbitrary cuts are allowed.
Is a bell-mouth tip another outlet choice?
In the industrial mixer catalogs cited here, bell/bell-mouth refers to the cartridge-side inlet connection, not the discharge tip. Specify the inlet and outlet separately. If a supplier uses a different term, have them mark both ends and mating parts on the drawing before ordering.
Technical and product sources
- medmix, Industrial mixers — inlet and outlet form taxonomy.
- Nordson EFD, Disposable spiral mixers — mixer series inlet and outlet variants.
- Nordson EFD, How to select a static mixer for two-part fluids — flow, fluid and outlet-selection considerations.
- Haijing A-System static mixer range and Haijing adhesive dispense tips — current published product context; confirm exact specifications by drawing.