Introduction: What Solar Junction Box Potting Achieves
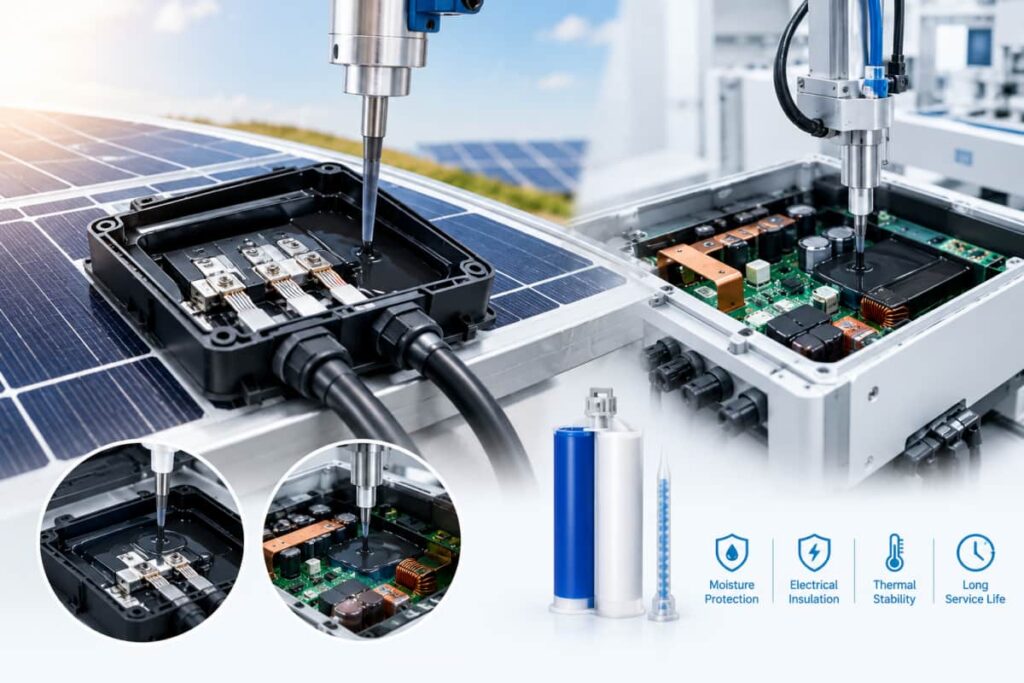
Solar junction box potting is the controlled dispensing of a two-part encapsulant into the junction box on the back of a PV module to seal the ribbon-wire connections against moisture, salt, corrosion and thermal stress. Inverter encapsulation applies the same principle to power electronics, protecting IGBTs, busbars and capacitors from humidity and dielectric failure. A reliable result depends on three decisions: the encapsulant chemistry (epoxy, polyurethane or silicone), a two-component system that meters and mixes the resin and hardener at the correct ratio, and an automated dispensing process that deposits bubble-free material at volume. This guide explains how to select the material, configure the equipment, run the process, and avoid the defects that cause field failures—so you can specify a potting line for solar junction boxes and power inverters with confidence.
What Solar Junction Box Potting and Inverter Encapsulation Protect Against
A PV junction box sits on the module’s rear surface and carries current from the cells. Once the ribbon wires are soldered, the box must stay sealed for 20–25 years outdoors. The failure modes are specific:
- Moisture ingress: water reaching the solder joints drives corrosion and raises leakage current.
- Ribbon-wire corrosion: without a protective encapsulant, the metal leads oxidize and lose conductivity.
- Thermal cycling: daily and seasonal temperature swings stress a poorly matched material until it cracks.
- Dielectric breakdown: in inverters, unchecked humidity reduces insulation resistance and causes arc faults.
Encapsulation solves these by surrounding the joints with a continuous, insulating, hydrophobic layer. On the renewable energy application page this is described as covering solar junction box potting, power inverter encapsulation, LED lens bonding and optical component assembly.
Failure Modes in the Field
Each failure mode maps to a property the encapsulant must provide: moisture resistance, adhesion to the box and leads, low shrinkage under thermal swing, and stable dielectric strength. A material that is strong on one but weak on another will fail at the weak point after years outdoors.
Why Two-Part Encapsulants
Single-part materials cure by air or moisture and are hard to apply inside a deep, enclosed box. Two-part systems cure by chemical reaction between resin and hardener, so the cure is controllable and the mix can be tuned for viscosity, fillers and thermal conductivity. The trade-off is that the two parts must meet at the right ratio every time—which is where the dispensing system matters.
Choosing the Right Encapsulant Chemistry
Three chemistries dominate electronic potting. The table compares them on the factors that decide field life.
| Chemistry | Protection | Thermal range | Flexibility | Cure | Best use in solar / inverter |
|---|---|---|---|---|---|
| Two-part epoxy | Highest adhesion, strong dielectric | Wide, rigid | Low | Room temp or heat 60–80°C | Junction box, high-voltage inverter parts needing rigidity |
| Two-part polyurethane (PU) | Good moisture seal | Moderate | High | Room temp or mild heat | Vibration-exposed or thermally cycling enclosures |
| Two-part silicone | Excellent flexibility, temp extremes | Very wide | Very high | RTV or heat | Parts with large CTE mismatch, outdoor thermal swing |
Selection rule: if the part must stay rigid and bond strongly to plastic, metal and glass, choose epoxy. If the assembly moves or sees wide thermal swing, polyurethane or silicone absorbs the stress. The exact Shore hardness, thermal conductivity and filler load should be confirmed with the adhesive supplier against your enclosure material and operating temperature.
How a Two-Component Potting System Works
A two-part material cannot be poured from a single can. It is supplied as resin (A) and hardener (B) that must meet at a fixed ratio—commonly 1:1, 2:1, 4:1 or 10:1.
Cartridges, Static Mixers and Metering
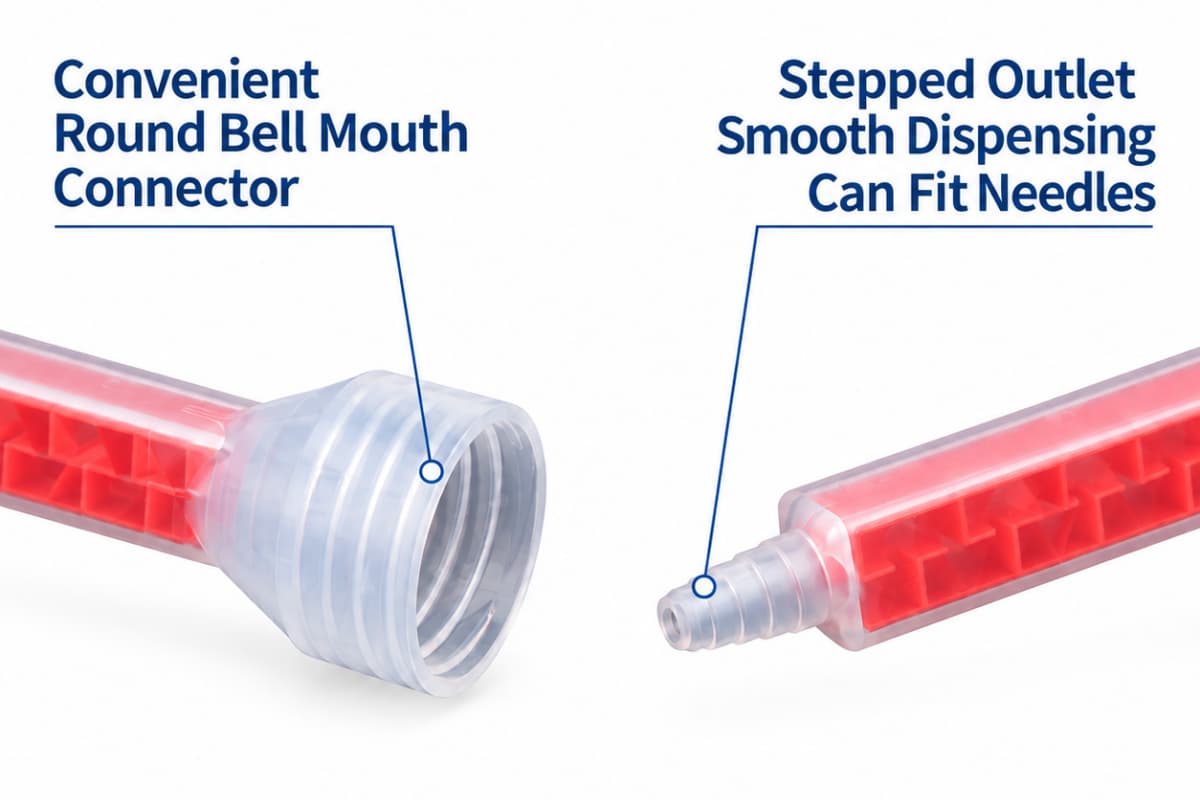
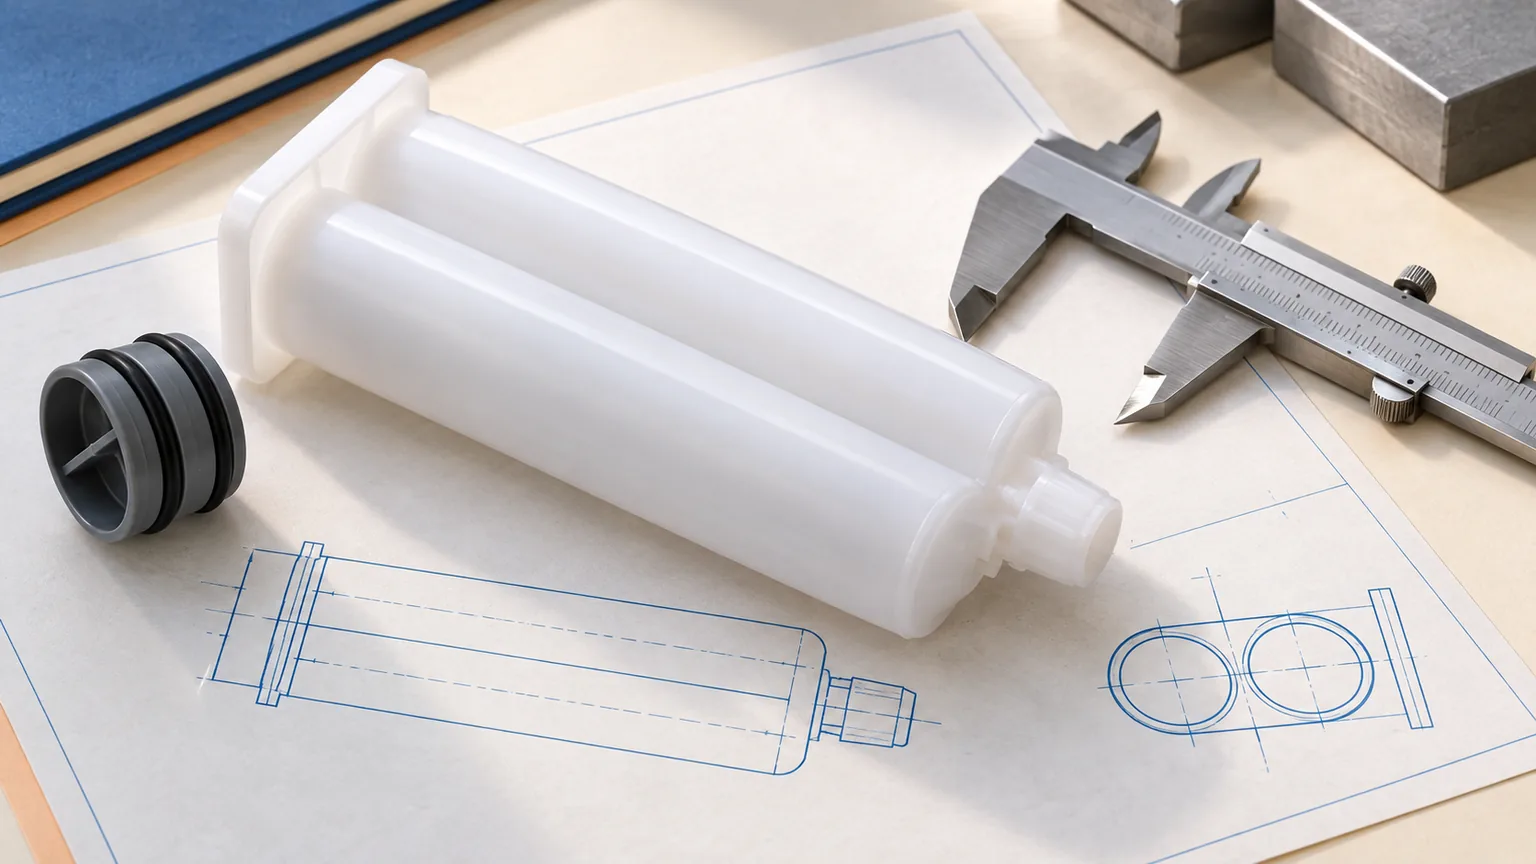
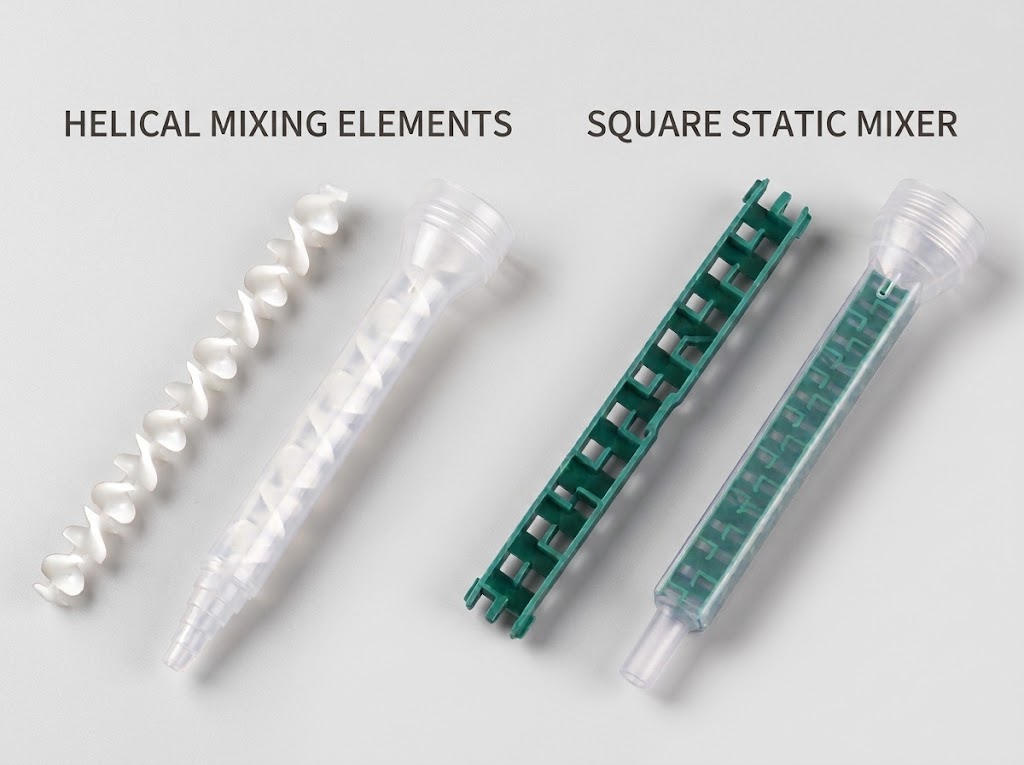
The resin and hardener are stored in dual-component cartridges and pushed through a static mixer where helical elements fold A and B into a uniform blend. Ratio accuracy decides cure: an off-ratio mix stays soft, cracks, or never reaches full dielectric strength. The meter section sets the flow of each side; the mixer section sets homogeneity. Getting the pairing right is explained in the cartridge–mixer–gun compatibility guide.
Automated Workstation vs Manual Potting
| Factor | Manual / pneumatic gun | Automated dispensing workstation |
|---|---|---|
| Ratio control | Operator-dependent | Programmed metering, ±1% repeatability |
| Bubble control | Poor, hand-pour | Vacuum degassing optional, controlled path |
| Throughput | Low | High, suited to module lines |
| Traceability | None | Program storage, process data per box |
For a PV line producing thousands of modules per shift, manual potting cannot hold ratio or speed. An automated dispensing workstation integrates metering, mixing, fixture alignment, and dispensing into one validated cell.
Step-by-Step Solar J-Box Potting Process
- Prepare the box: clean and dry the junction box and ribbon wires; verify the box is seated on the backsheet.
- Set the ratio and mix: load A and B into the dual-component cartridges, select the mix ratio, and run the static mixer until the output is uniform.
- Degas if required: for high-voltage or void-sensitive boxes, use vacuum degassing to remove entrapped air before dispensing.
- Dispense: program the path to fill the cavity from the bottom, avoiding air traps; keep the nozzle clear of the ribbon wires.
- Cure: hold the specified temperature and time per the adhesive TDS—typically room temperature 24–48 h, or heat 60–80°C for 2–4 h.
- Inspect: check for voids, surface cure and coverage; verify insulation resistance before lamination or boxing.
If you supply pre-filled two-part cartridges to the line, cartridge filling machines prepare A and B with minimal air entrapment so the mixer sees a consistent feed.
Step-by-Step Power Inverter Encapsulation
Inverter pots differ from junction boxes: larger cavities, higher voltages, and a need for heat dissipation. Adjust the process:
- Use a thermally conductive filled epoxy where IGBTs and heatsinks must shed heat.
- Increase fill volume gradually and pause to let bubbles rise, or use vacuum-assisted dispensing for deep cavities.
- Confirm dielectric strength against the inverter’s working voltage and the relevant PV module standards—IEC 61215 and IEC 61730 cover the environmental and mechanical stresses the sealed assembly must survive.
Common Defects and How to Avoid Them
| Defect | Cause | Fix |
|---|---|---|
| Air bubbles / voids | Poor mixing, hand pour, trapped air | Vacuum degassing; bottom-up fill; correct static mixer length |
| Off-ratio cure | Wrong metering, worn piston, mixer mismatch | Weigh A/B periodically; match mixer to ratio |
| Incomplete cure | Wrong temperature/time, expired hardener | Follow TDS cure window; verify batch |
| Cracking | Thermal mismatch, shrinkage | Low-shrinkage formula; control ramp rate |
| Weak adhesion | Contaminated surface, wrong chemistry | Clean substrate; choose compatible chemistry |
Selection Checklist for a Production Line
Before ordering equipment or material, confirm:
- Enclosure material and substrate (plastic box, metal ribbon, glass) and the chemistry that bonds all three.
- Required mix ratio and cartridge size (25 mL, 50 mL or bulk).
- Throughput per shift and whether manual or automated dispensing fits.
- Bubble and void limits for the application (standard vs high-voltage).
- Cure method available (room temp vs oven) and line layout.
- Standards the sealed part must support (IEC 61215 / IEC 61730 for PV).
- Need for cartridge filling if you supply pre-filled two-part cartridges—see cartridge filling machines.
When to Move to Automated Dispensing
Choose a manual or pneumatic gun for prototyping and low volume. Choose an automated workstation when yield is set by consistent ratio and bubble-free fill across high volume, or when process data and traceability are required for qualification. The decision rests on volume, defect cost, and whether the line must demonstrate repeatability to customers.
FAQ
Q1: What is the difference between potting and encapsulation? A: The terms overlap. Potting usually means filling an enclosure completely; encapsulation can mean a partial or coated coverage. Both aim to protect electronics from moisture, vibration and dielectric failure.
Q2: Which chemistry is best for solar junction boxes? A: Two-part epoxy gives the strongest bond and rigidity for plastic, metal and glass; polyurethane or silicone suit parts with thermal swing or movement. Confirm against your enclosure and temperature range.
Q3: Why must the two-part ratio be exact? A: Ratio decides cure completeness and dielectric strength. An off-ratio mix stays soft or cracks and can fail insulation testing. Meter and verify the A/B ratio on the line.
Q4: How are bubbles prevented in junction box potting? A: Use a correct-length static mixer, fill from the bottom to avoid air traps, and add vacuum degassing for void-sensitive or high-voltage boxes.
Q5: Can the same workstation pot both junction boxes and inverters? A: Often yes, if it supports adjustable ratio, fill volume and fixture change. Deep inverter cavities may need vacuum-assisted dispensing and thermally conductive material.
Conclusion and Next Step
Solar junction box potting and inverter encapsulation are solved by three matched choices: the right two-part chemistry for your substrate and temperature, a cartridge-and-static-mixer system that holds the mix ratio, and a dispensing process—manual for prototypes, automated for volume—that deposits bubble-free material every time. Start by fixing the enclosure material and throughput, then match the chemistry and equipment, and validate with void and insulation checks before scaling the line.
If you are specifying a potting line for solar junction boxes or power inverters, our engineering team can match dual-component cartridges, static mixers and an automated dispensing workstation to your application, with one-stop customization from material selection to commissioning—typically a proposal and quote within one business day. For a cross-industry view, see the automotive electronics potting guide.