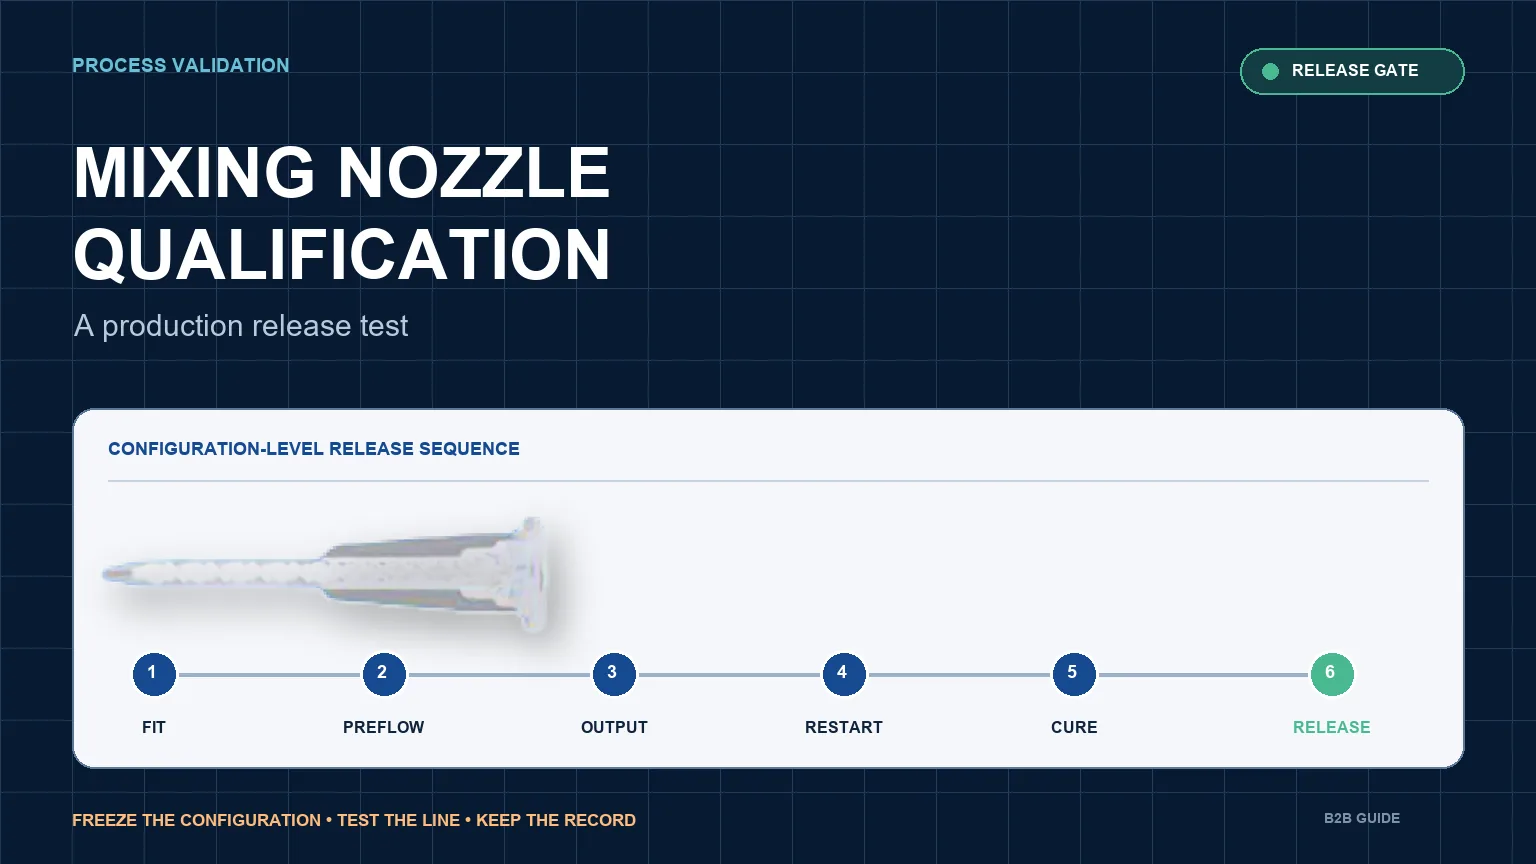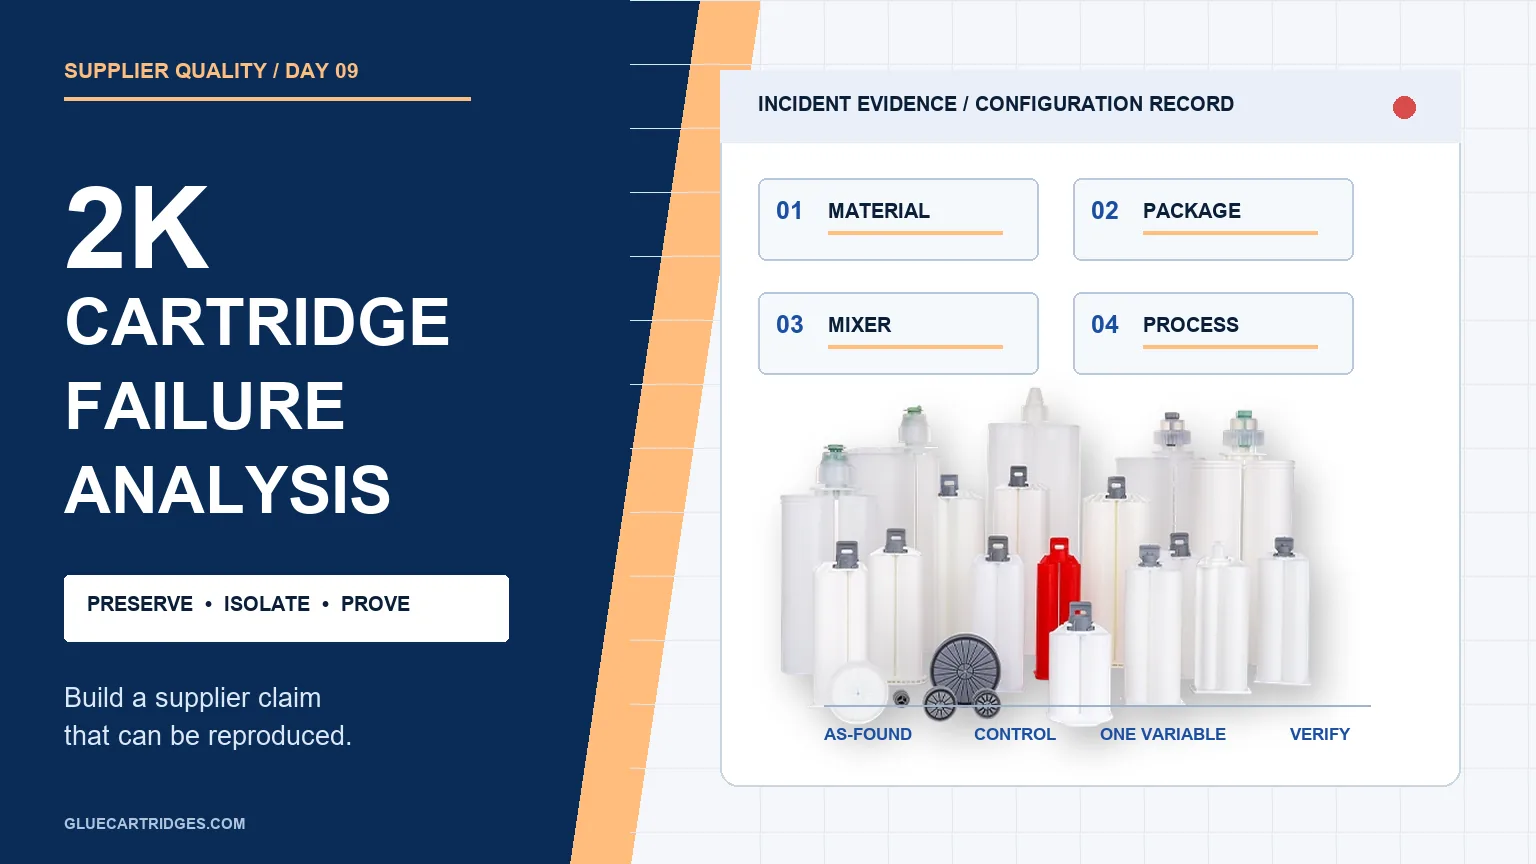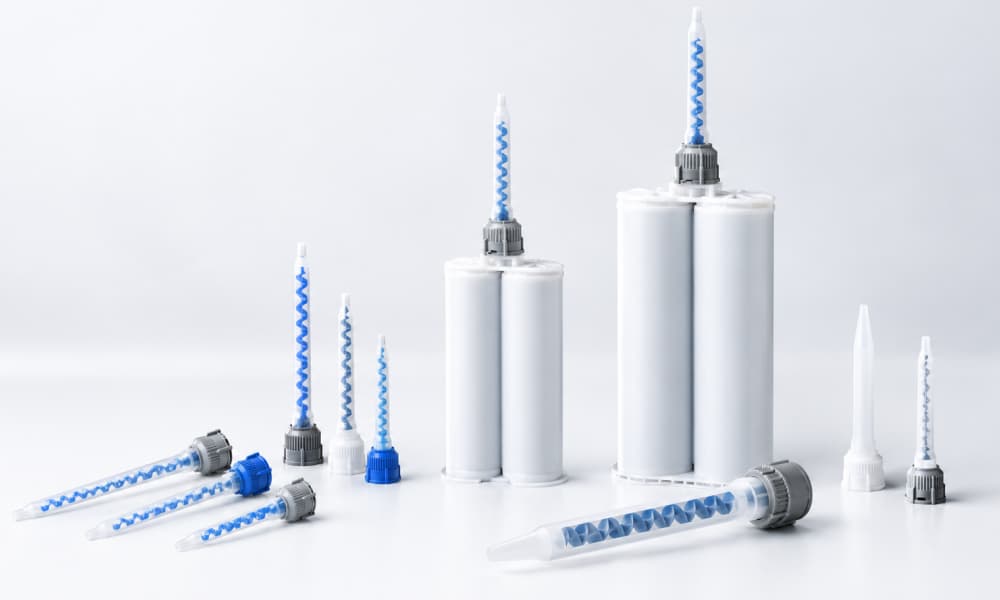
Two-part epoxy ships in a dual cartridge because the resin and hardener must stay separate until the moment of application. The epoxy mixing nozzle is the disposable spiral tube that blends them at the exact ratio the formulator validated—usually 1:1 or 2:1 for general-purpose epoxies, and 4:1 or 10:1 for filled or structural grades. For the most common industrial sizes, that means the 200ml and 400ml cartridge. This guide explains how to size, specify, and fit an epoxy mixing nozzle to those cartridges so you get a fully cured bond instead of a soft, streaky failure.
Why 200ml and 400ml Cartridges Are the Epoxy Default
The 200ml and 400ml dual cartridges dominate structural and construction epoxy work because they balance shot size against manual handling. Both sizes almost always use one of three interface families:
- Bell-Style (C-System) – a twist-and-lock collar found on the majority of 200ml/400ml epoxies.
- Screw-On (C-System threaded) – a threaded retention for higher backpressure.
- F-System – used where 4:1 and 10:1 ratios demand tighter port separation.
If you are unsure which you have, the cartridge outlet shape decides the nozzle—never force a mismatch, because interface cross-leak is the #1 cause of adhesive blowing out at the joint.
How an Epoxy Mixing Nozzle Works
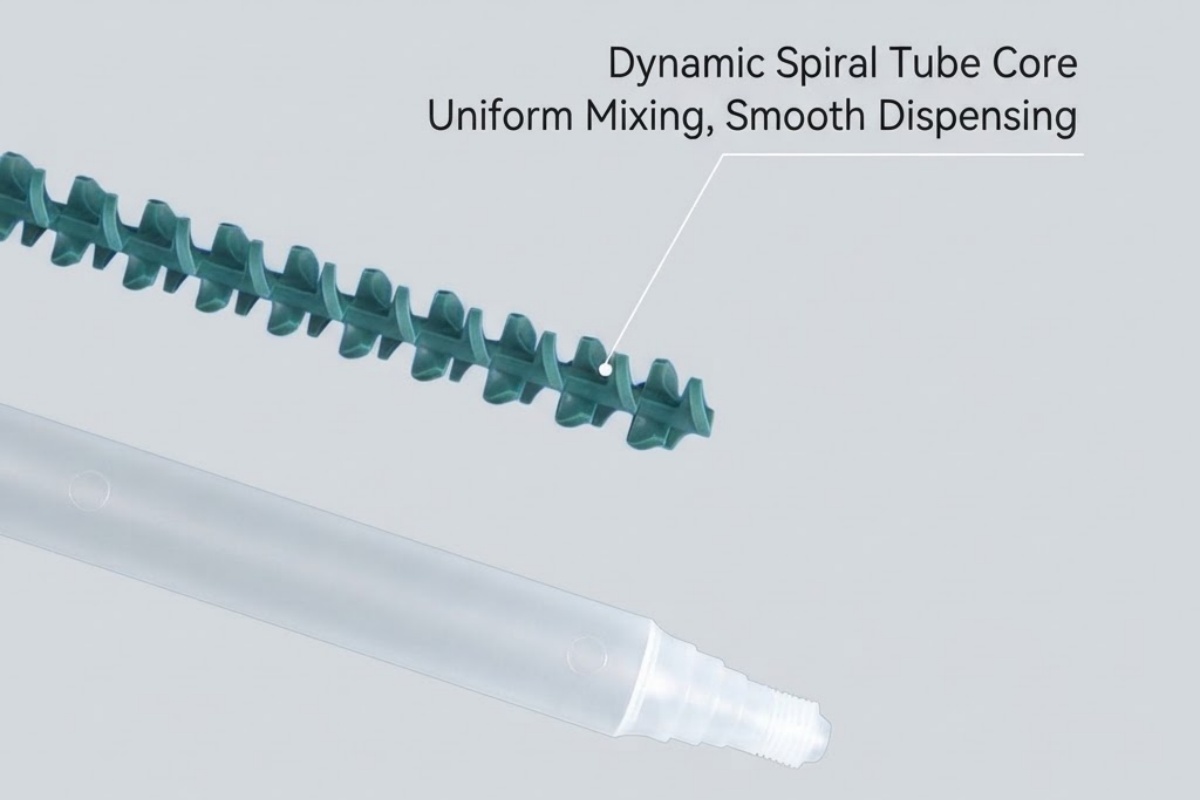
Inside the clear or colored tube is a fixed stack of helical or square baffle elements. As you push the plunger, the resin and hardener are folded over each other once per element. A 24-element nozzle performs 24 fold cycles; a 32-element nozzle performs 32. No batteries, no moving parts—the mixing energy comes entirely from dispensing pressure. That is also why hand-mixing in a cup is not equivalent: cartridge epoxies are formulated for the downstream ratio a static mixer guarantees.
Match the Nozzle to Your Epoxy Chemistry
Start with chemistry, not brand. Epoxy sits in a predictable band, and the table below gives starting ranges validated across industry selection guides (and consistent with our complete engineering guide).
| Epoxy type | Typical ratio | Elements | Bore (ID) | Best interface |
|---|---|---|---|---|
| General-purpose | 1:1 – 2:1 | 15–24 | 4.0–6.4 mm | Bell (C) |
| Filled / structural | 1:1 – 4:1 | 18–24 | 5.4–8.0 mm | Bell (C) or Screw-On |
| High-viscosity / anchor resin | 4:1 – 10:1 | 24–32 | 8.0–10 mm | F-System |
For 1:1 and 2:1 epoxies, standard helical nozzles work best. As viscosity or ratio asymmetry rises, step up element count and bore so you do not stall a manual gun or burst the housing. For a deeper look at element count versus mix quality, see our guide on how many mixing elements you actually need.
Interface Systems: Bell-Style, Screw-On, F-System
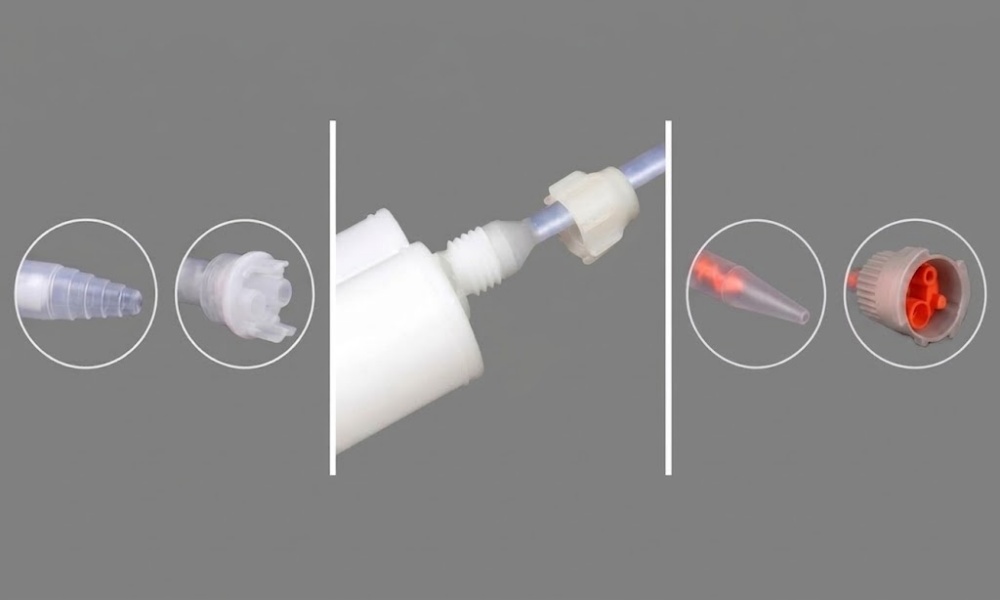
- Bell-Style (C-System) fits the widest range of 200ml/400ml epoxies and is the safe default for 1:1 and 2:1.
- Screw-On adds a threaded collar that resists axial slippage under high backpressure—preferred for viscous structural epoxies.
- F-System keeps Part A and Part B ports tightly separated, eliminating inter-port curing during storage and reuse; it is the right call for 4:1 and 10:1 formulations.
These interfaces are industry-standard. A correctly specified nozzle fits Sulzer Mixpac, MedMix, Nordson EFD, and cross-compatible Haijing nozzles—provided the interface family matches.
Element Count vs. Length: Right Mix, Less Waste
More elements mean more thorough mixing, but also higher pressure drop and a longer body. Helical elements are the general-purpose default: lower pressure drop, longer body. Square (Quadro) elements achieve the same homogeneity in roughly half the length and retain far less waste resin on disposal—which matters when adhesive costs dollars per gram. On a 200ml or 400ml cartridge running costly structural epoxy, a square 24-element tip often beats a longer helical one on total cost per bonded joint.
Ratio Matters: 1:1, 2:1, 4:1, 10:1
When dispensing equal volumes (1:1), the streams meet in balanced proportions. With asymmetric ratios (4:1 or 10:1), the smaller stream must be distributed into a much larger one, requiring roughly 20–40% more elements to reach full chemical homogeneity. Always confirm the ratio from the cartridge label or the adhesive TDS—our epoxy mixing ratios explained article covers volume-vs-weight pitfalls.
Helical vs. Square (Quadro): Pay for Less Retained Adhesive?
Choose helical when pressure drop and body length are not constraints. Choose square (Quadro) when retained-adhesive cost or fixture clearance dominates—robotic cells and costly resins are the classic cases. Neither is “better” universally; the trade-off is waste versus footprint.
5 Mistakes That Waste a Cartridge
- Buying on price per piece alone. A cheaper 16-element nozzle that wastes 30% more retained adhesive per shot costs more at volume than a square 24-element tip.
- Ignoring interface mismatch. Forcing the wrong connection type is the leading cause of joint leakage.
- Over-specifying elements for low-viscosity jobs. Unnecessary elements raise back-pressure and can stall a manual gun.
- Reusing a “cleaned” nozzle. Static mixers are single-use; residual material cures inside the geometry and contaminates the next batch.
- Skipping the purge. Discard the first 2–4 inches of output—leading material is under-mixed and will cure poorly.
Epoxy Mixing Nozzle Selection Checklist
- Confirm the mix ratio from the cartridge or TDS.
- Rank viscosity / filler load (thin → helical; thick/filled → square or larger bore).
- Lock the cartridge family to set the interface (Bell / Screw-On / F-System).
- Set element count (≤2:1 → 15–24; 4:1–10:1 → 24–32) and bore against viscosity.
- Pick the outlet tip for your bead profile and access.
- Purge the first 2–4 inches on install.
Frequently Asked Questions
What size mixing nozzle do I need for epoxy?
For general-purpose 1:1–2:1 epoxy in a 200ml or 400ml cartridge, a helical Bell-style nozzle with 15–24 elements and a 4–6.4 mm bore is the standard. Filled or 4:1–10:1 epoxies need 18–32 elements and a larger bore.
Can I use the same nozzle for 1:1 and 2:1 epoxy?
Yes, in most cases. Both ratios sit in the 15–24 element, 4–6.4 mm band on a Bell interface. Verify against the adhesive TDS, because cure data is validated with a specific geometry.
Are epoxy mixing nozzles reusable?
No. Once material sits inside the tube it begins to gel and hardens within the open time. Leave a used nozzle attached between beads as its own cap, but discard it the moment the internal epoxy sets.
Do epoxy mixing nozzles fit all brands of cartridge?
Bell, Screw-On, and F-System interfaces are industry-standard, so a correctly specified nozzle fits Sulzer Mixpac, MedMix, Nordson EFD, and cross-compatible Haijing nozzles—provided the interface family matches the cartridge.
Why is my epoxy still soft after mixing?
The usual cause is inadequate element count, leaving unmixed resin striations, or interface cross-leak at the cartridge neck causing pre-cure blockage. Increase element count by 4–6 units or confirm the interface matches the cartridge style. See our seven curing causes article.
How many elements for 10:1 epoxy?
Plan for 24–32 elements with an 8–10 mm bore on an F-System interface, because the wide ratio needs extra fold cycles to reach homogeneity.
Get the Right Epoxy Mixing Nozzle
Haijing supplies cross-compatible epoxy mixing nozzles for 200ml and 400ml Bell-Style, Screw-On, and F-System cartridges—engineered to the same interface tolerances as the leading brands. For compatibility confirmation, sampling, and bulk MOQ, start with our Epoxy Mixing Nozzle Buying Guide, and for materials selection see PP vs PA vs PBT. Need a specific fit? Use the full static mixer selection guide or contact our application team for a sample.